What is this?
You can attach Google Earth files to a project. Both .kmz and .kml files work. Keep your site boundaries, haul routes and layout files with the job they belong to. Anyone on the project can download them later.
Who's this for?
- Project managers, keep the site map file in the same place as the rest of the job paperwork.
- Estimators and engineers, share layout and boundary files with the field team without email.
- Superintendents and foremen, find the latest site file right on the project when you need it.
How to use it
Step 1: Open Projects
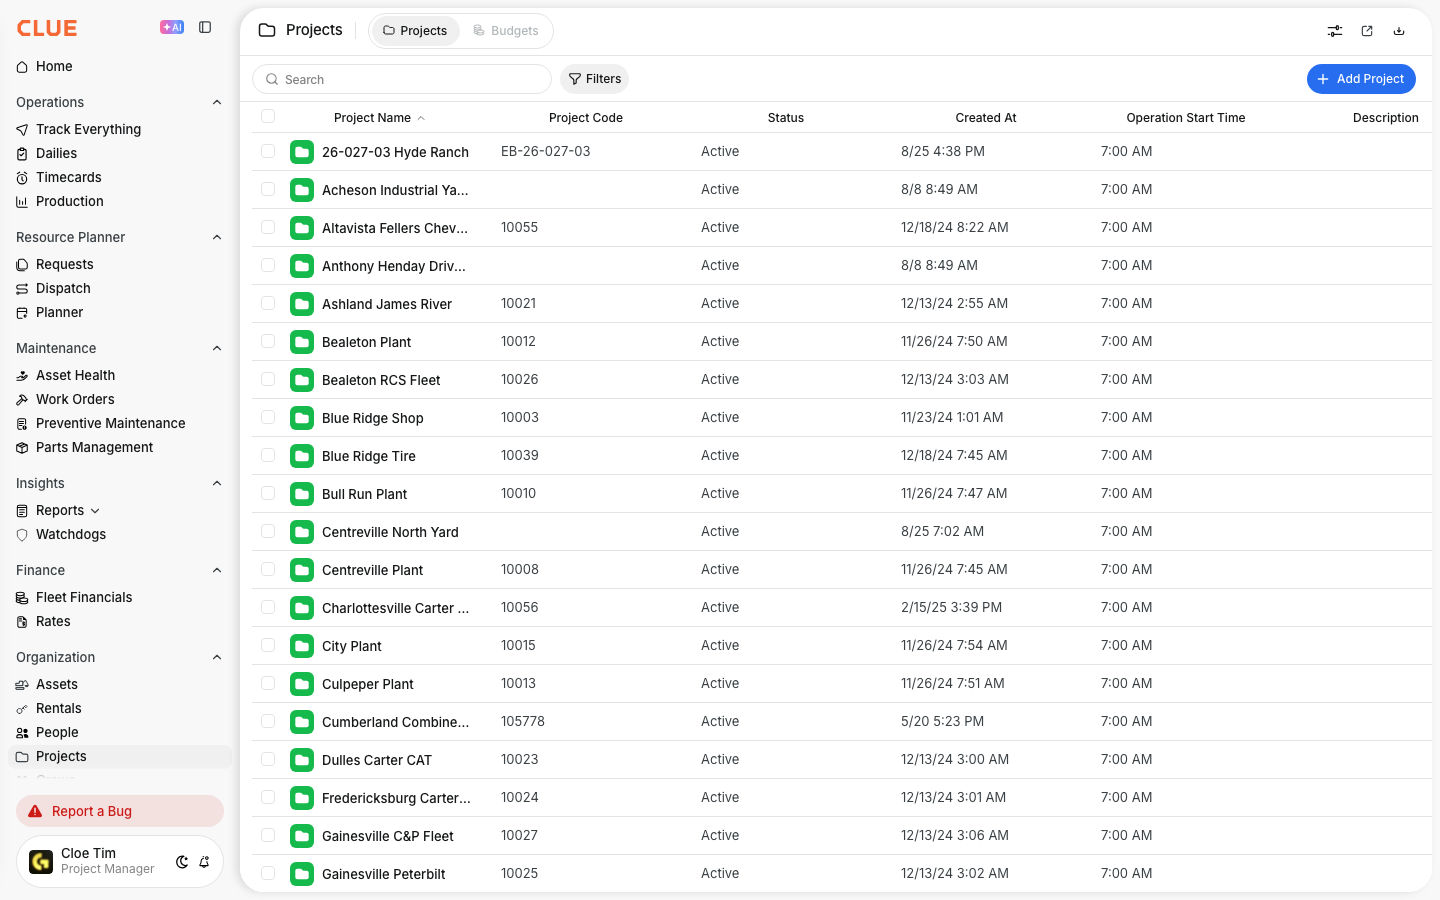
Go to Organization > Projects. Click Add Project.
Step 2: Find the Files section
Fill in the project details. Scroll to Files at the bottom of the form.
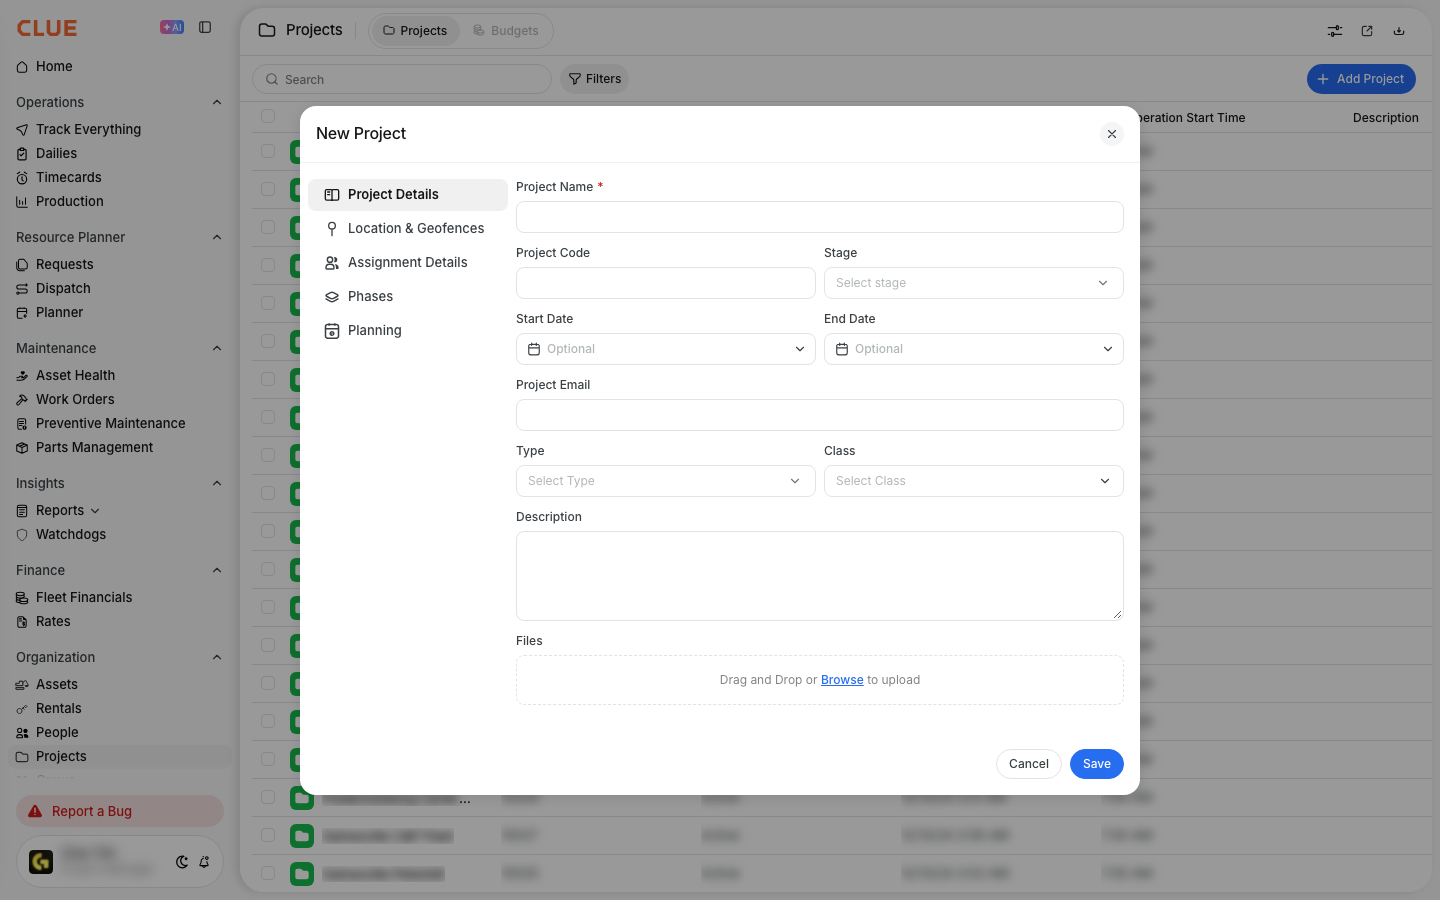
Step 3: Add your Google Earth file
Drag the .kmz or .kml file into the box, or click Browse. The file appears under the upload area. Click Save.
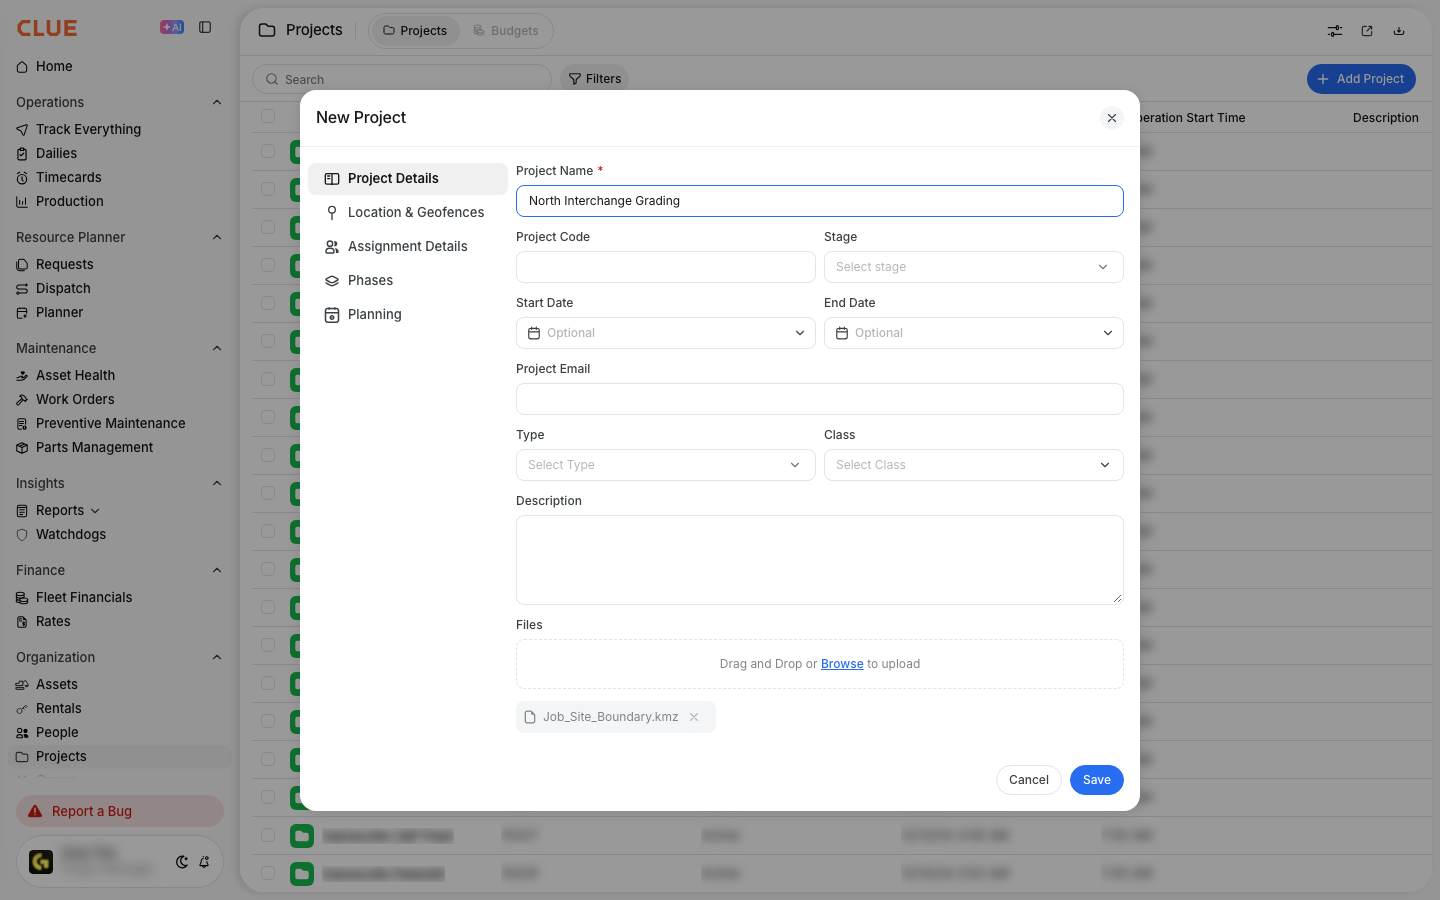
The full details
- Works on: Web app.
- File types: .kmz and .kml, alongside photos, PDFs and documents.
- Where: Project files only. Other upload areas in Clue do not accept Google Earth files.
- Storage only: Clue keeps the file so your team can download it. It does not read the shapes inside it.
- Geofences: Attaching a file does not create or change the project's geofence.
Tips
- Want the shapes on the map? Go to Geofences, click the arrow next to New Geofence, and pick Import KML/KMZ. See Importing Geofences from KML/KMZ.
- Use the same file for both. Attach it to the project for reference, and import it as a geofence for tracking.
- Give files clear names, like the site and the date. Your team will pick the right version faster.