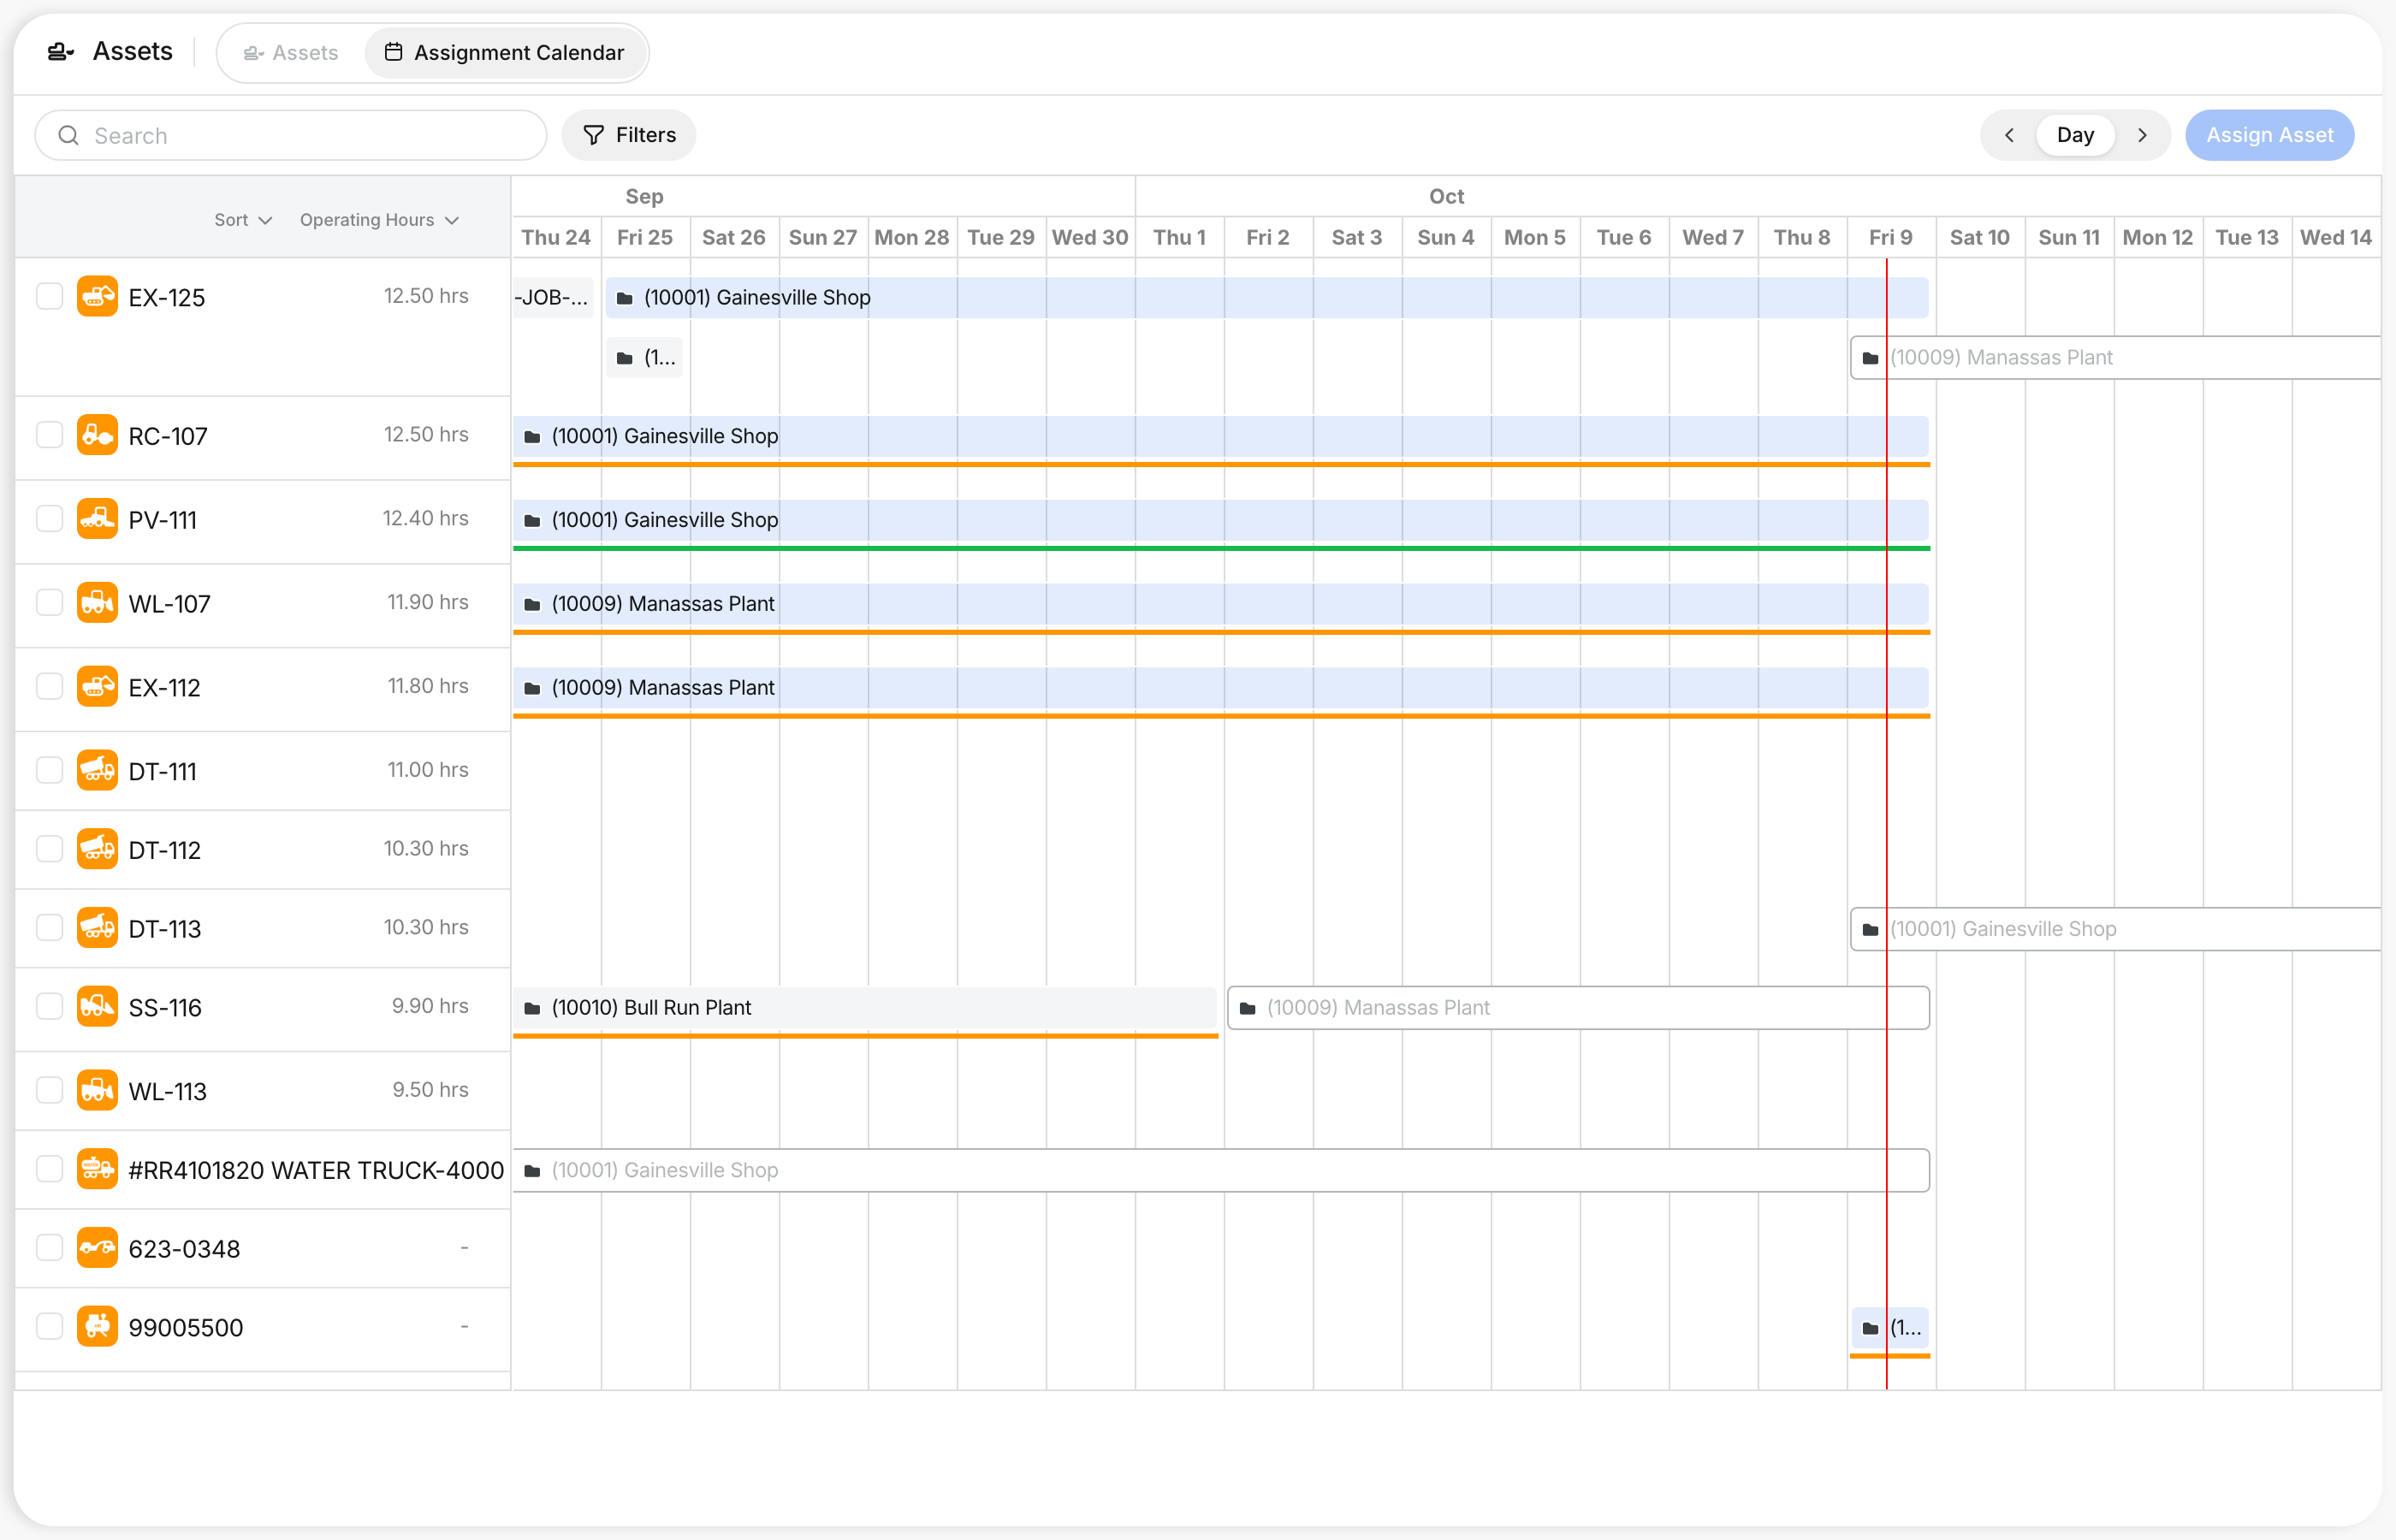
Adding a new asset in CLUE creates one record for that piece of equipment. Once the asset is saved, you can use it across other workflows like GPS Tracking and Telematics Integrations, Using Equipment Properties on Assets, and Asset Assignment History.
Overview
Adding assets to CLUE gives your team one place to store the basic details for each machine, truck, or tool. This makes it easier to keep records organized and use the asset in maintenance, tracking, and planning workflows.
Step 1: Navigate to Assets
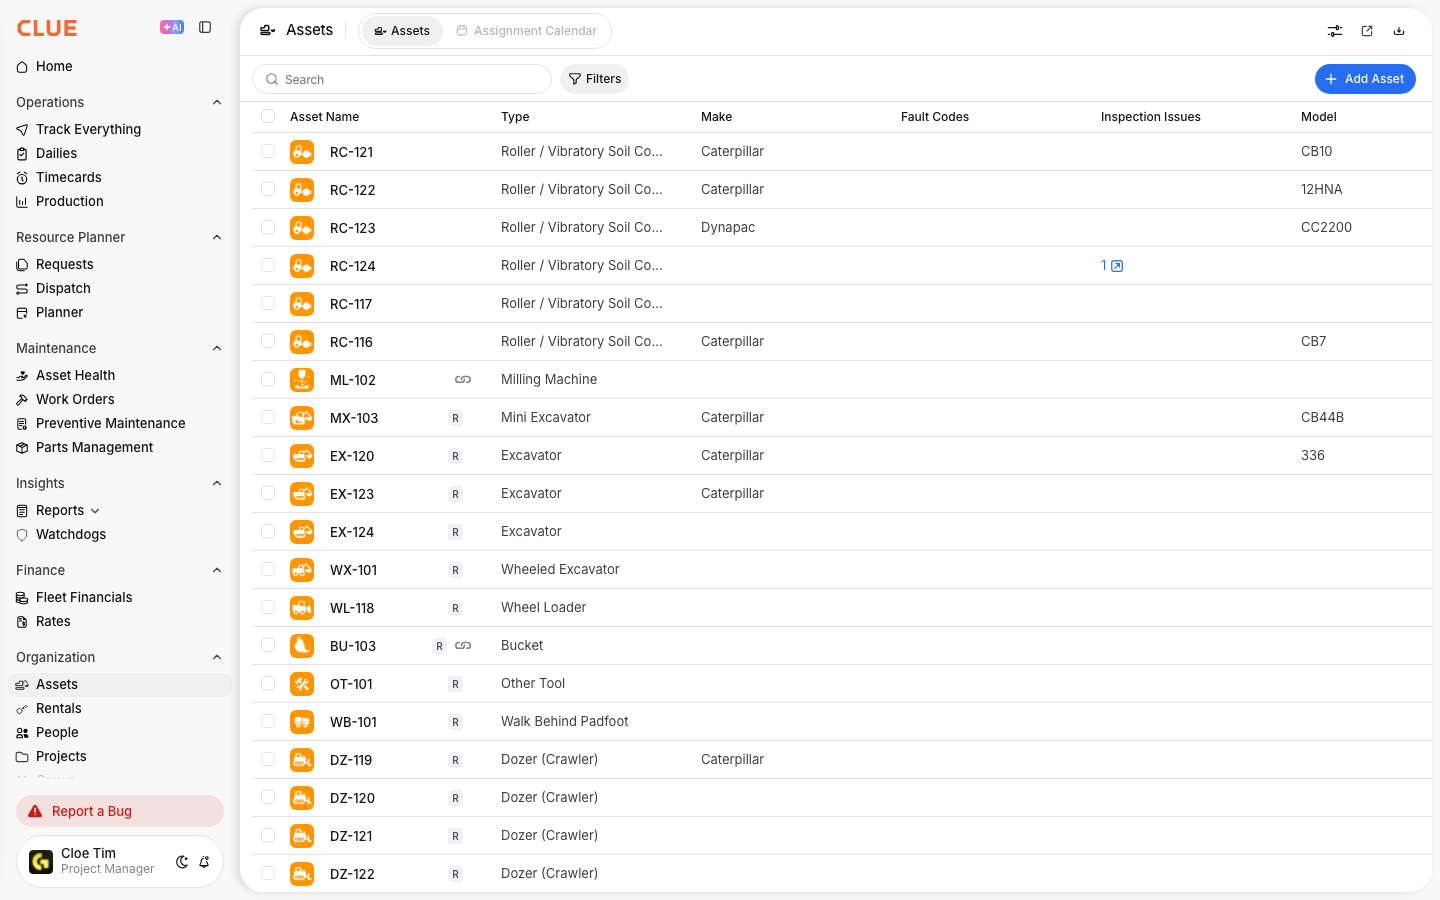
Start by opening your asset list. This is where you can view current equipment and create a new asset record when needed.
Go to Directory > Assets in the sidebar.
This opens your asset list with all current equipment. From there, click the blue Add Asset button in the top-right corner.
Step 2: Fill Out the Form
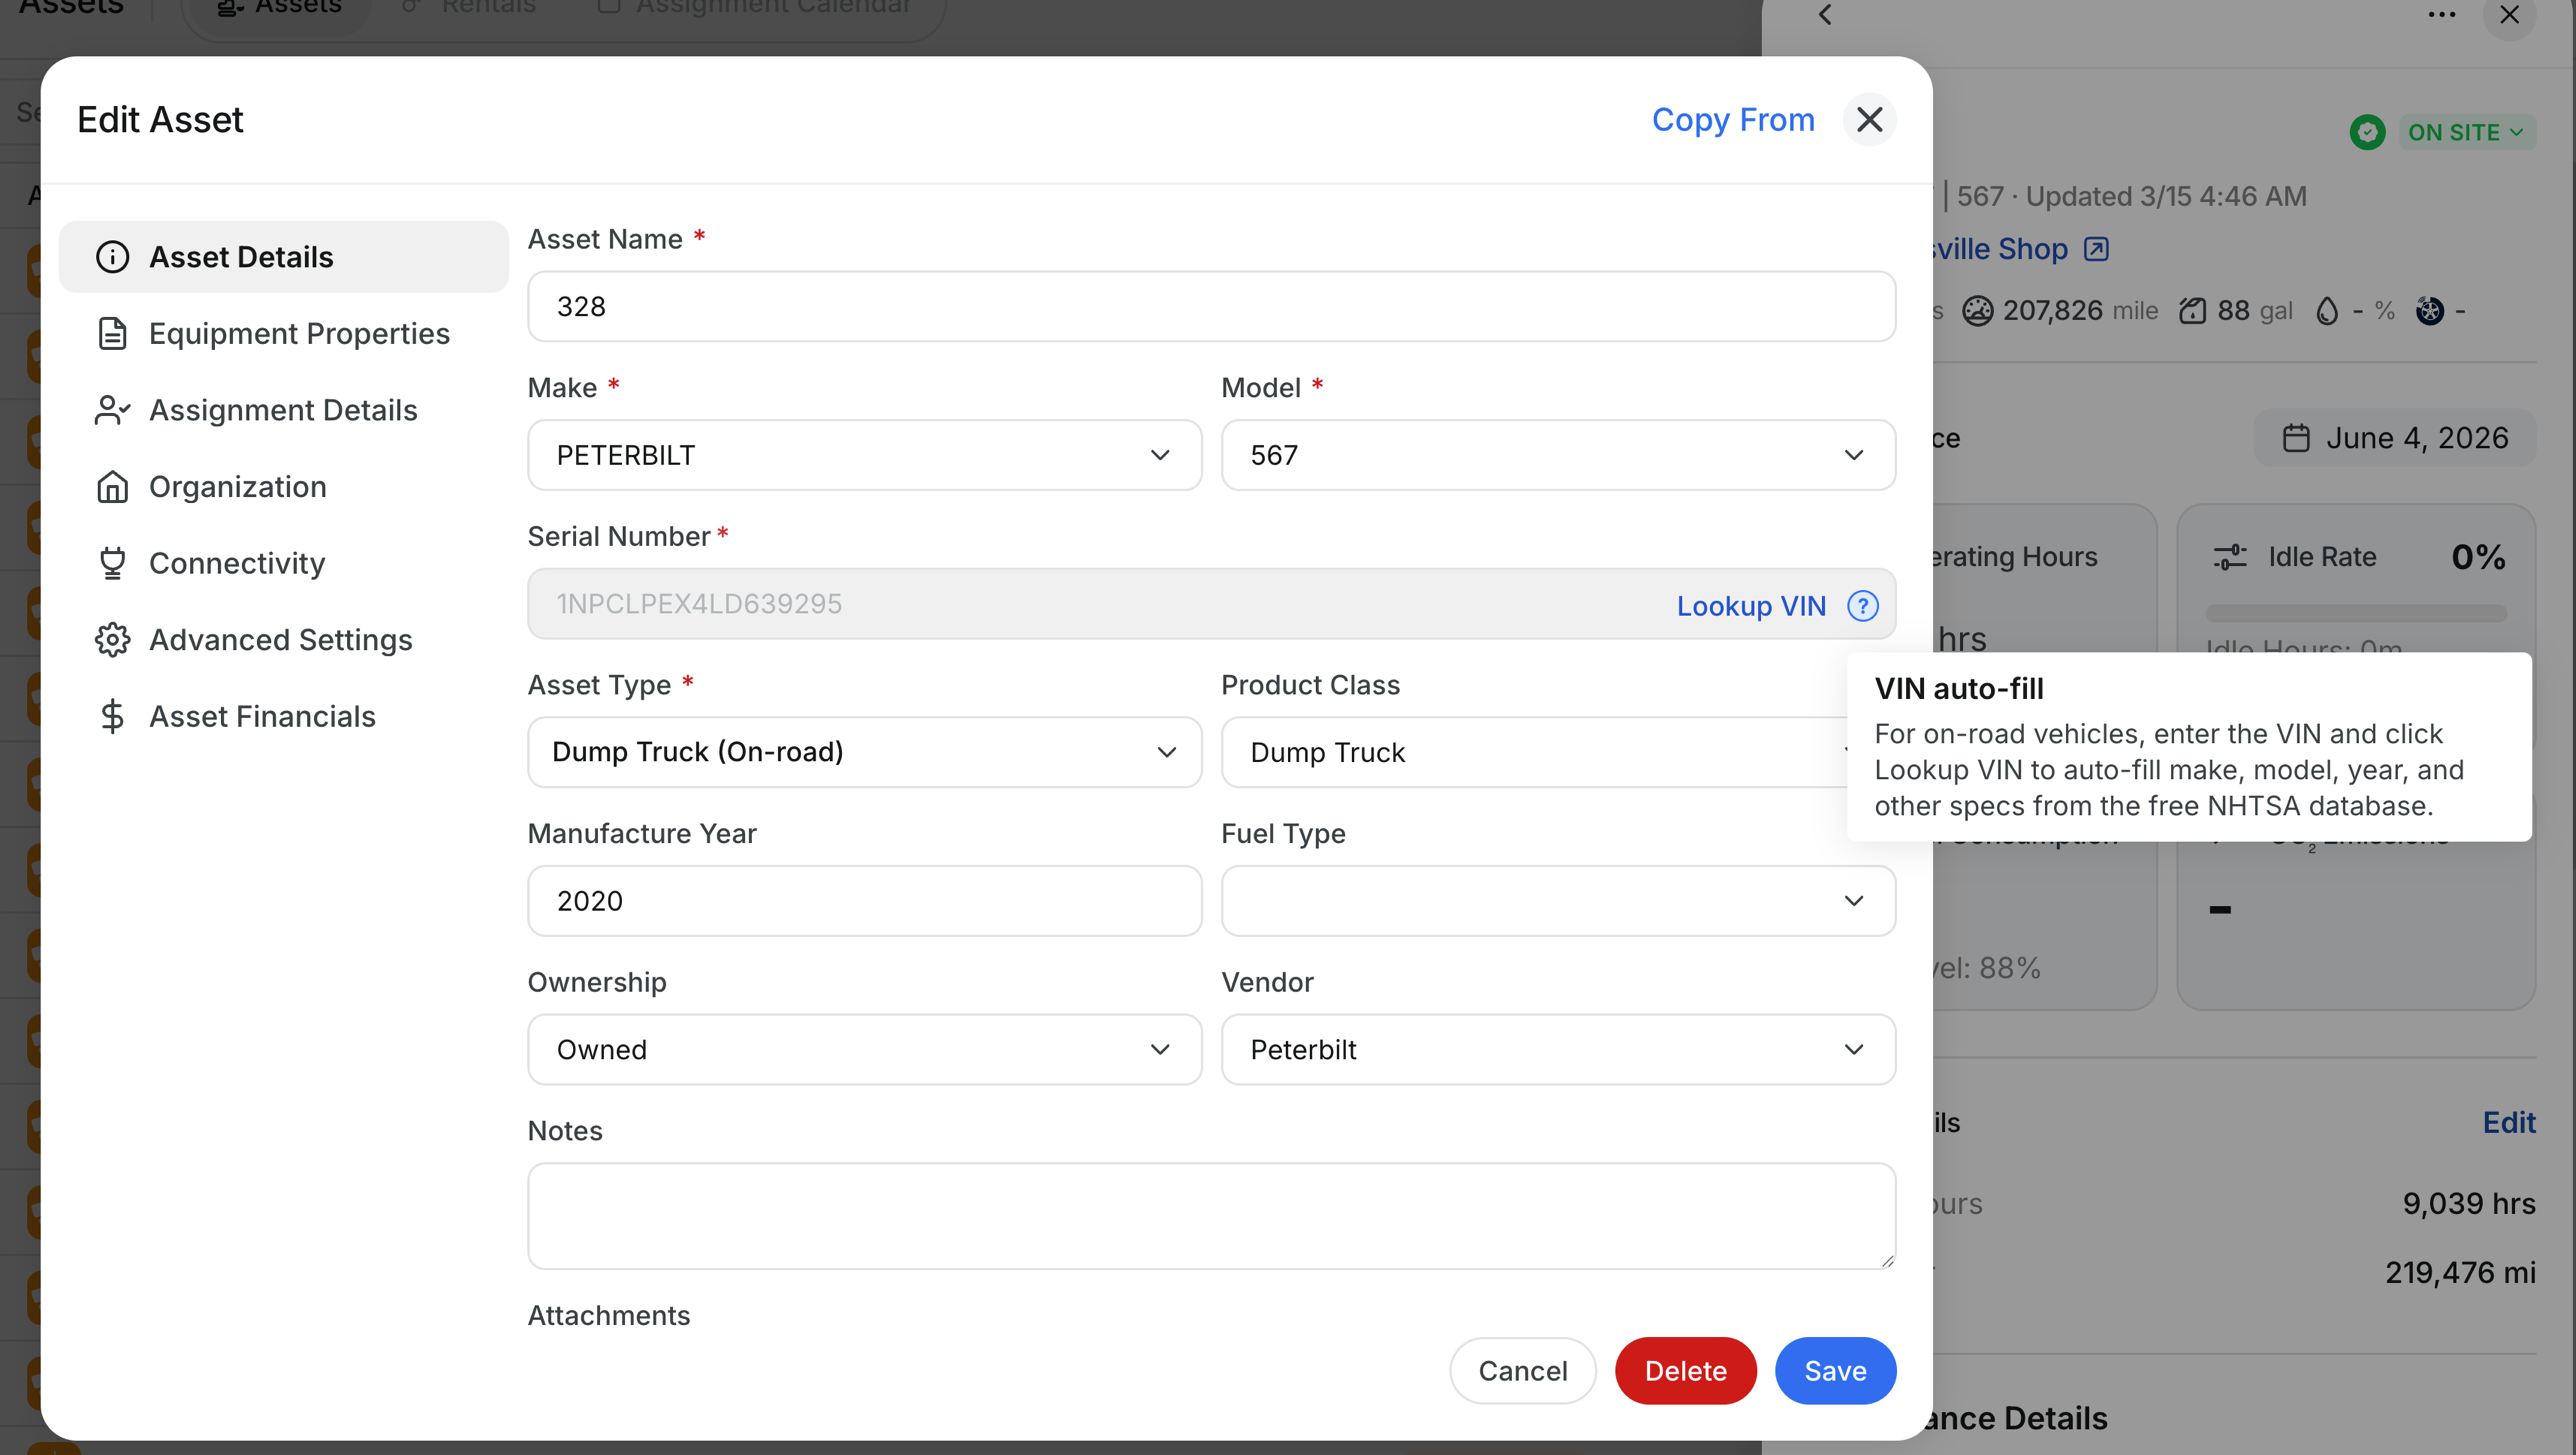
After you click Add Asset, the Register New Asset form opens. This is where you enter the main details CLUE uses to identify and organize the asset.
The form includes both required and optional fields. Fill in the required fields first, then add any extra details that will make the asset record more useful later.
Required Fields
These fields are needed before the asset can be saved. Enter them carefully so the record is clear and easy for your team to search later.
- Asset Name - the name or ID used to identify the equipment
- Make - the equipment manufacturer
- Model - the model name or number
- Serial Number - the serial number for the equipment
- Asset Type - the equipment category, such as Vehicle, Heavy Equipment, or Tool

Optional Fields
These fields are not required, but they help make the asset record more complete. They can also help with filtering, reporting, and keeping asset records consistent across the fleet.
- Product Class - a more specific grouping under the asset type
- Manufacture Year - the year the equipment was built
- Fuel Type - Diesel, Gasoline, Electric, or another fuel type
- Ownership - Owned, Rented, or Leased
- Vendor - the dealer or rental vendor
- Note - any extra information about the asset
If your team needs to store more detailed asset data later, you can also use Equipment Properties on Assets to build out the asset profile further.

Step 3: Save the Asset
Once the form is complete, save the asset to add it to your directory. After that, the asset becomes available in other parts of CLUE.
Click Save to create the asset record.
The new asset will then appear in your asset list and can be used for:
- work order assignments
- preventive maintenance scheduling
- GPS tracking, if a tracker is linked
- dispatch and resource planning
After the asset is added, it can also be connected to Work Order Types Explained for maintenance setup, GPS Tracking and Telematics Integrations for live data, and Asset Assignment History: User Tracking for assignment records.
Tips
A few simple habits can help keep your asset records clean and consistent. Better records make it easier to search, report, and use the asset in other workflows later.
- Use a consistent naming format for asset names
- Double-check the serial number before saving
- Use the Ownership field to separate owned, rented, and leased equipment
- Add notes for special maintenance needs or operating limits
If the asset will be tracked with GPS, make sure it is set up properly in GPS Tracking and Telematics Integrations