What is this?
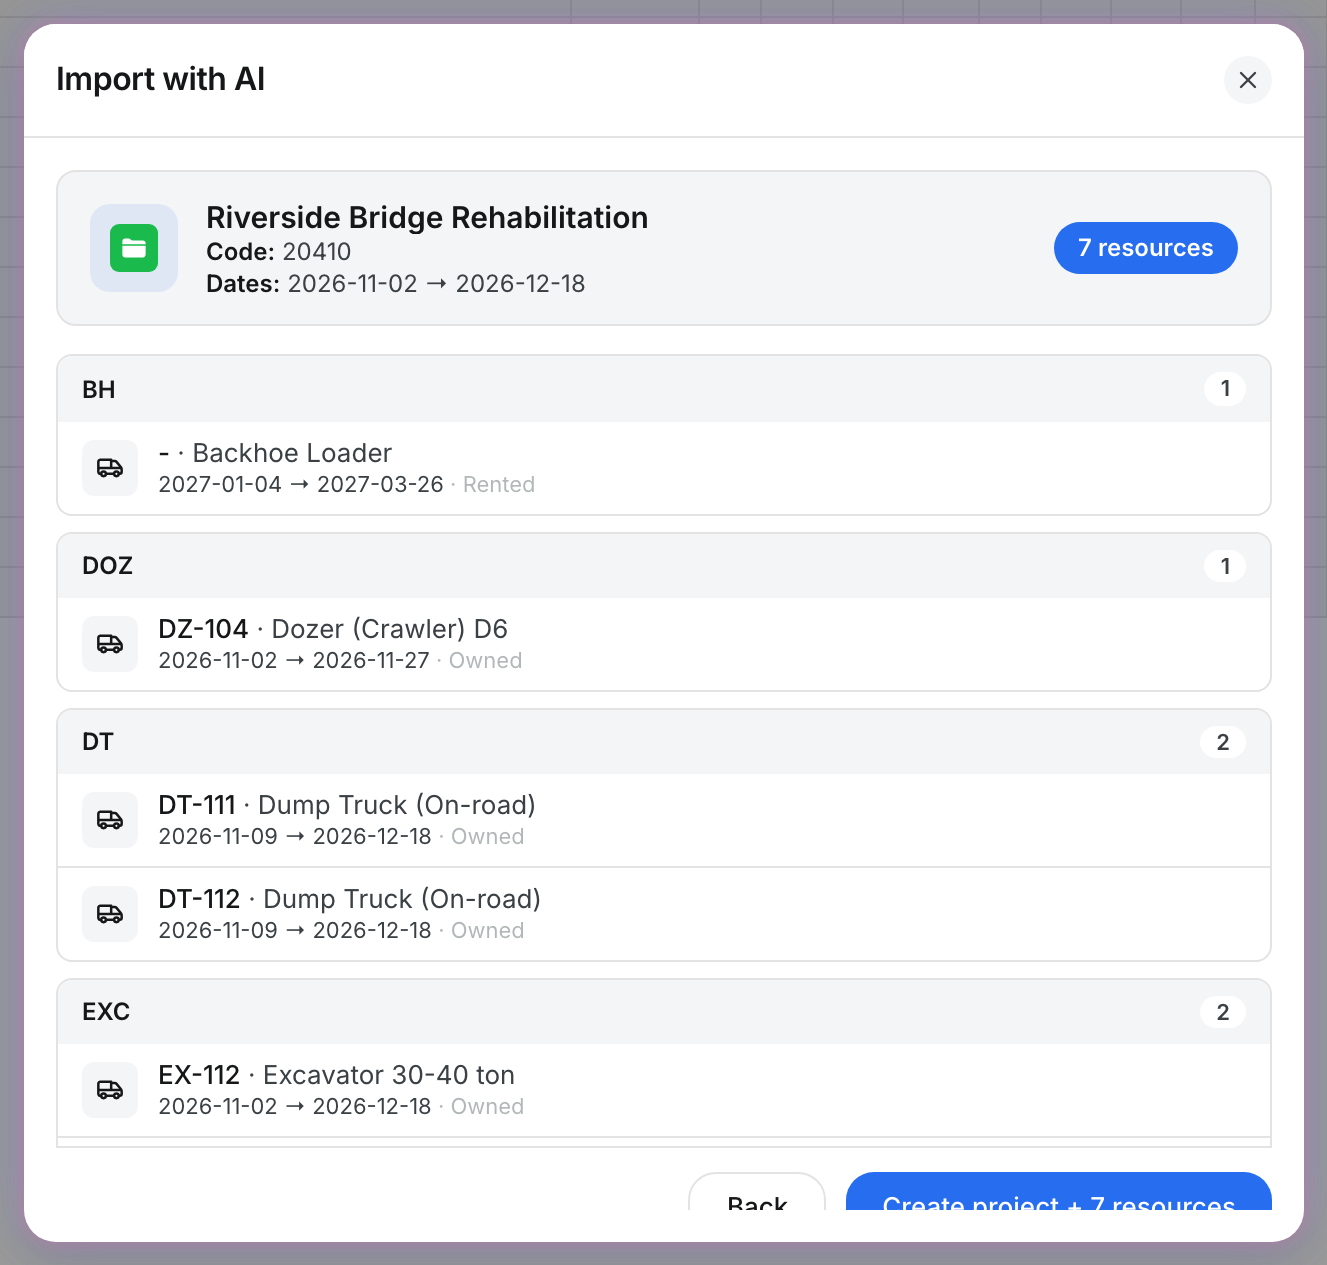
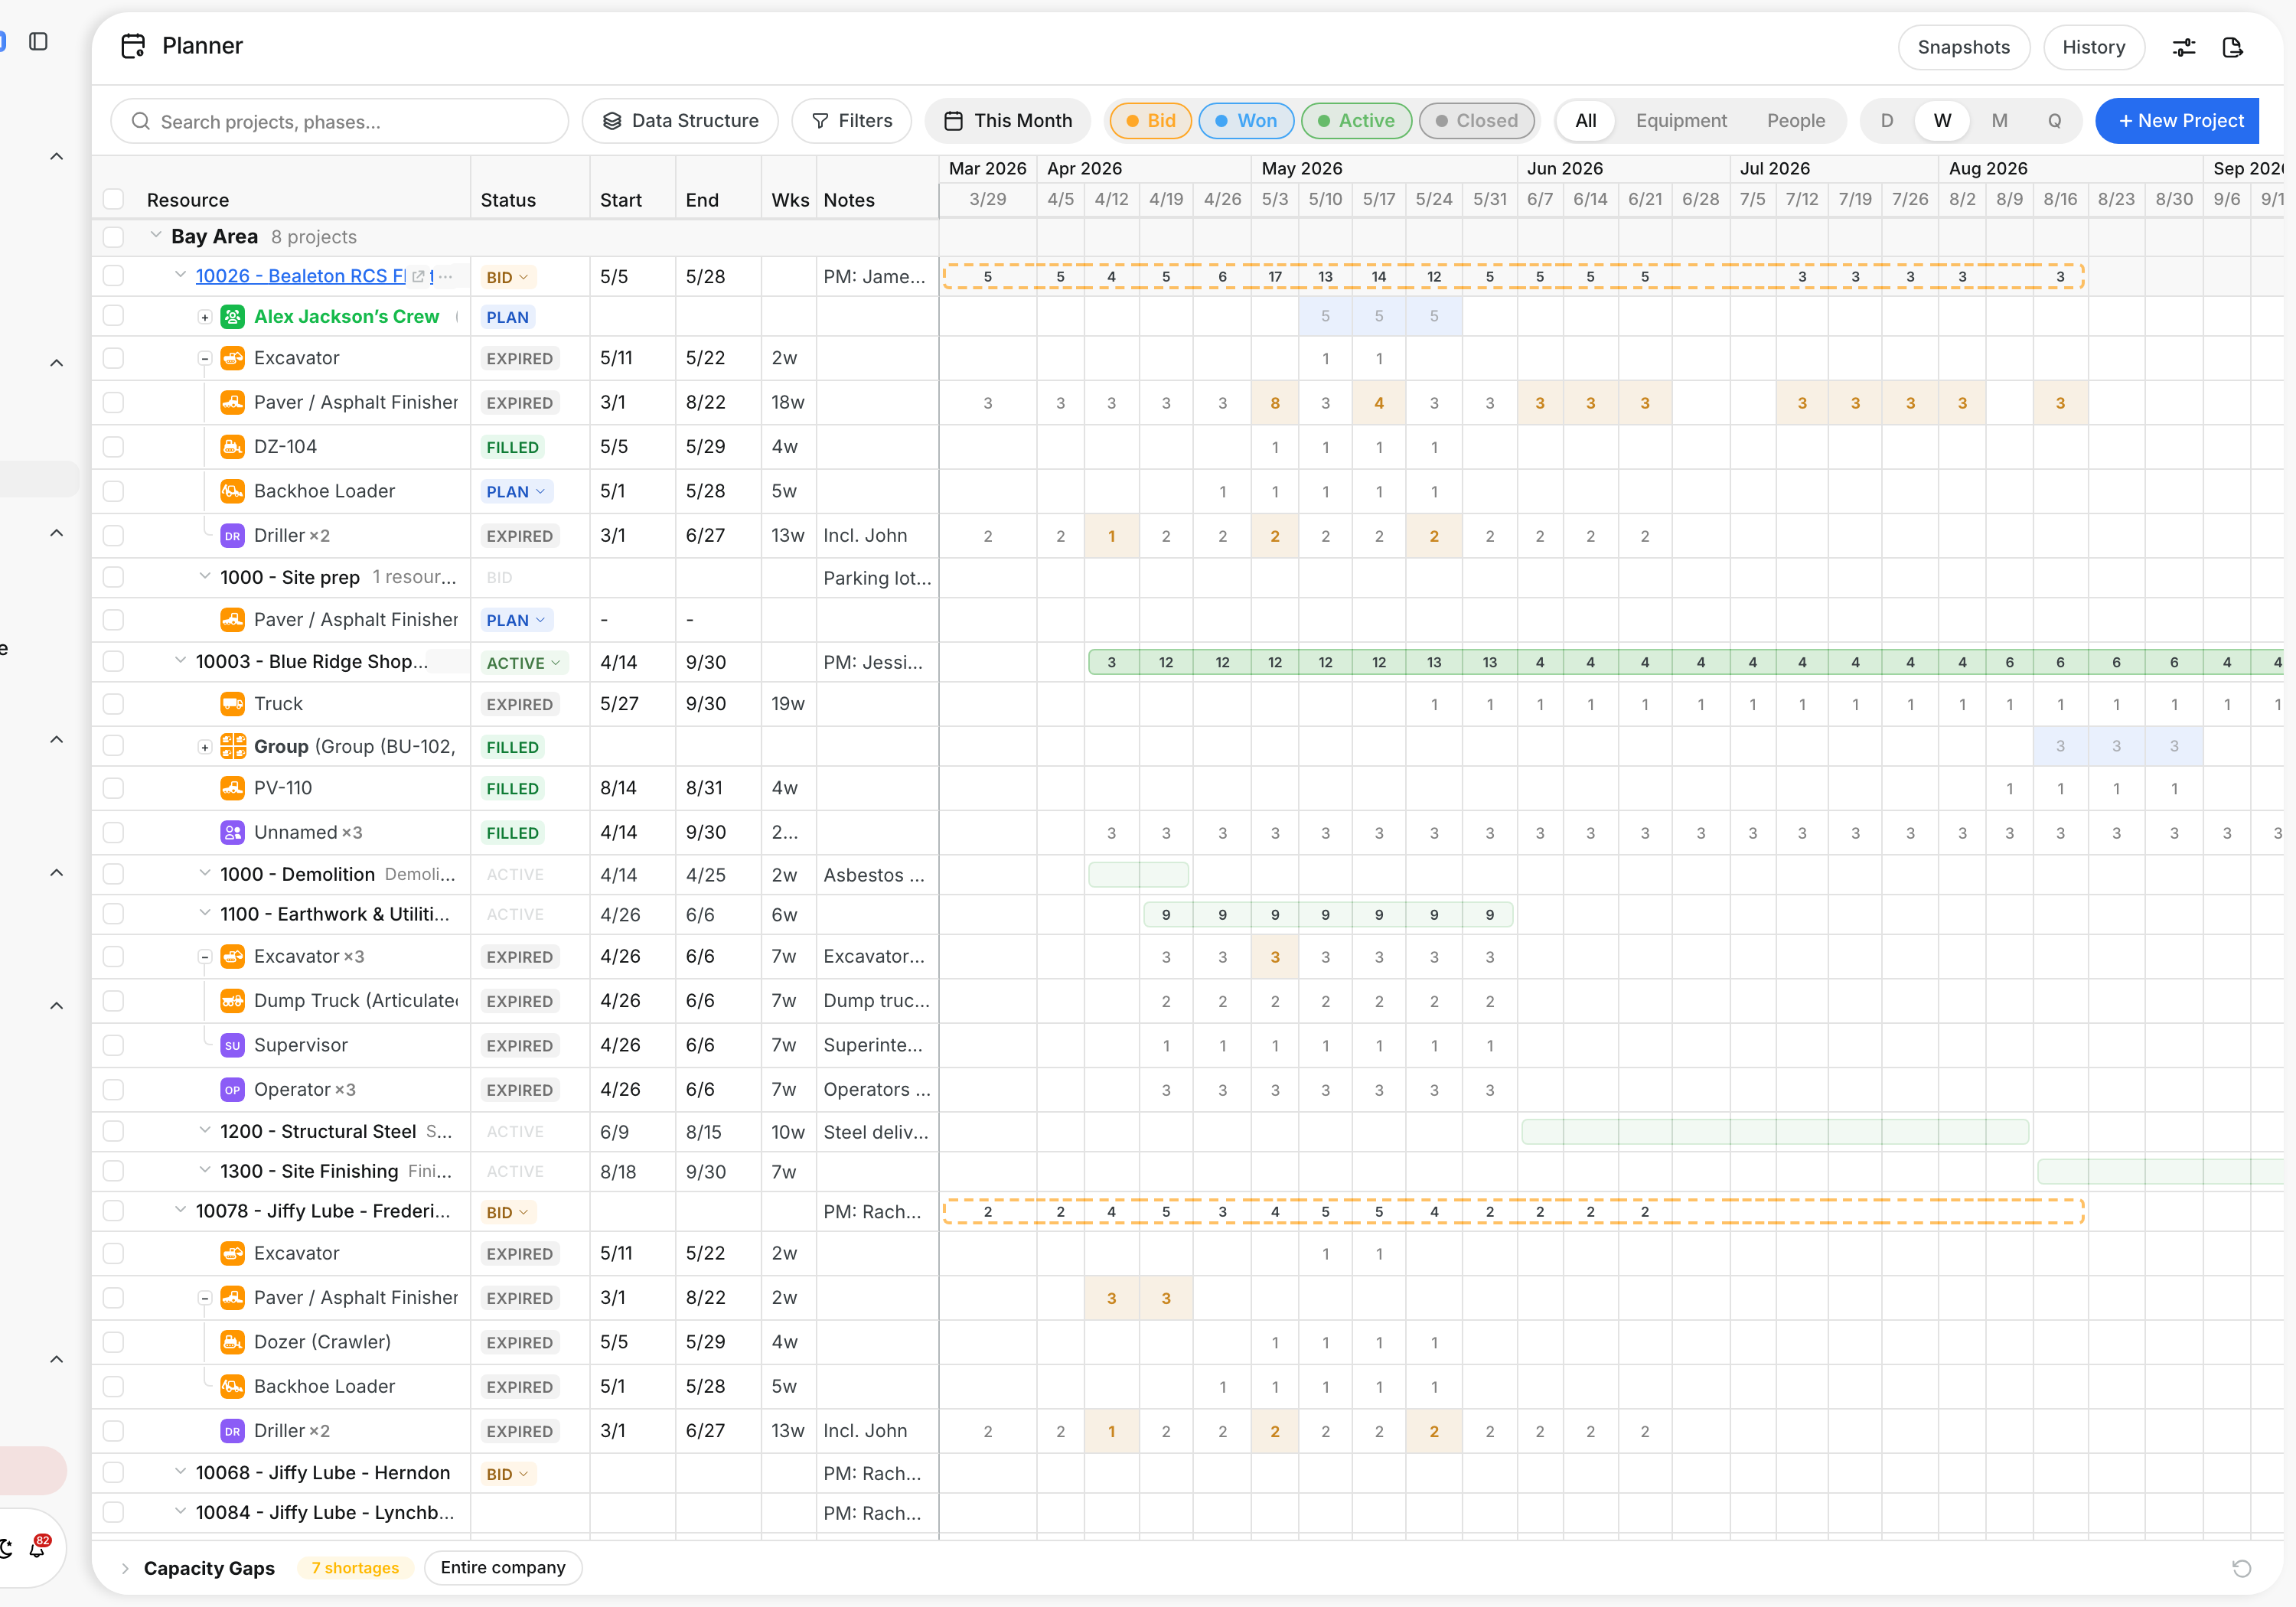
You build your plan in the Planner grid. Create a project, split it into phases, and add the equipment and people each phase needs. Then change the numbers week by week as the job changes.
Everything saves as you work. There is no separate save button.
Who's this for?
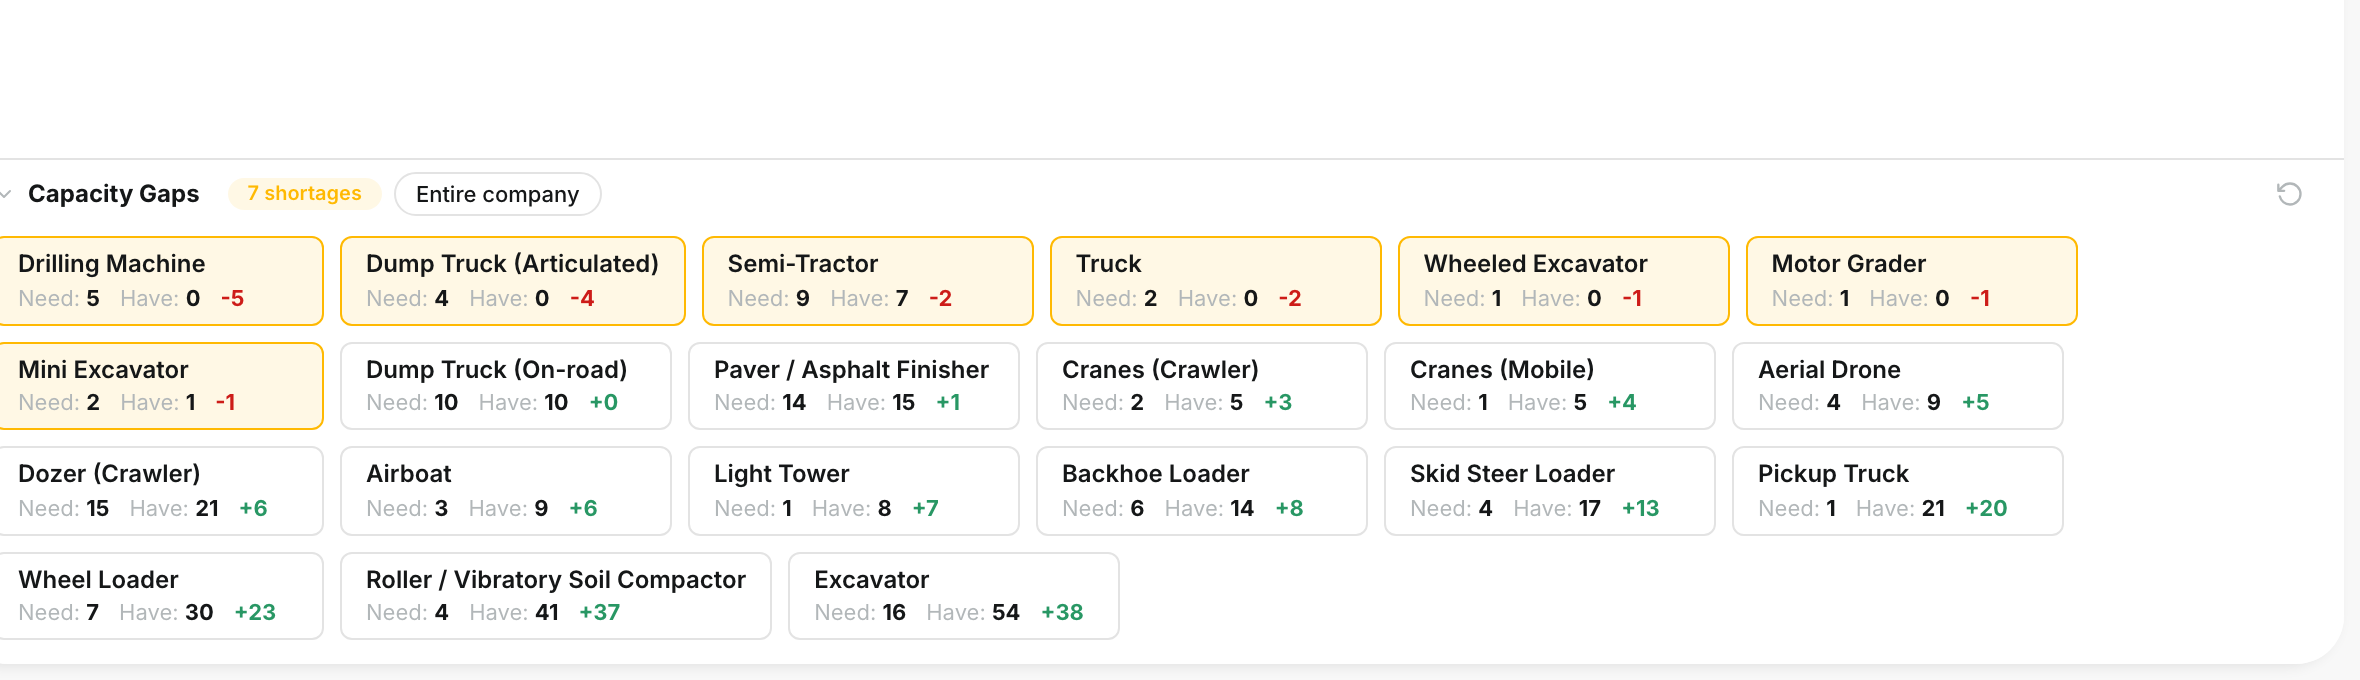
- Project managers, turn a schedule into equipment and crew needs.
- Estimators, plan bids and see what a job will need before you win it.
- Equipment managers, see the exact quantities each week and plan ahead.
How to use it
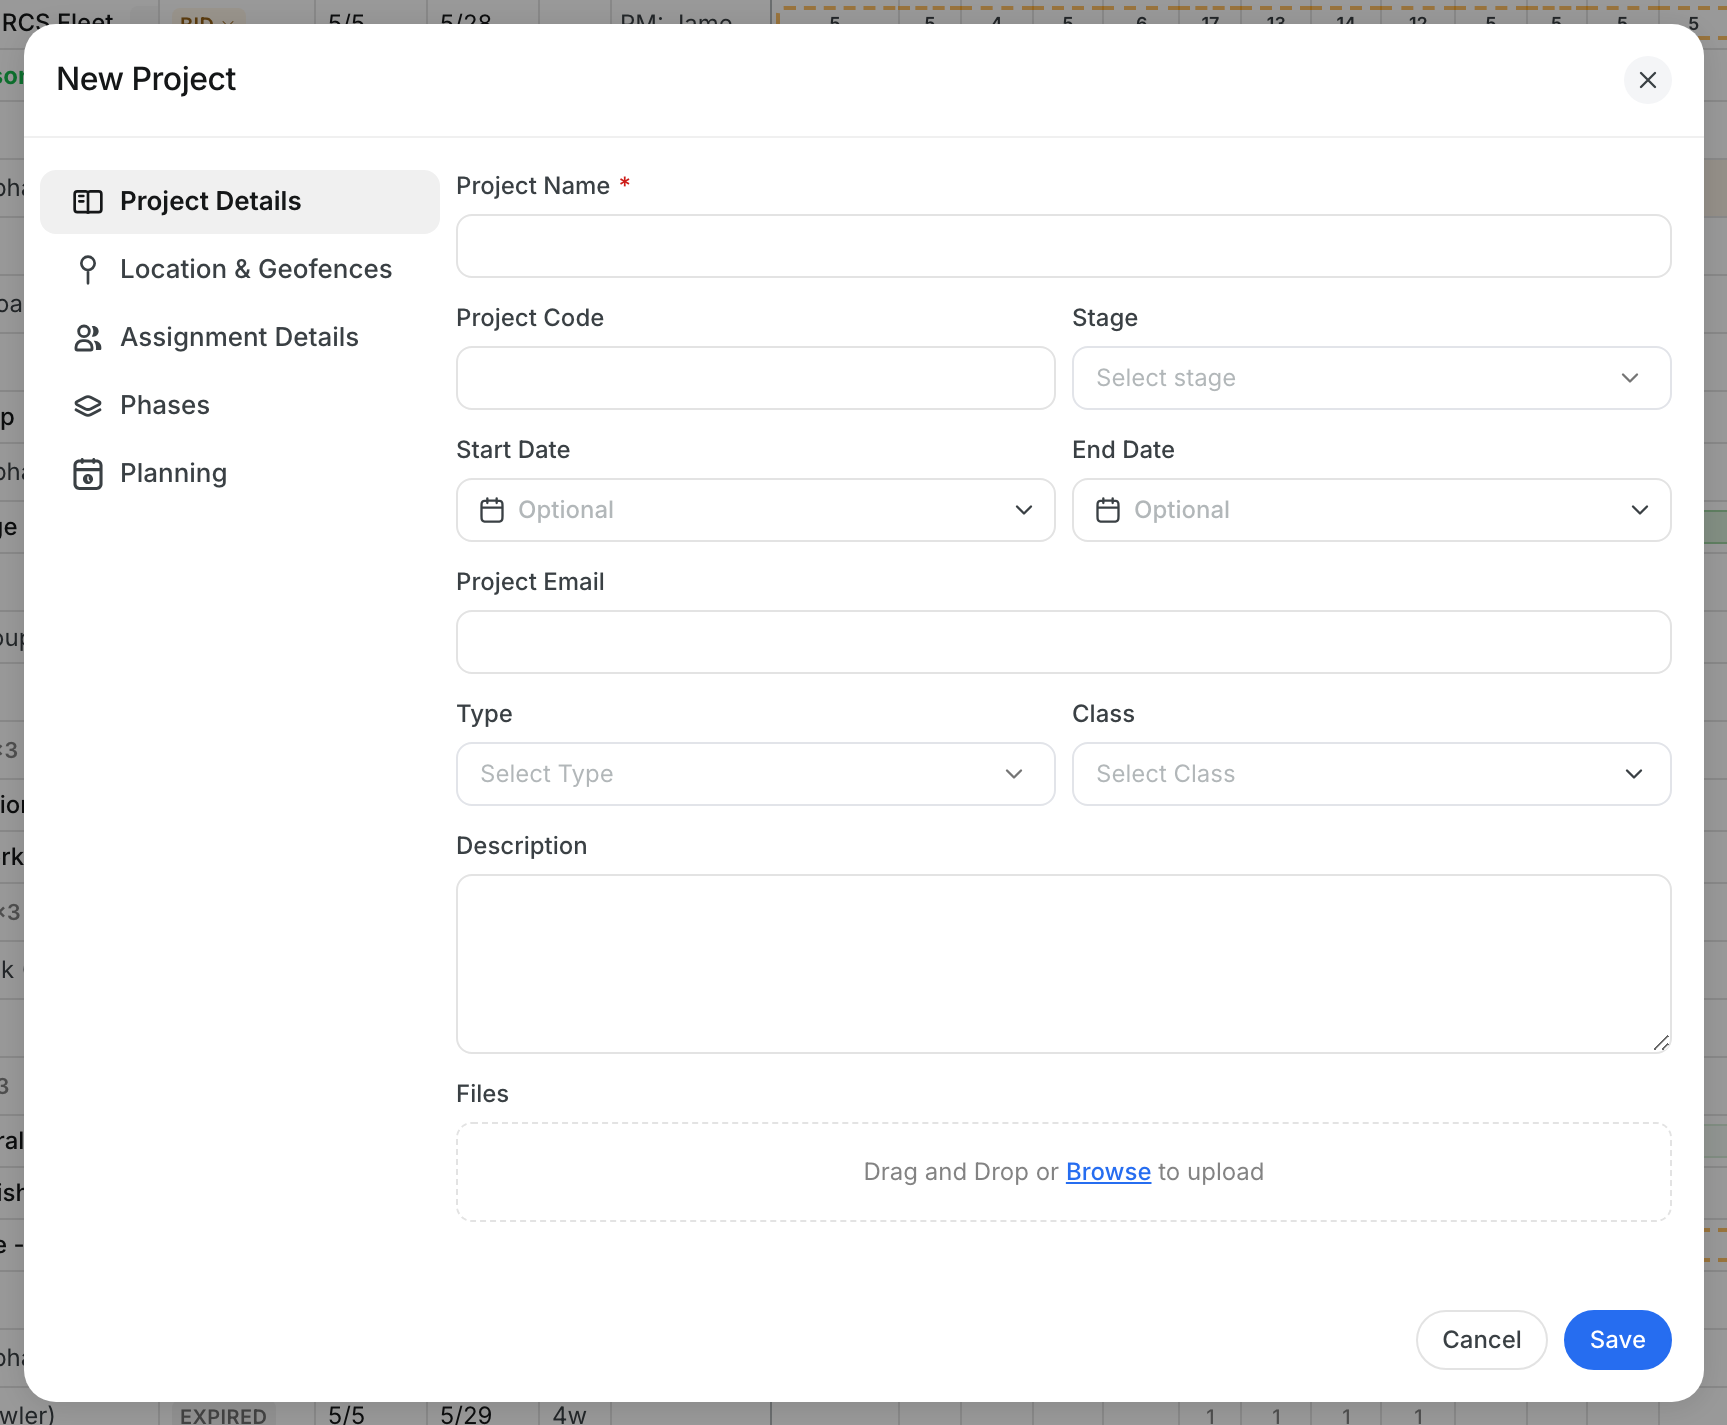
Step 1: Create a project
Click New Project at the top right. Enter the Project Name, and add the code, stage, dates and other details you have. Click Save.
Step 2: Add a phase
Hover the project row and click .... Click Add phase. Type the phase name. The dates start with the project dates. Change them if you need to, then press Enter.
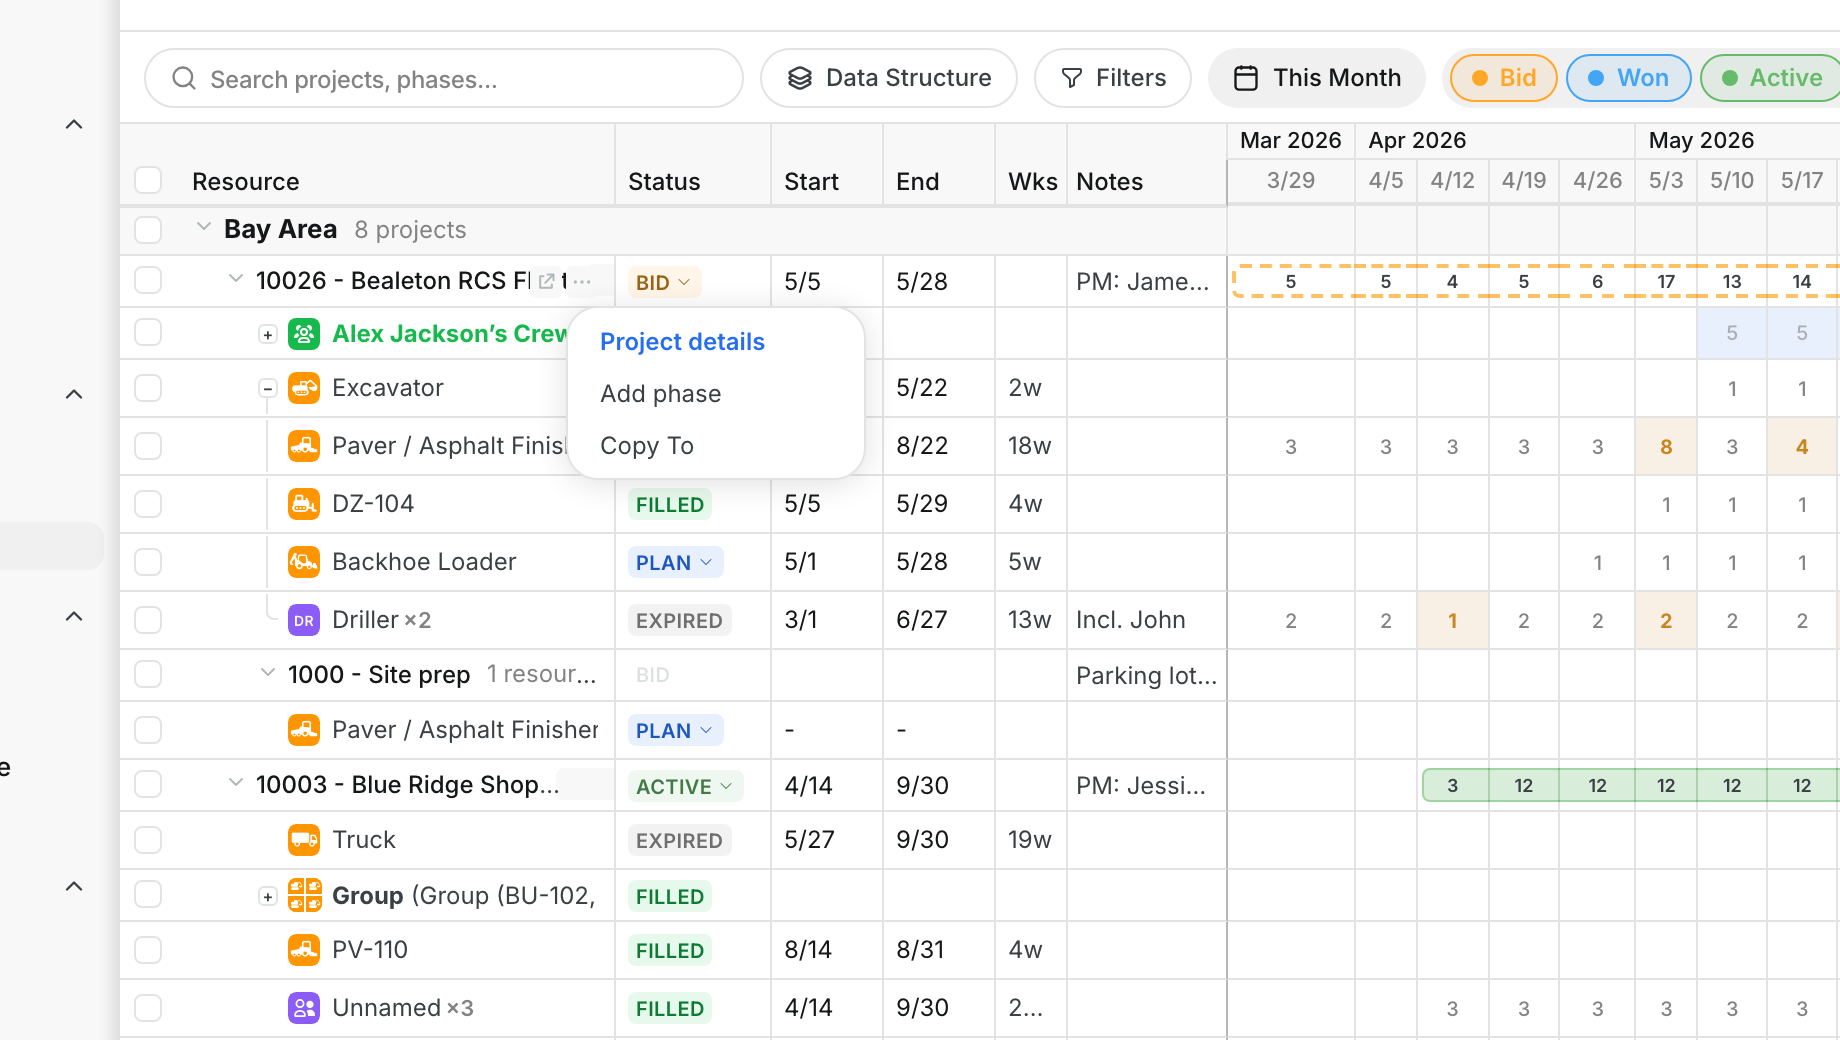
Step 3: Add a resource
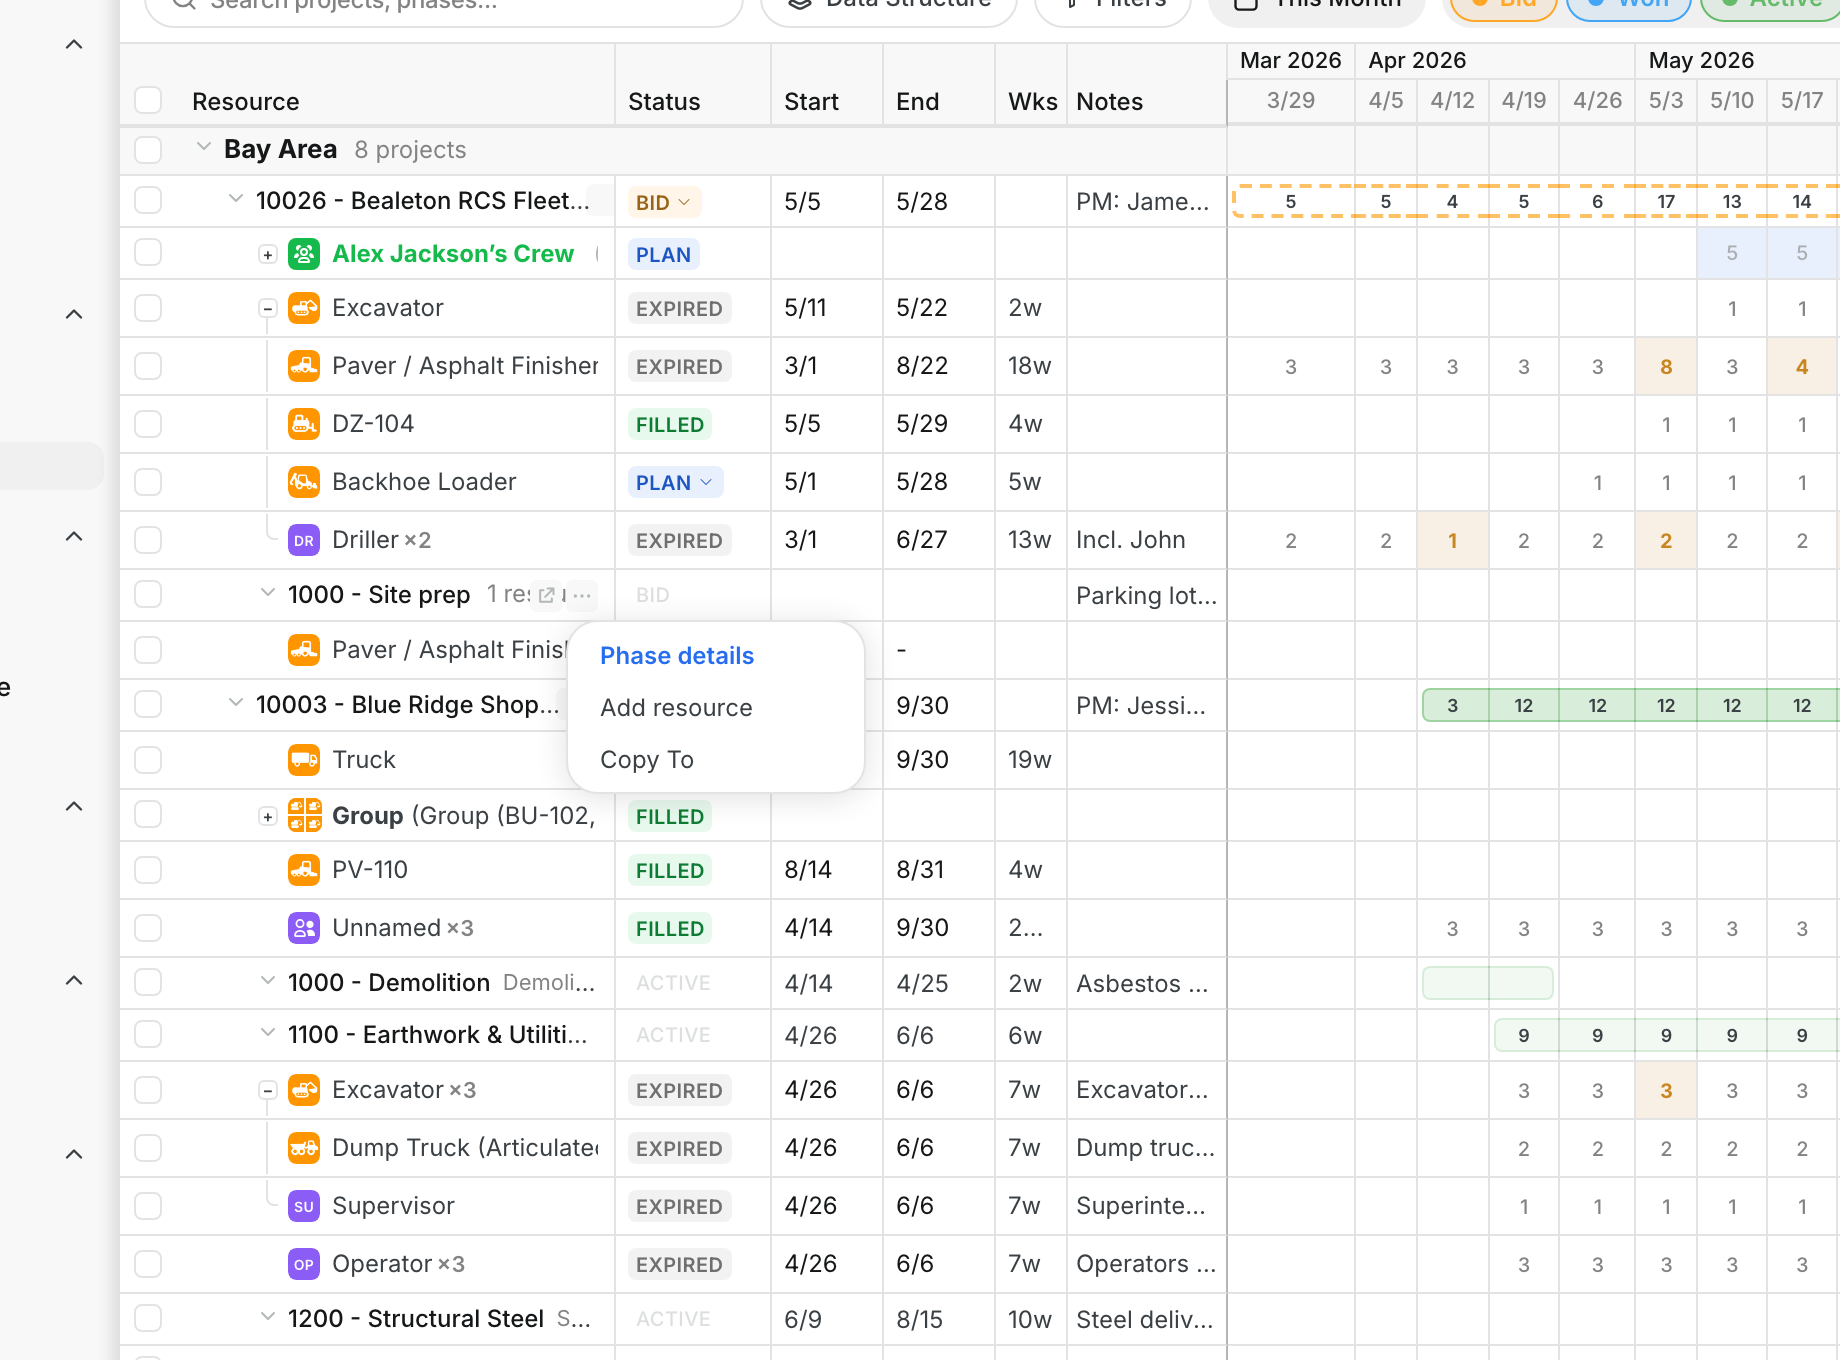
Hover the phase row, click ..., then click Add resource. You can also click the phase row. A + Add Resource row shows under the phase. Click it to open a new row.
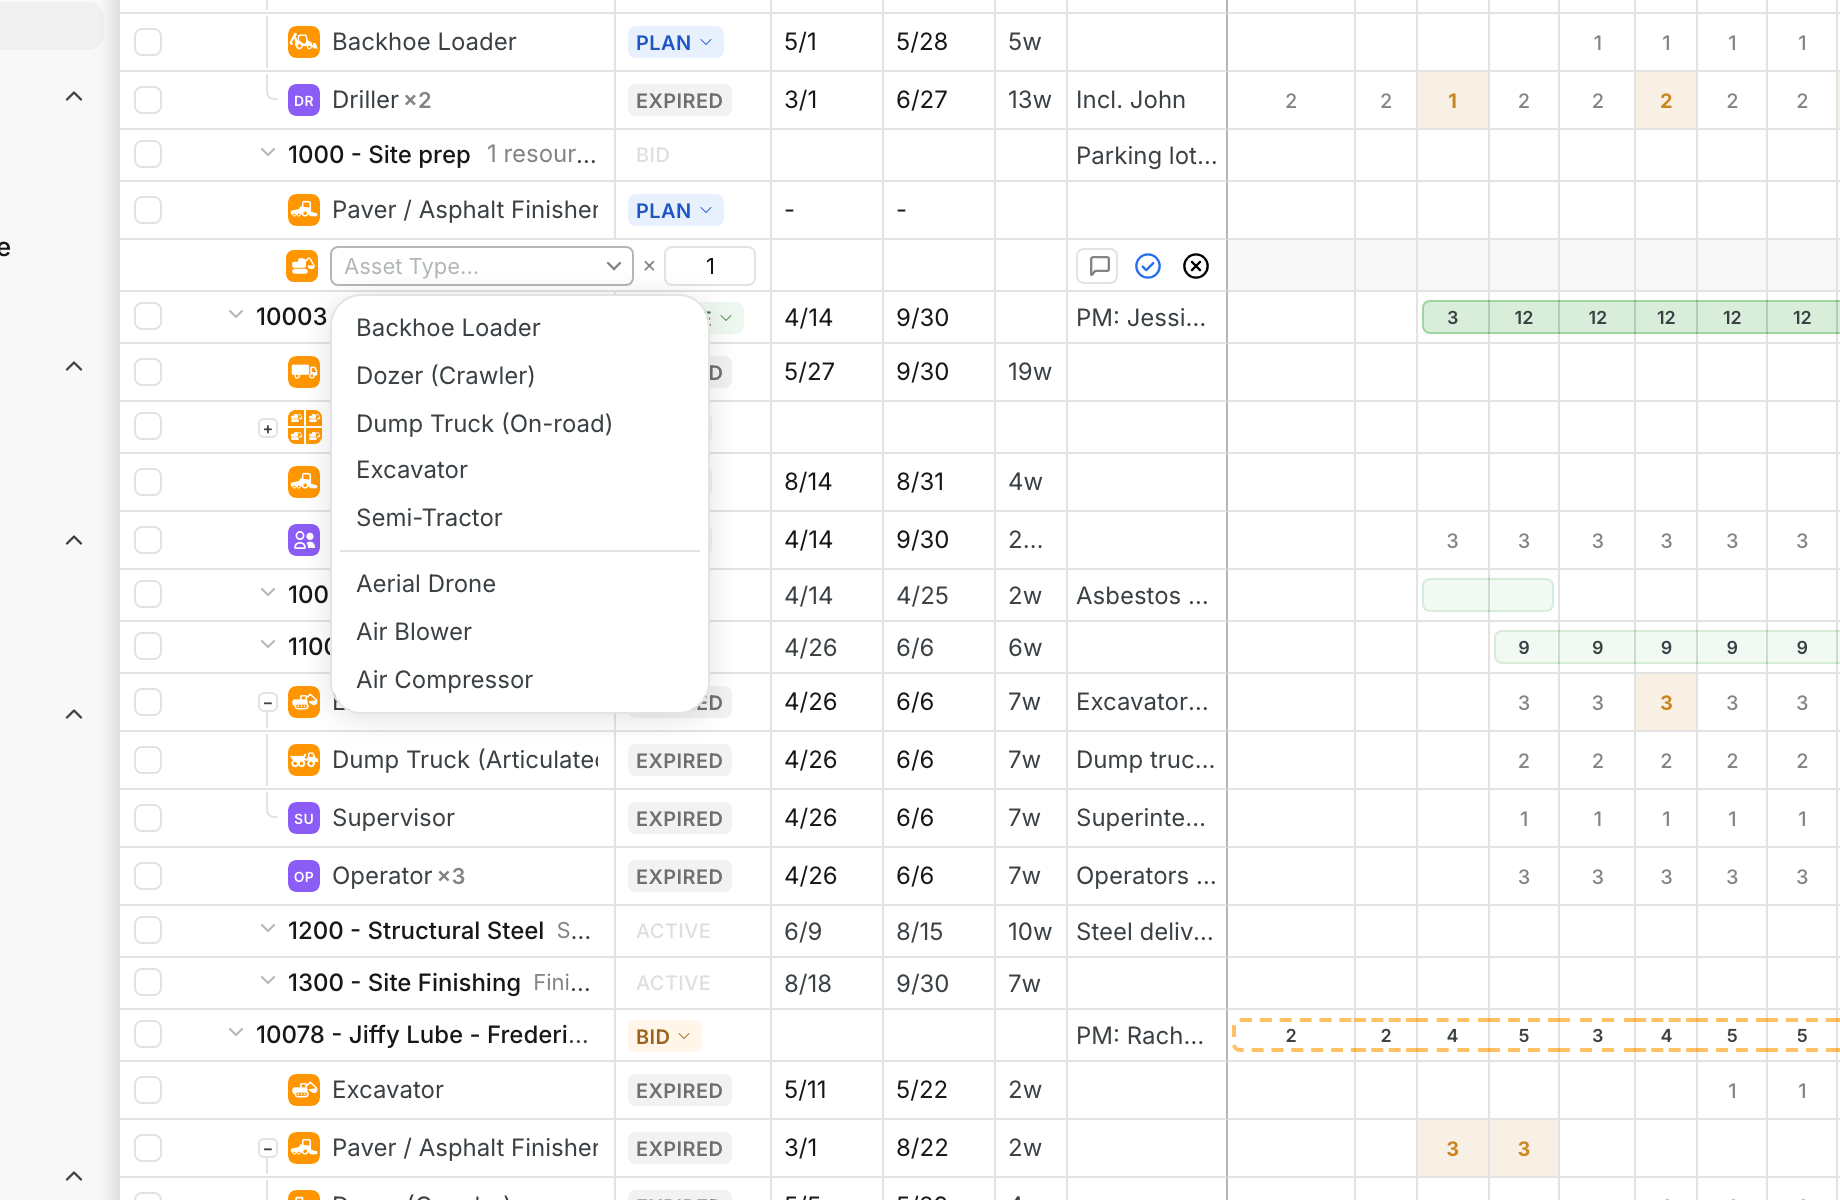
Click the type icon to switch between Equipment, Personnel and Crew. You can also press E, P or C. Pick the asset type or job title, set the quantity, and press Enter. Your most used asset types show at the top of the list.
Step 4: Set the resource status
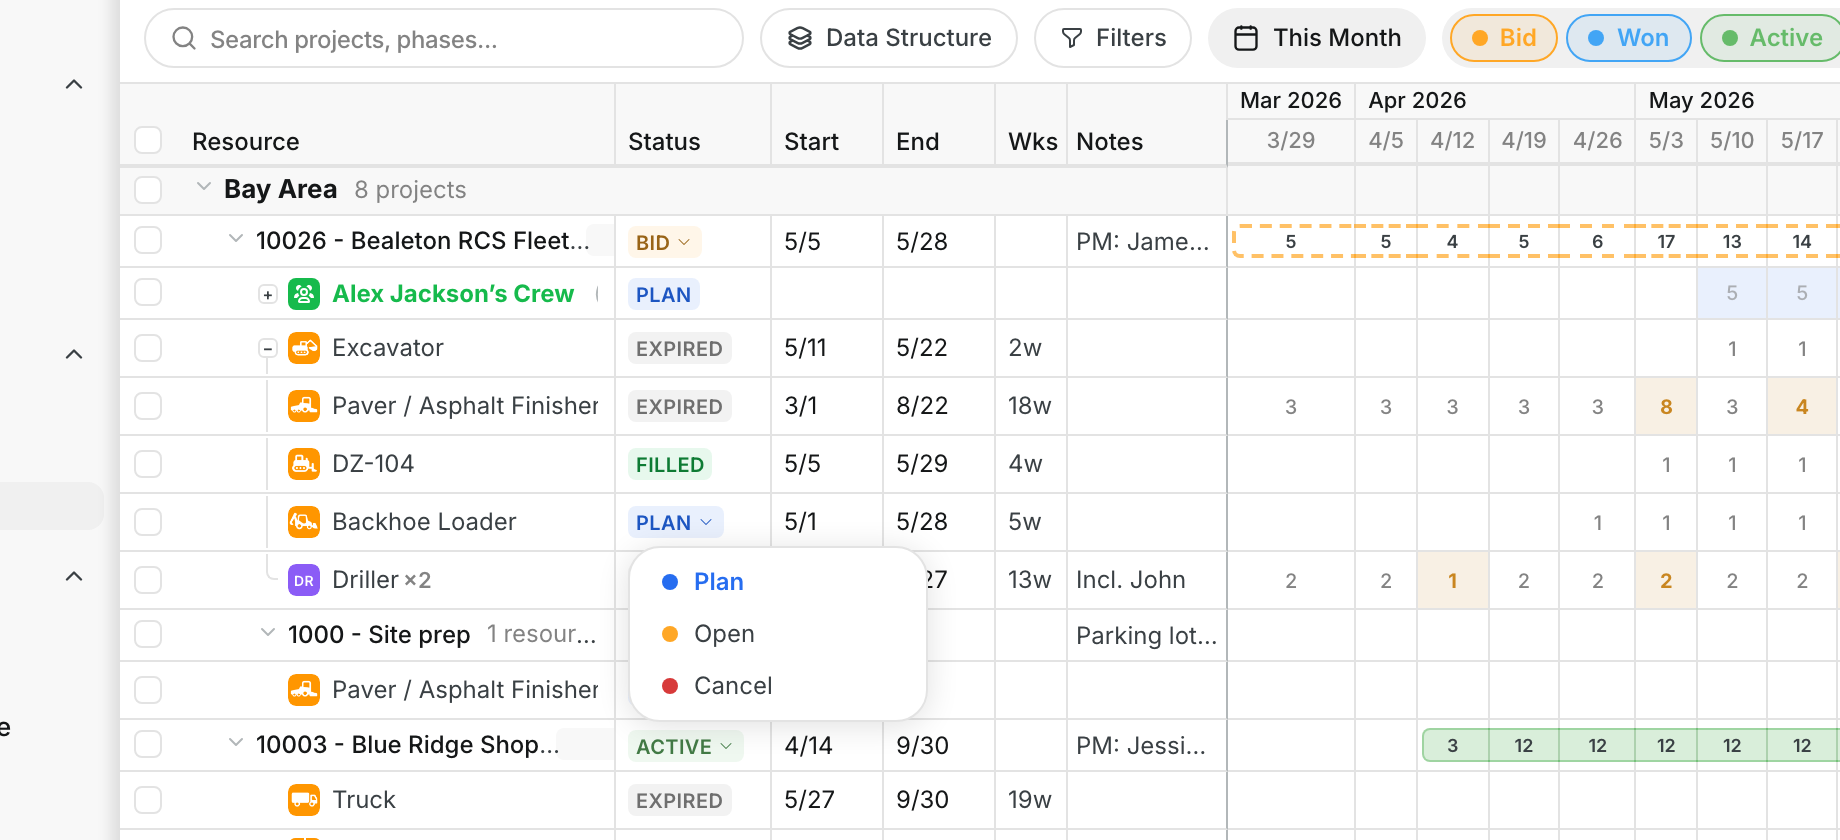
New resources start as Plan. Click the status badge to change it. Choose Open when the request is ready for your dispatch team. Choose Cancel to cancel it.
Step 5: Change the quantity for a week
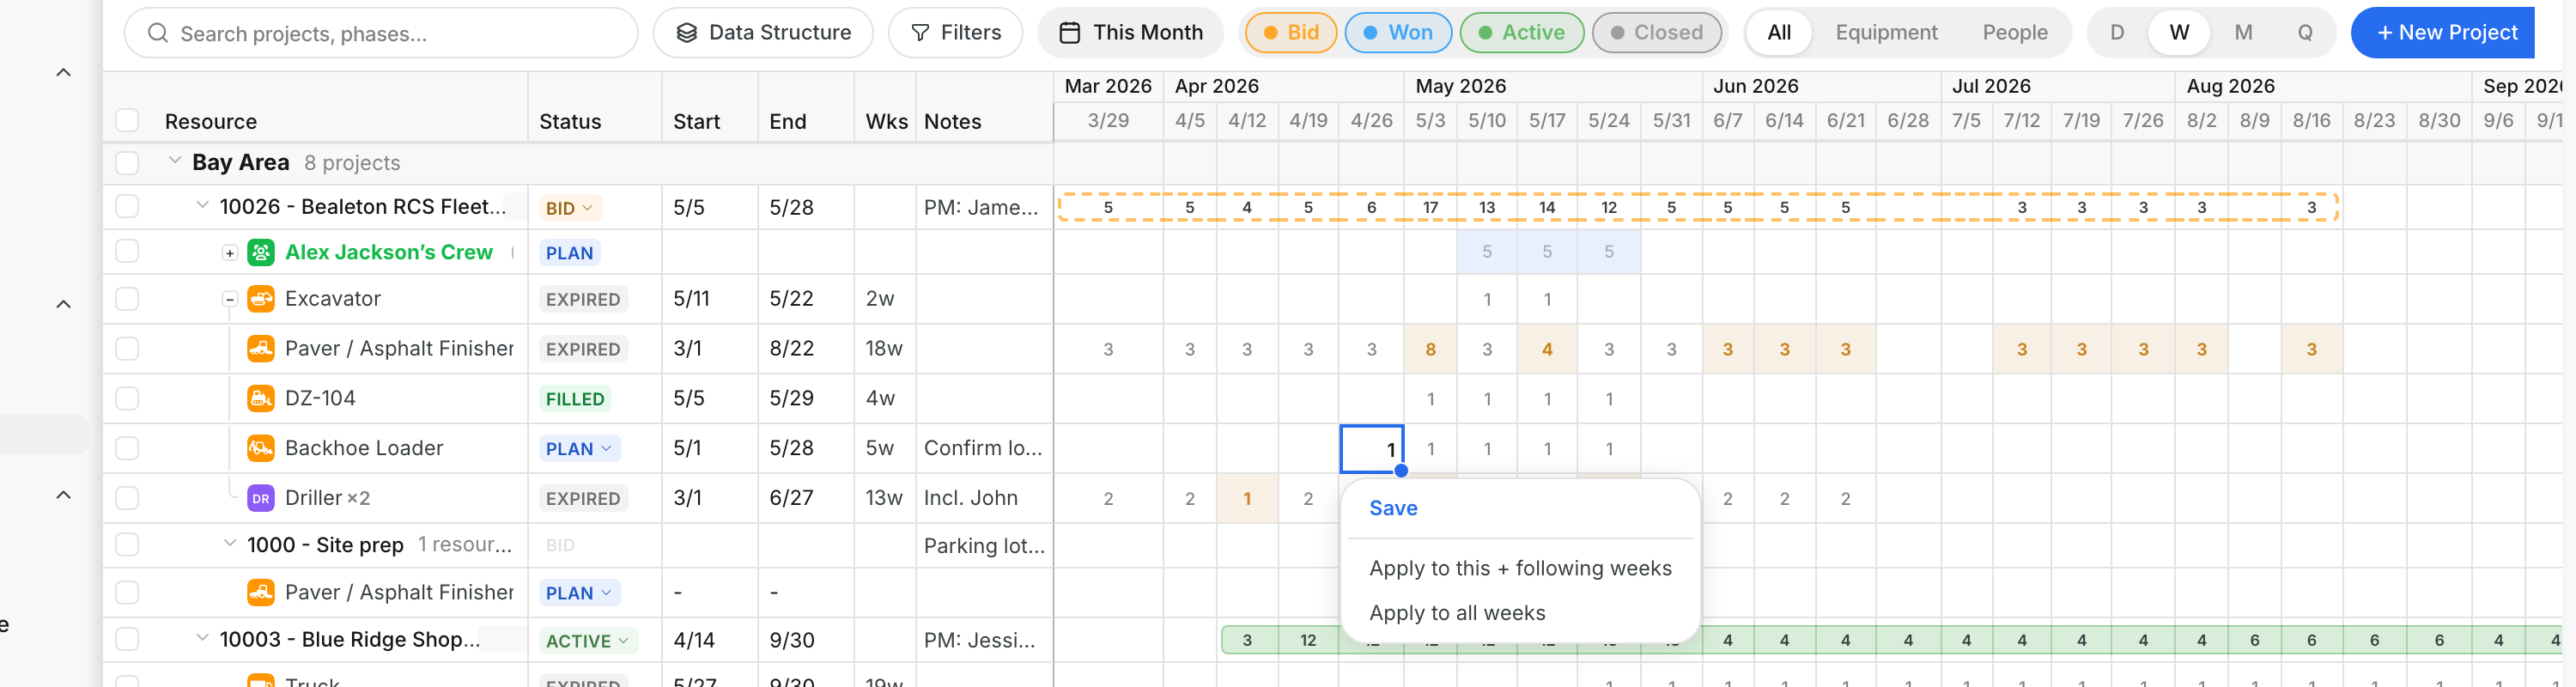
Switch to W zoom. Double-click a number and type the new quantity. Then pick how far it goes:
- Save, this week only.
- Apply to this + following weeks, this week and every week after it.
- Apply to all weeks, the whole request.
A number changed for one week turns amber. Right-click it and click Reset quantity to go back to the normal number.
Step 6: Move a project or phase
Drag the project or phase bar left or right. A message shows how many days it moved, with an Undo button. The change saves after 3 seconds.
Step 7: Work with several resources
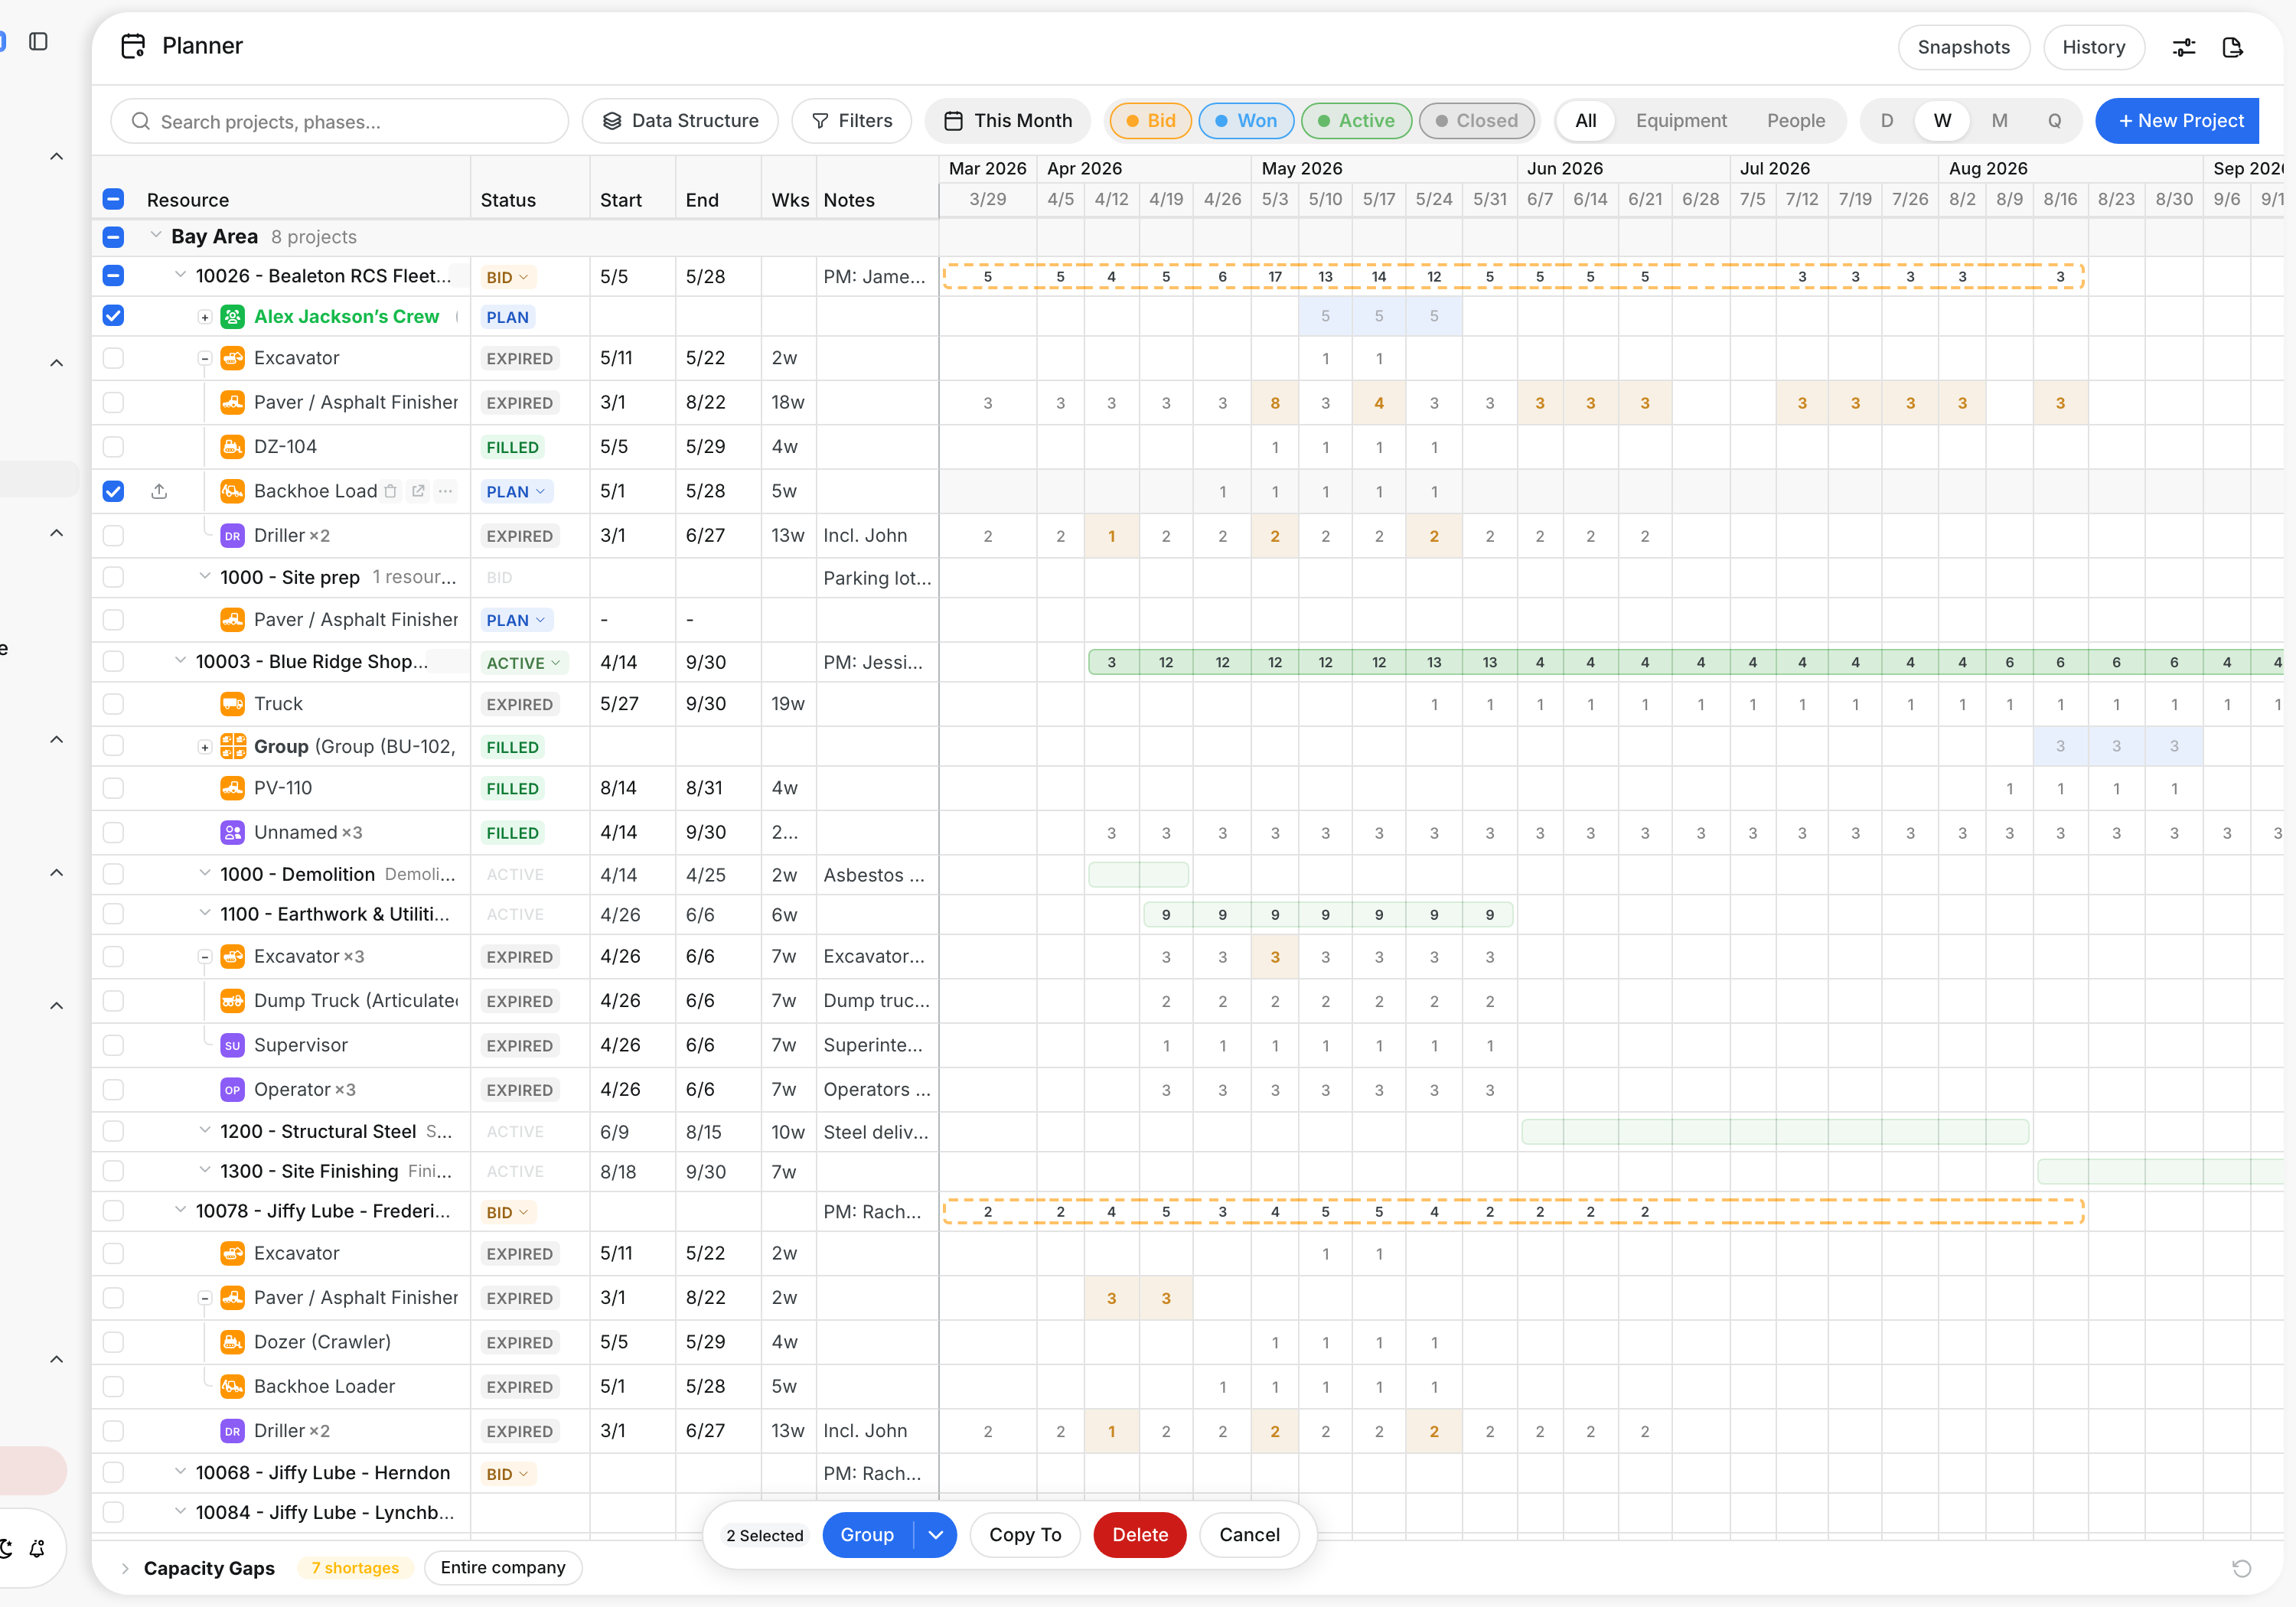
Tick the boxes next to the resources. A bar opens at the bottom of the page:
- Group joins the resources into one group row.
- Copy To copies them. Click the project or phase to copy to, then click Confirm.
- Delete removes them. You have 3 seconds to click Undo.
The full details
- Works on: Web app.
- Quantity editing: Week zoom only. In other zooms, clicking a number shows "Switch to Week view to edit quantities".
- Assigned resources: The quantity cannot go below the number of assets or people already assigned.
- Locked rows: Filled, Partial and Cancelled resources cannot be edited or removed.
- Moving bars: A project or phase with a Filled or Partial resource cannot move. Cancel the assignments first.
- Copying: Copies start without assigned assets or people. Cancelled resources are not copied. When a resource has weekly changes, you choose whether to copy them.
- Deleting: Resources with active assignments are skipped. Cancel those assignments first.
- Dates: A resource follows its phase dates until you change its own dates.
Tips
- Press Enter after each new resource. The row stays open for the next one, so you can add a whole phase quickly.
- Pick Crew to add a saved crew in one step. Each crew member becomes its own row.
- Select a number, then drag the small square at its corner to the right. The same quantity fills the next weeks.
- Select numbers and press Delete to set them to zero. Click Undo if you change your mind.
- After you move or delete something, let the message close on its own. That is when the change saves.
- Use Copy To on a phase to reuse its equipment and crew on another project.