Exporting Timecards for Payroll
Use timecard export when you need to move approved hours from CLUE into your payroll process. It gives your team a clean file for the pay period so hours, project coding, and employee details can be reviewed before payroll is run.
Overview
The export tool lets you pull timecard data out of CLUE in a format your payroll team can use. You can filter the time period, choose which employees to include, and control which fields appear in the file.
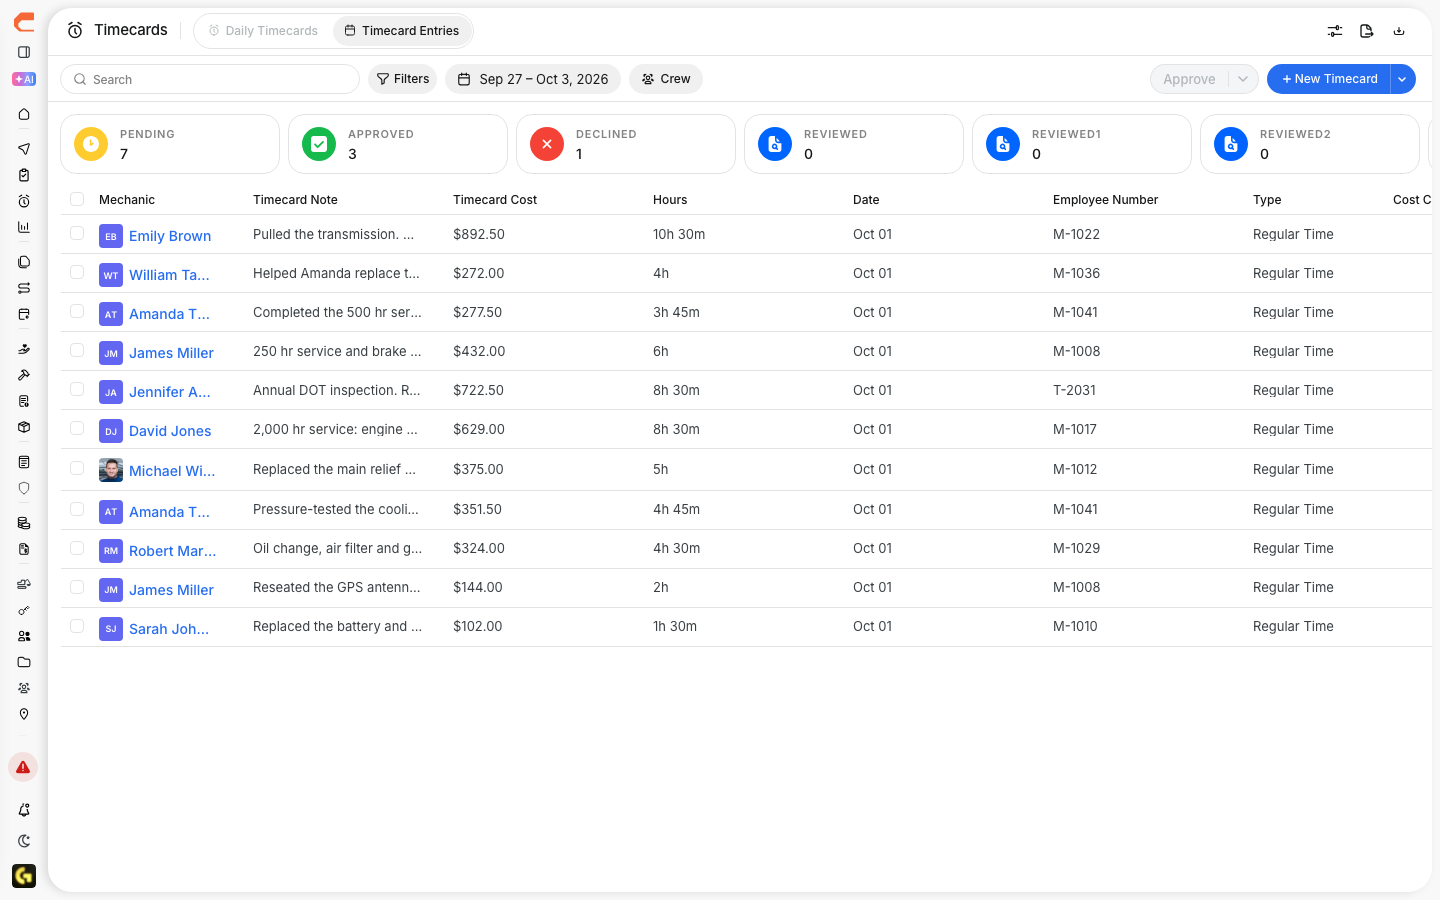
This works best after time has already been reviewed in Daily Timecards, Managing Timecard Entries, or Reviewing Team Timecards. That way, the export is based on hours that are already checked and ready for the next step.
Accessing Export
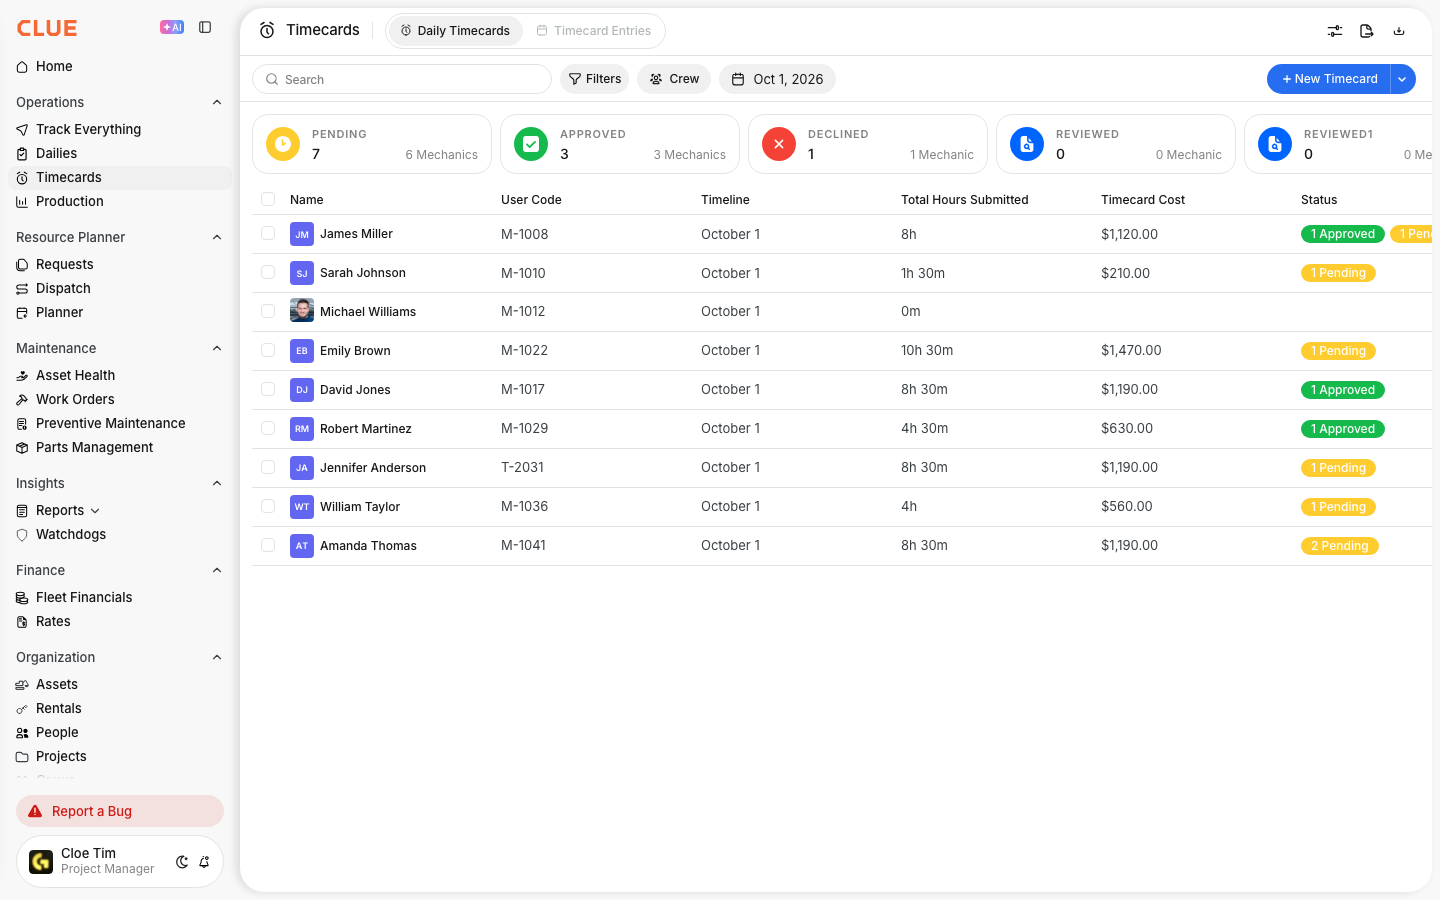
You can start from the main Timecards area. Before exporting, apply the filters for the pay period you want so the file only includes the records you need.
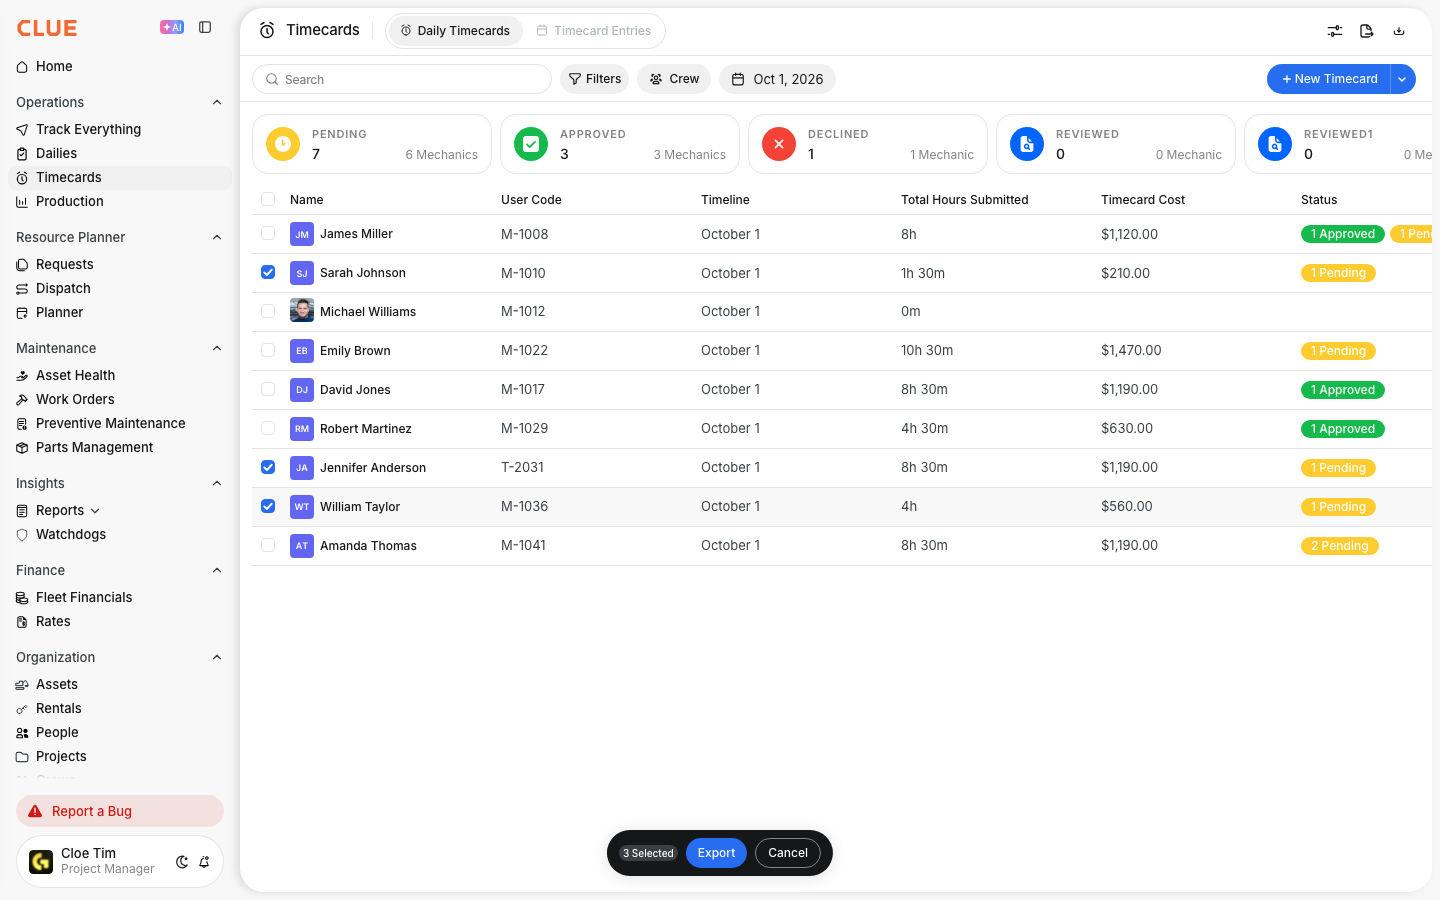
To export timecards:
- go to Main Menu → Timecards
- apply filters for the pay period
- click Export in the top-right area of the page

Export Options
The export settings help you shape the file to match your payroll process. This is useful when your payroll team needs a certain date range, file type, or group of employees.
Common export options include:
- Date range - choose the pay period start and end dates
- Employees - export all employees or only selected team members
- Format - choose CSV, Excel, or another supported format
- Fields - choose which columns to include in the export
Common Export Fields
The exact fields may depend on your setup, but most payroll exports include the basic information needed to process hours correctly. This keeps the payroll file clear and easier to reconcile later.
Common fields include:
- Employee ID or employee name
- Date worked
- Regular hours
- Overtime hours
- Project or cost center code
- Pay class or pay rate
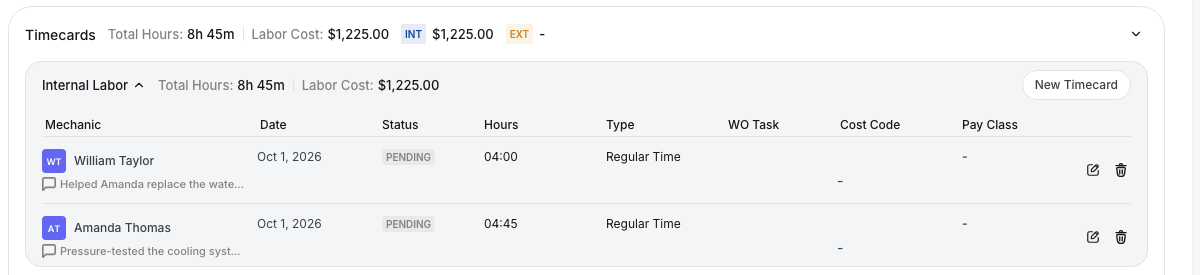
If your team logs labor through Logging Time with Timecards or directly from work orders, those entries should be reviewed before export so the hours and coding are correct.
Preparing for Export
A clean export starts with clean timecards. Before you generate the file, make sure the pay period has been reviewed and any missing or incorrect entries have already been fixed.
Before exporting, confirm that:
- all entries for the pay period are submitted
- approvals are complete, if your process requires approval
- corrections have already been made
- project or cost codes match what payroll expects

After Export
Once the file is exported, it should be reviewed before import. A quick check helps catch mistakes before they affect payroll or labor reporting.
After export:
- review the file for accuracy
- import it into your payroll system
- reconcile any differences
- save a copy for your records
If your company uses a payroll integration like Vista, approved time may also flow into that process based on your setup.
Tips
A standard export process usually makes payroll easier. Using the same filters, fields, and review steps each pay period helps reduce errors and saves time.
- use the same export setup each pay period
- export early enough to allow time for corrections
- review approvals before creating the file
- keep past export files for audit and payroll reference