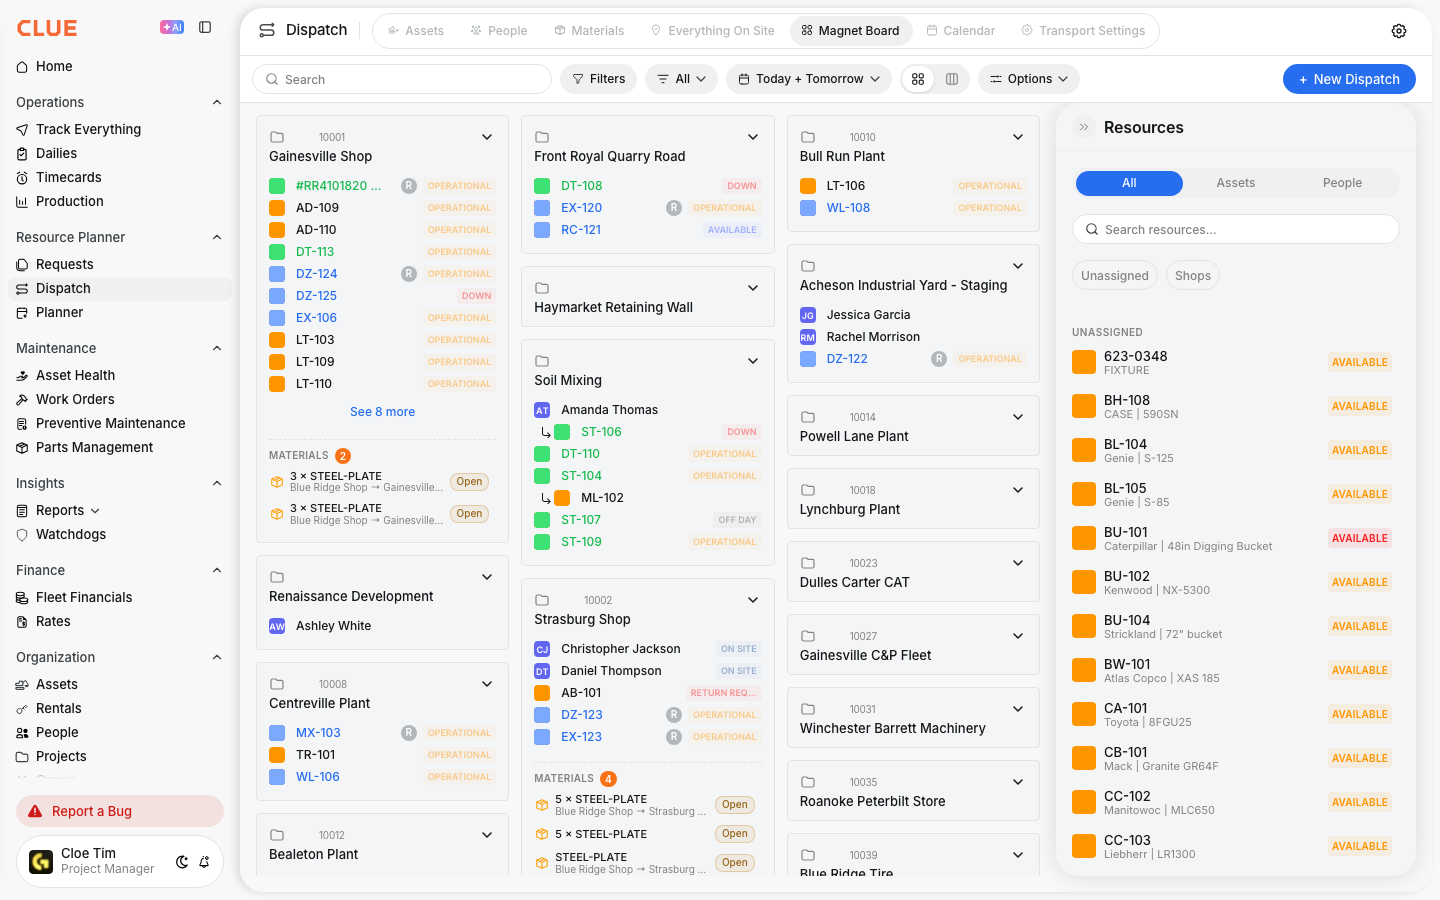
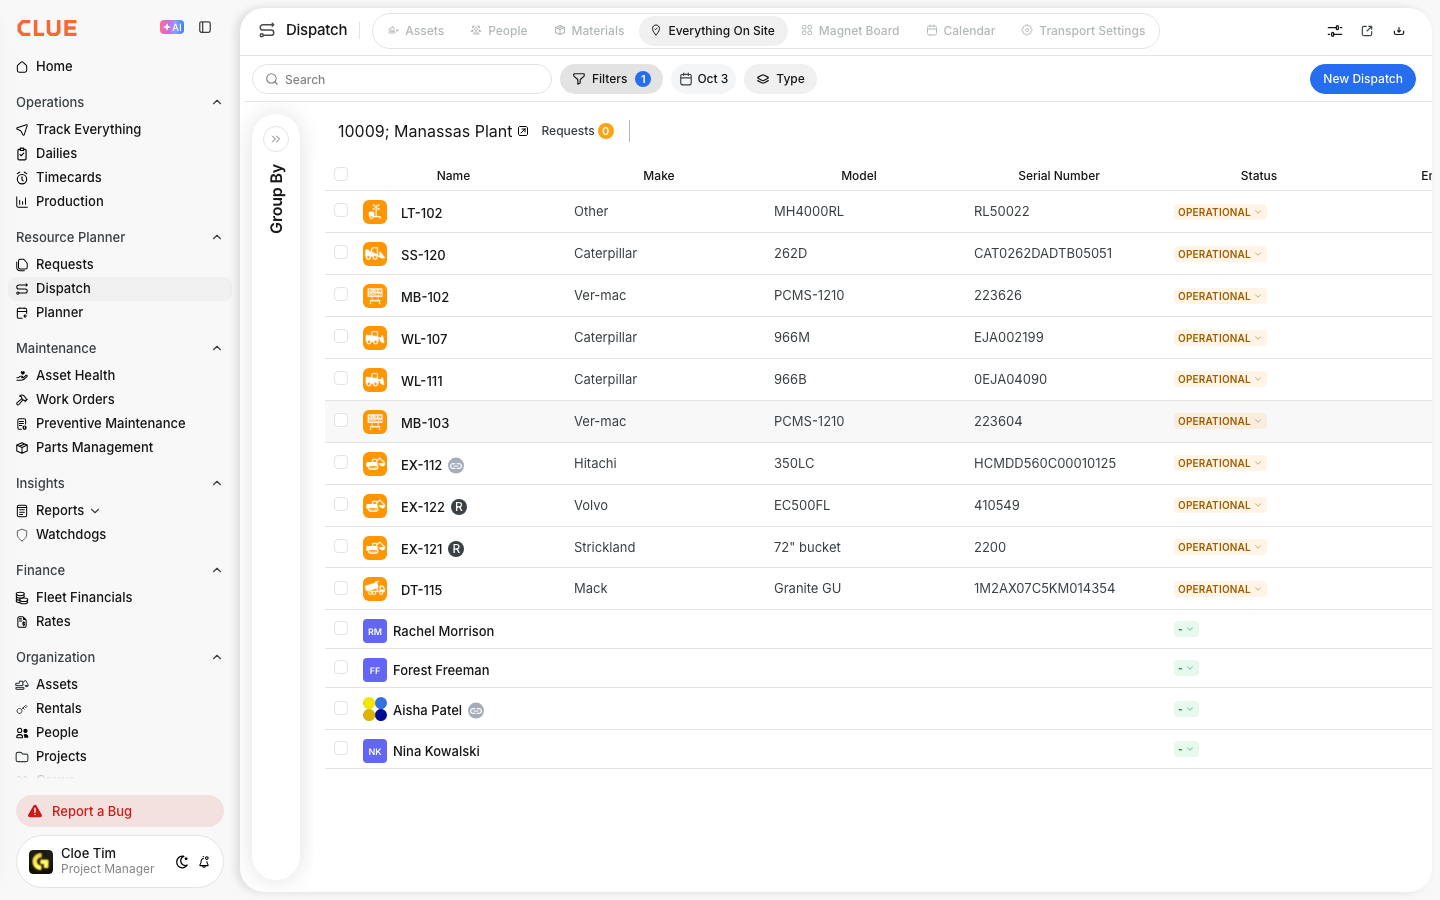
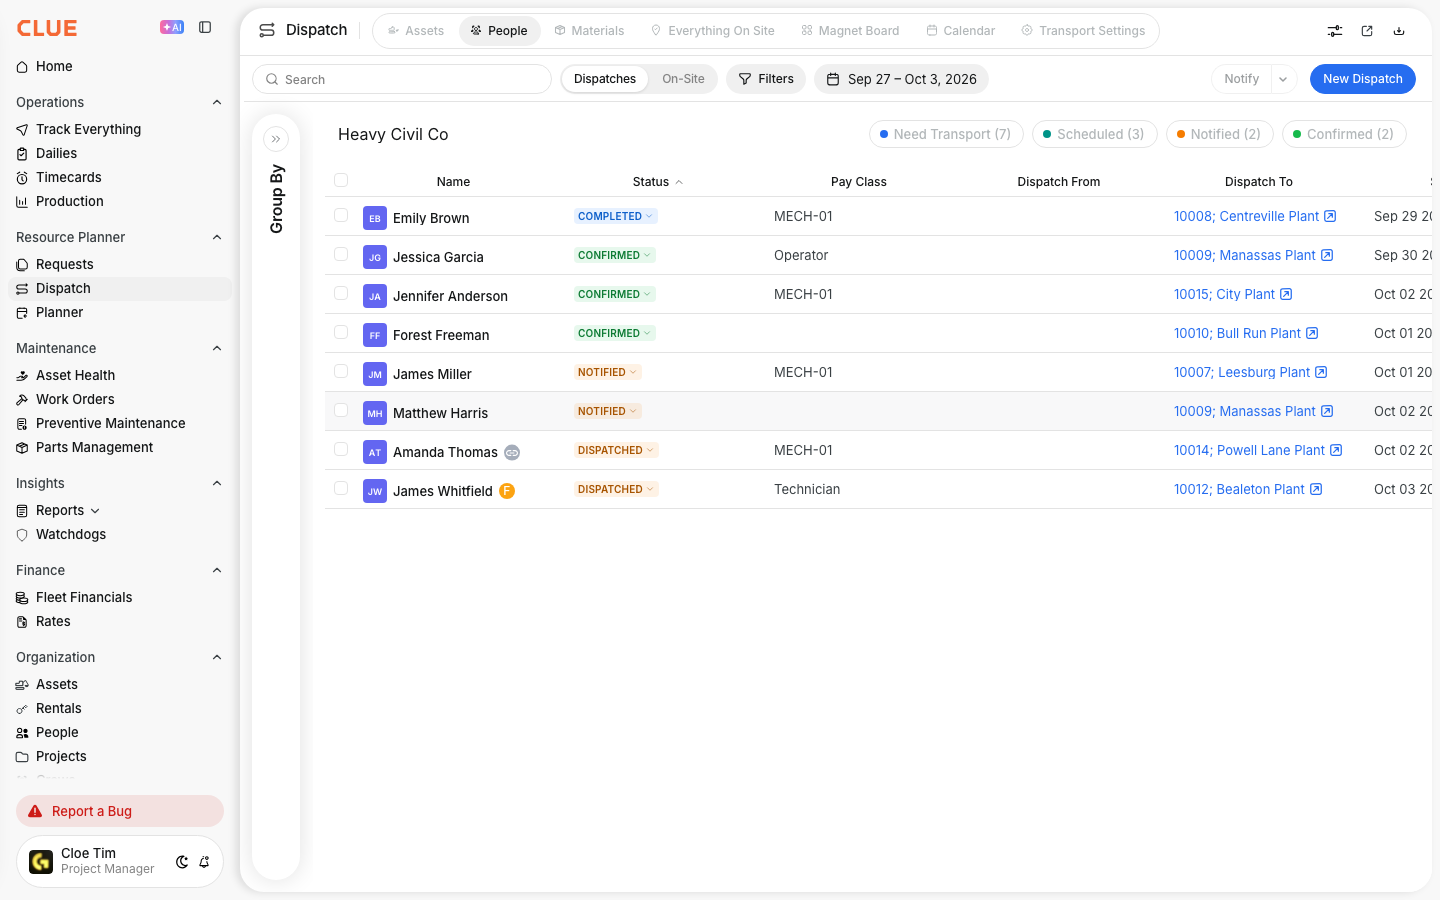
Use Dispatch to move equipment between projects and keep track of where each asset is assigned. This helps your team plan moves, avoid conflicts, and keep project assignments accurate across the fleet.
Dispatch board
The Dispatch Board is the main place for planning equipment moves in CLUE. If you need the full layout first, including People and other planning views, start with Using the Dispatch Board.
Accessing Dispatch
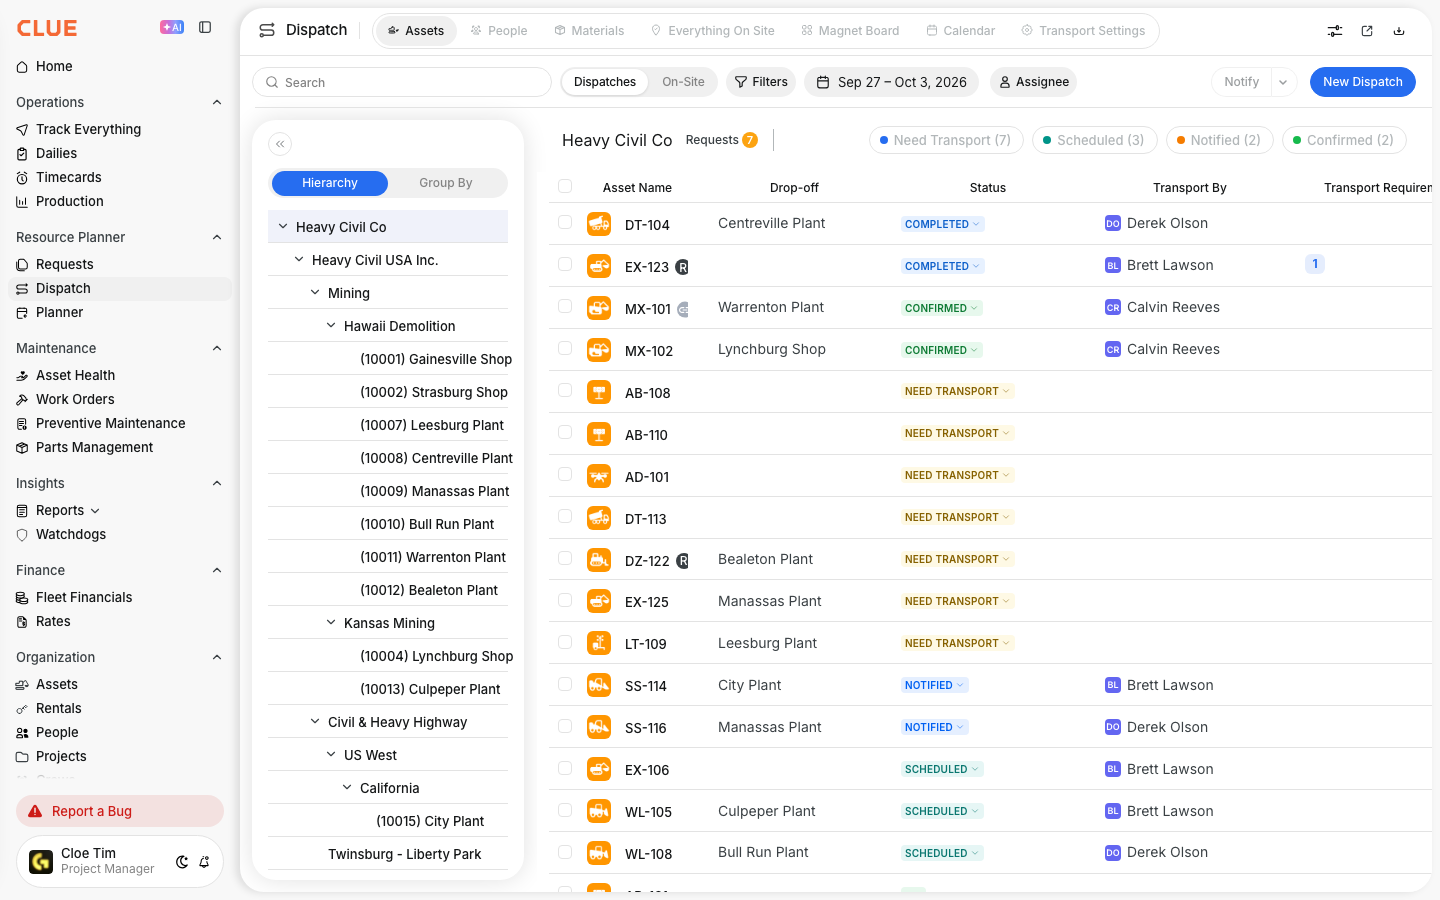
Open Dispatch from the Resource Planner, then switch to the Assets tab. This takes you into the asset dispatch view, where you can review current assignments and create new dispatches.
- Go to Resource Planner > Dispatch
- Click the Assets tab.
Asset Dispatch View
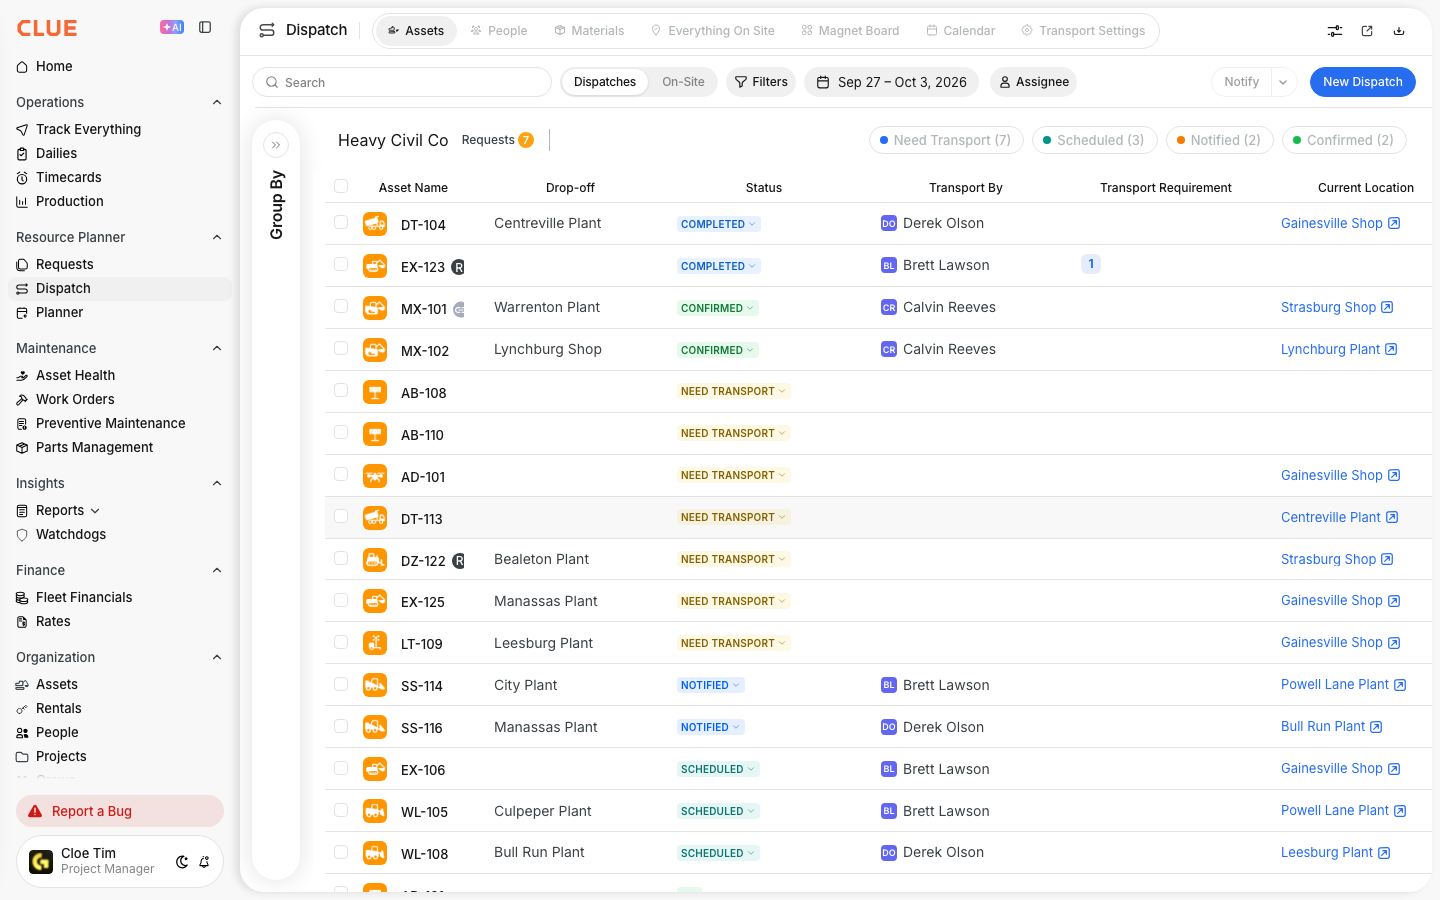
The asset view shows your equipment and its current assignment status. Use it to see what is available, what is already assigned, and what is in transit.
You can review details like:
- Asset Name - the equipment name or identifier
- Current Location - where the asset is now
- Assigned Project - the current job site
- Status - whether the asset is available, dispatched, or in transit.
If you only need to link an asset to a project without creating a dispatch move, Assigning Assets to Projects is the better fit.
Creating a Dispatch
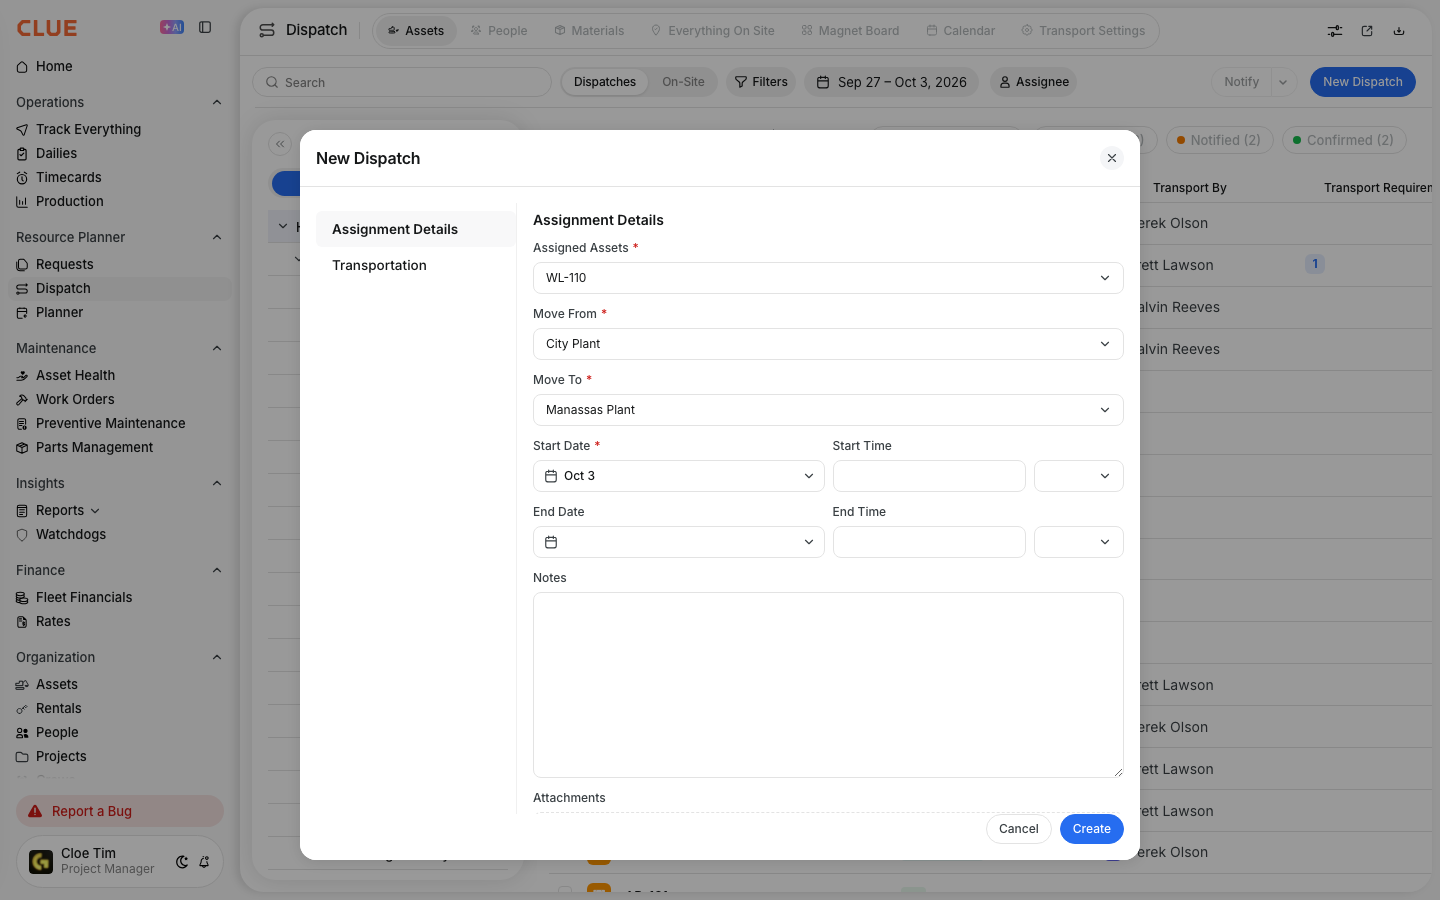
Create a dispatch when equipment needs to move from one location to another. The dispatch record keeps the move tied to the asset, the destination, and the planned dates. For a fuller setup walkthrough, this section fits naturally with Creating a New Dispatch.
- Select the asset or assets you want to move
- Click New Dispatch
- Enter the dispatch details:
- Move From - current location or pickup point
- Move To - destination project or location
- Start Date / Time - when the move begins
- End Date / Time - expected arrival or completion
- Transport By - how the asset will be moved
- Notes - any special instructions, contacts, or move details
- Save the dispatch.
Transport Options
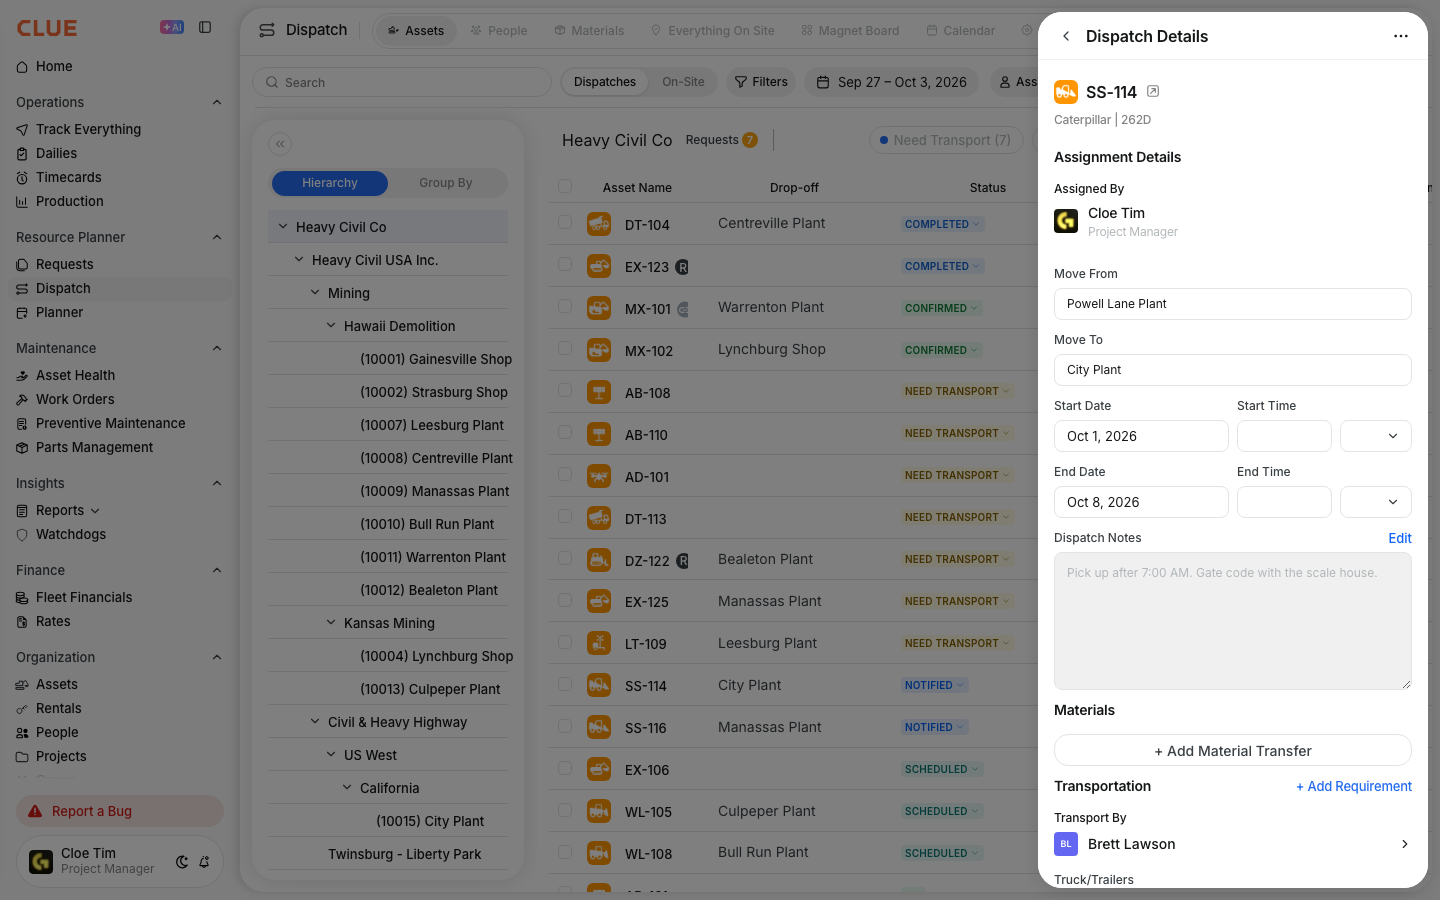
Choose the transport method that matches how the equipment will get to the next site. Keeping this accurate makes the move easier to track and easier for the field team to follow.
- Self-Transport - the equipment drives itself
- Trailer / Lowboy - the equipment is hauled
- Third-Party - an outside transport company handles the move.

Tracking Dispatches
After the dispatch is created, CLUE helps you track where that move stands. This makes it easier to follow open moves and confirm when equipment has reached the project.
Common dispatch statuses include:
- Pending - scheduled but not started
- In Transit - currently being moved
- Completed - arrived at the destination.
If the move started from a project need in the field, it often makes sense to connect this workflow with Creating Equipment Requests so the request and the dispatch stay aligned.
Tips
A few simple habits make dispatches easier to manage and easier for the field to follow.
- Plan dispatches ahead when transport needs to be coordinated
- Add pickup and drop-off contacts in the notes
- Include any special transport requirements before saving
- Use the Dispatch Board to review current assignments before moving equipment
- If the asset only needs a project assignment change, use Assigning Assets to Projects instead of creating a full dispatch.