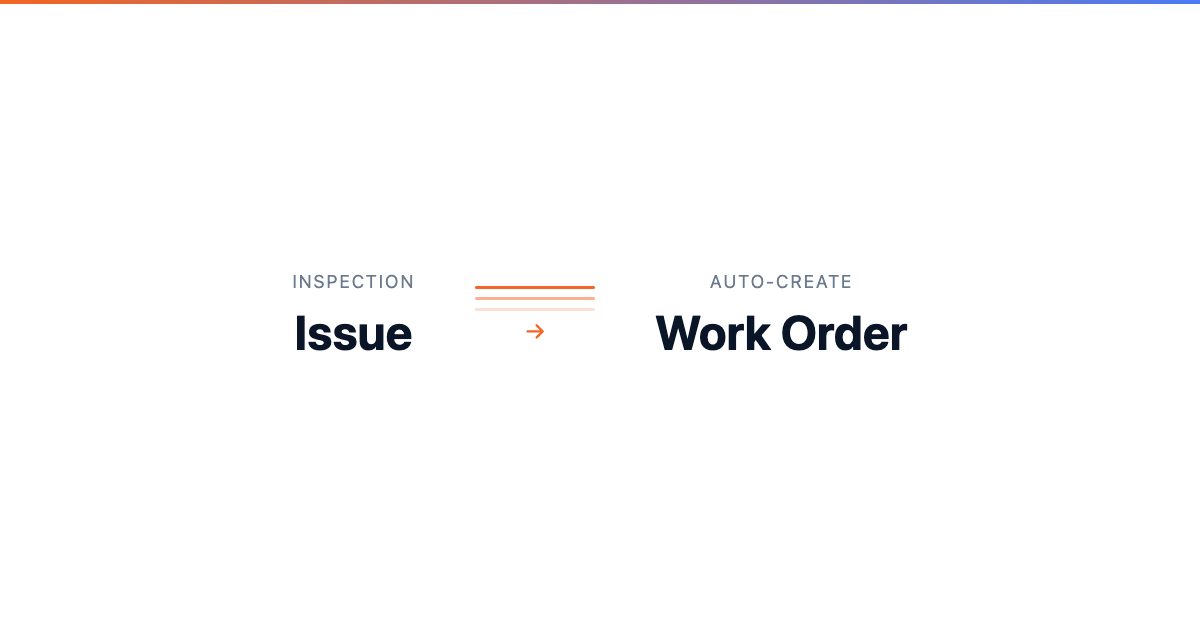
Creating Work Orders from Issues
Creating Work Orders from Issues
When an inspection issue or fault code needs repair, CLUE lets you turn it into a work order without re-entering the same details. That keeps the issue, the repair, and the asset history linked in one workflow.
Inspections view
This workflow starts where issues are first reported, so the shop can move from problem to repair without losing context. It also fits naturally with Reviewing Inspection Issues, Managing Fault Codes, and Creating and Managing Work Orders.
Overview
When fault codes or inspection issues require repair, you can create a work order directly from the issue record. That link helps the team track what was reported, what work was created, and how the problem was resolved.
Creating a Work Order from an Inspection Issue
Use this when an inspection item fails and the issue needs shop follow-up. CLUE carries the issue into the work order so the mechanic starts with the same information the operator reported.
Step 1: Open Inspection Issues
Go to Maintenance > Inspection Issues.
This opens the issue list, where you can review reported defects and choose the one that needs repair. This is also a strong internal linking spot for Reviewing Inspection Issues.
Step 2: Open the issue
Find the issue you want to address and click it to open the detail view.
From there, you can review the problem, severity, and any other details before creating the work order.
Step 3: Click Create Work Order
In the issue detail, click Create Work Order.
CLUE opens a new work order form and carries over the issue details automatically so the team does not need to type everything again.
Step 4: Review the pre-filled details
The work order opens with key information already filled in from the issue.
That usually includes the asset, the issue description, and the reported severity. If the issue came from an inspection workflow with attached details, those can carry over as well.
Step 5: Complete the remaining fields
Add the remaining work order details, such as assignee, priority, and due date.
This is a natural place to link to Assigning Work Orders if the reader needs more detail on routing the job to the right mechanic.
Step 6: Save the work order
Click Save once the work order is ready.
The repair is now tracked as a work order and stays linked back to the original issue for follow-up and reporting.
Creating from Fault Codes
Fault codes can follow the same path into a work order when a machine alert needs repair work. This helps the shop move faster from fault detection to diagnosis and repair.
Step 1: Open Fault Codes
Go to Maintenance > Fault Codes.
This opens the list of active fault codes across the fleet. It is also a good internal linking spot for Managing Fault Codes.
Step 2: Open the fault code
Click the fault code you want to review.
Check the fault details and the affected asset before moving it into a repair workflow.
Step 3: Click Create Work Order
Click Create Work Order to generate the repair ticket.
CLUE pre-populates the work order with the asset and fault information, which helps the mechanic start with the right context.
Benefits of Linked Work Orders
Linked work orders make the repair process easier to follow from start to finish. Instead of separating the reported problem from the repair record, CLUE keeps them tied together.
When a work order is created from an issue or fault, CLUE links the issue to the work order, keeps traceability from report to resolution, and supports reporting on how long issues take to close. In some workflows, completing the work order can also help move the issue toward resolution.
What Gets Pre-Filled
The pre-filled fields save time and reduce rework for the person creating the job. They also help make sure the mechanic sees the same core details that were reported in the field.
CLUE can carry over:
- Asset information
- Issue description as the work order description
- Severity, which may help guide the priority
- Original reporter information
- Photos and defect details, when the issue came from an inspection or connected fault workflow
Tips
A few simple checks make this workflow more useful and help the mechanic start with the right information. The goal is to save time without sending an incomplete work order into the shop queue.
- Review the pre-filled information before saving
- Add any extra details the mechanic should know
- Set the priority to match the severity of the issue
- Use Reviewing Inspection Issues and Managing Fault Codes to clean up the queue before problems pile up
- Connect this workflow to Creating and Managing Work Orders so issue history and repair history stay tied together