Printing and Exporting Inspection PDFs | CLUE Learning
Printing and Exporting Inspection PDFs is a built-in feature that allows you to generate and download a professionally formatted, branded PDF report for any completed inspection. The report automatically pulls in your company logo, equipment details, the inspector's name, the assigned project, and every checklist item with its result. You can use these PDFs for compliance records, client handoffs, or internal shop files. No manual formatting is required.
This feature is relevant for anyone who needs a documented record of inspection activity.
- Equipment Managers use inspection PDFs to track asset condition over time and support maintenance decisions.
- Shop Managers use them to document what was flagged, what passed, and what repair work was initiated as a result.
- Project Managers attach inspection reports to project files to confirm that equipment was inspected and cleared before mobilization.
- Safety and Compliance Teams use branded, timestamped PDFs as documented evidence during audits and regulatory reviews. Clue's safety management solution supports this broader compliance workflow.
- Foremen and Operators who conduct pre-shift or pre-operation inspections rely on this feature to ensure those records are preserved and accessible up the chain.
How to Print a Single Inspection
1. Open the Inspection
Navigate to Asset Health > Inspection History. Locate the inspection you want to print and click on it's row to open the detail panel. On the Asset Health page you can filter by asset, date, project, or inspector to find the correct record quickly.
2. Click the PDF Icon
In the inspection detail panel, locate the PDF icon in the top-right corner. Click on it to generate the report. CLUE will compile all of the inspection data automatically.
3. Download the PDF
The PDF will download directly to your device. The PDF includes:
- Company branding and logo
- Full equipment overview (make, model, serial number, engine hours, odometer)
- Inspection date and inspector name
- Project name
- Every checklist item with its pass/fail result and submitted notes
How to Export Multiple Inspections
1. Click Export Inspection
While in the Inspection History view, click on Export Inspection in the top-right corner. A modal opens up where you can select a date range.
2. Choose Your Date Range
Select a time frame: Day, Week, Month, Year, or Custom. Pick the specific dates you'd like the report to be created for and then click on Export.
CLUE generates a file containing all inspections completed within the period of time you selected. This is the most efficient way to produce end-of-month compliance packs, prepare for audits, or delivering a full project inspection history to a client or owner.
Key Behaviors and Limitations
- Only completed inspections can be exported. Inspections that are still in progress will not appear in the PDF. Confirm inspectors have fully submitted inspections before attempting to generate a PDF.
- Branding is applied automatically. The PDF pulls your company logo and name directly from your CLUE account settings. If the logo appears missing or incorrect on the report, update it in your account branding settings. Any changes made will apply to all future exports.
- The checklist reflects exactly what was submitted. Every item your inspectors record, including flagged items, failure notes, and repair requests, appears in the PDF as submitted. Inspection records cannot be edited after submission. This protects the integrity of the record and ensures it holds up during audits or client reviews.
- Bulk exports are suited for reporting cycles. Teams running weekly or monthly compliance reviews should use the Month or Custom date range to pull all records at once rather than downloading individual PDFs one at a time.
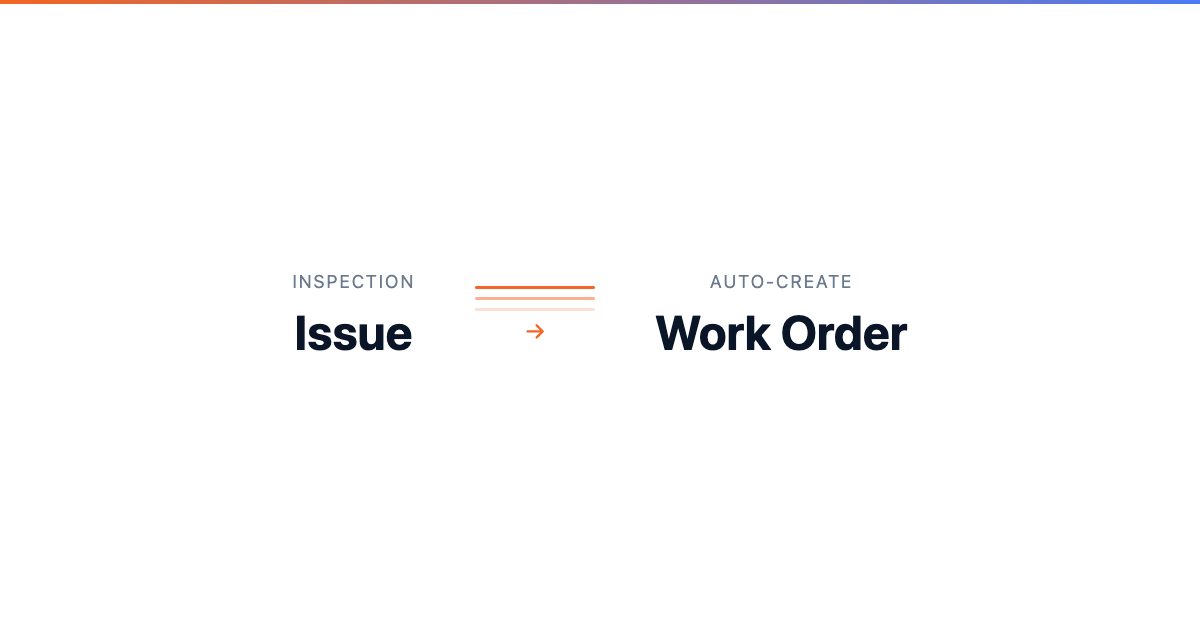
- Flagged items can connect to maintenance workflows. When an inspection flags a defect or repair need, that issue can be linked to a work order directly in CLUE. The exported PDF then serves as supporting documentation for why the repair was initiated, useful for tracking equipment maintenance history and overall cost of ownership.
Tips
- Filter before you export. Use Inspection History filters to narrow results by asset, project, or date before clicking Export. This keeps your export file clean and focused with the data you need.
- Use custom date ranges for project closeouts. When wrapping up a job, use the custom range to pull all inspections tied to that project duration. It builds a complete inspection record ready for client handoff or owner files.
- Review inspection PDFs before scheduling repairs. The PDF gives you the full picture of what was flagged and what notes the inspector added. Use it to prioritize repair work rather than relying on verbal handoffs alone.
- Keep your company logo current. Branding on the PDF reflects your current account settings. Verify your logo is up to date and high resolution before sending reports to clients or owners.
- Make bulk exports part of your monthly closing process. For teams with regular compliance obligations, a monthly bulk export keeps your records organized and ready for review without last-minute scrambling.