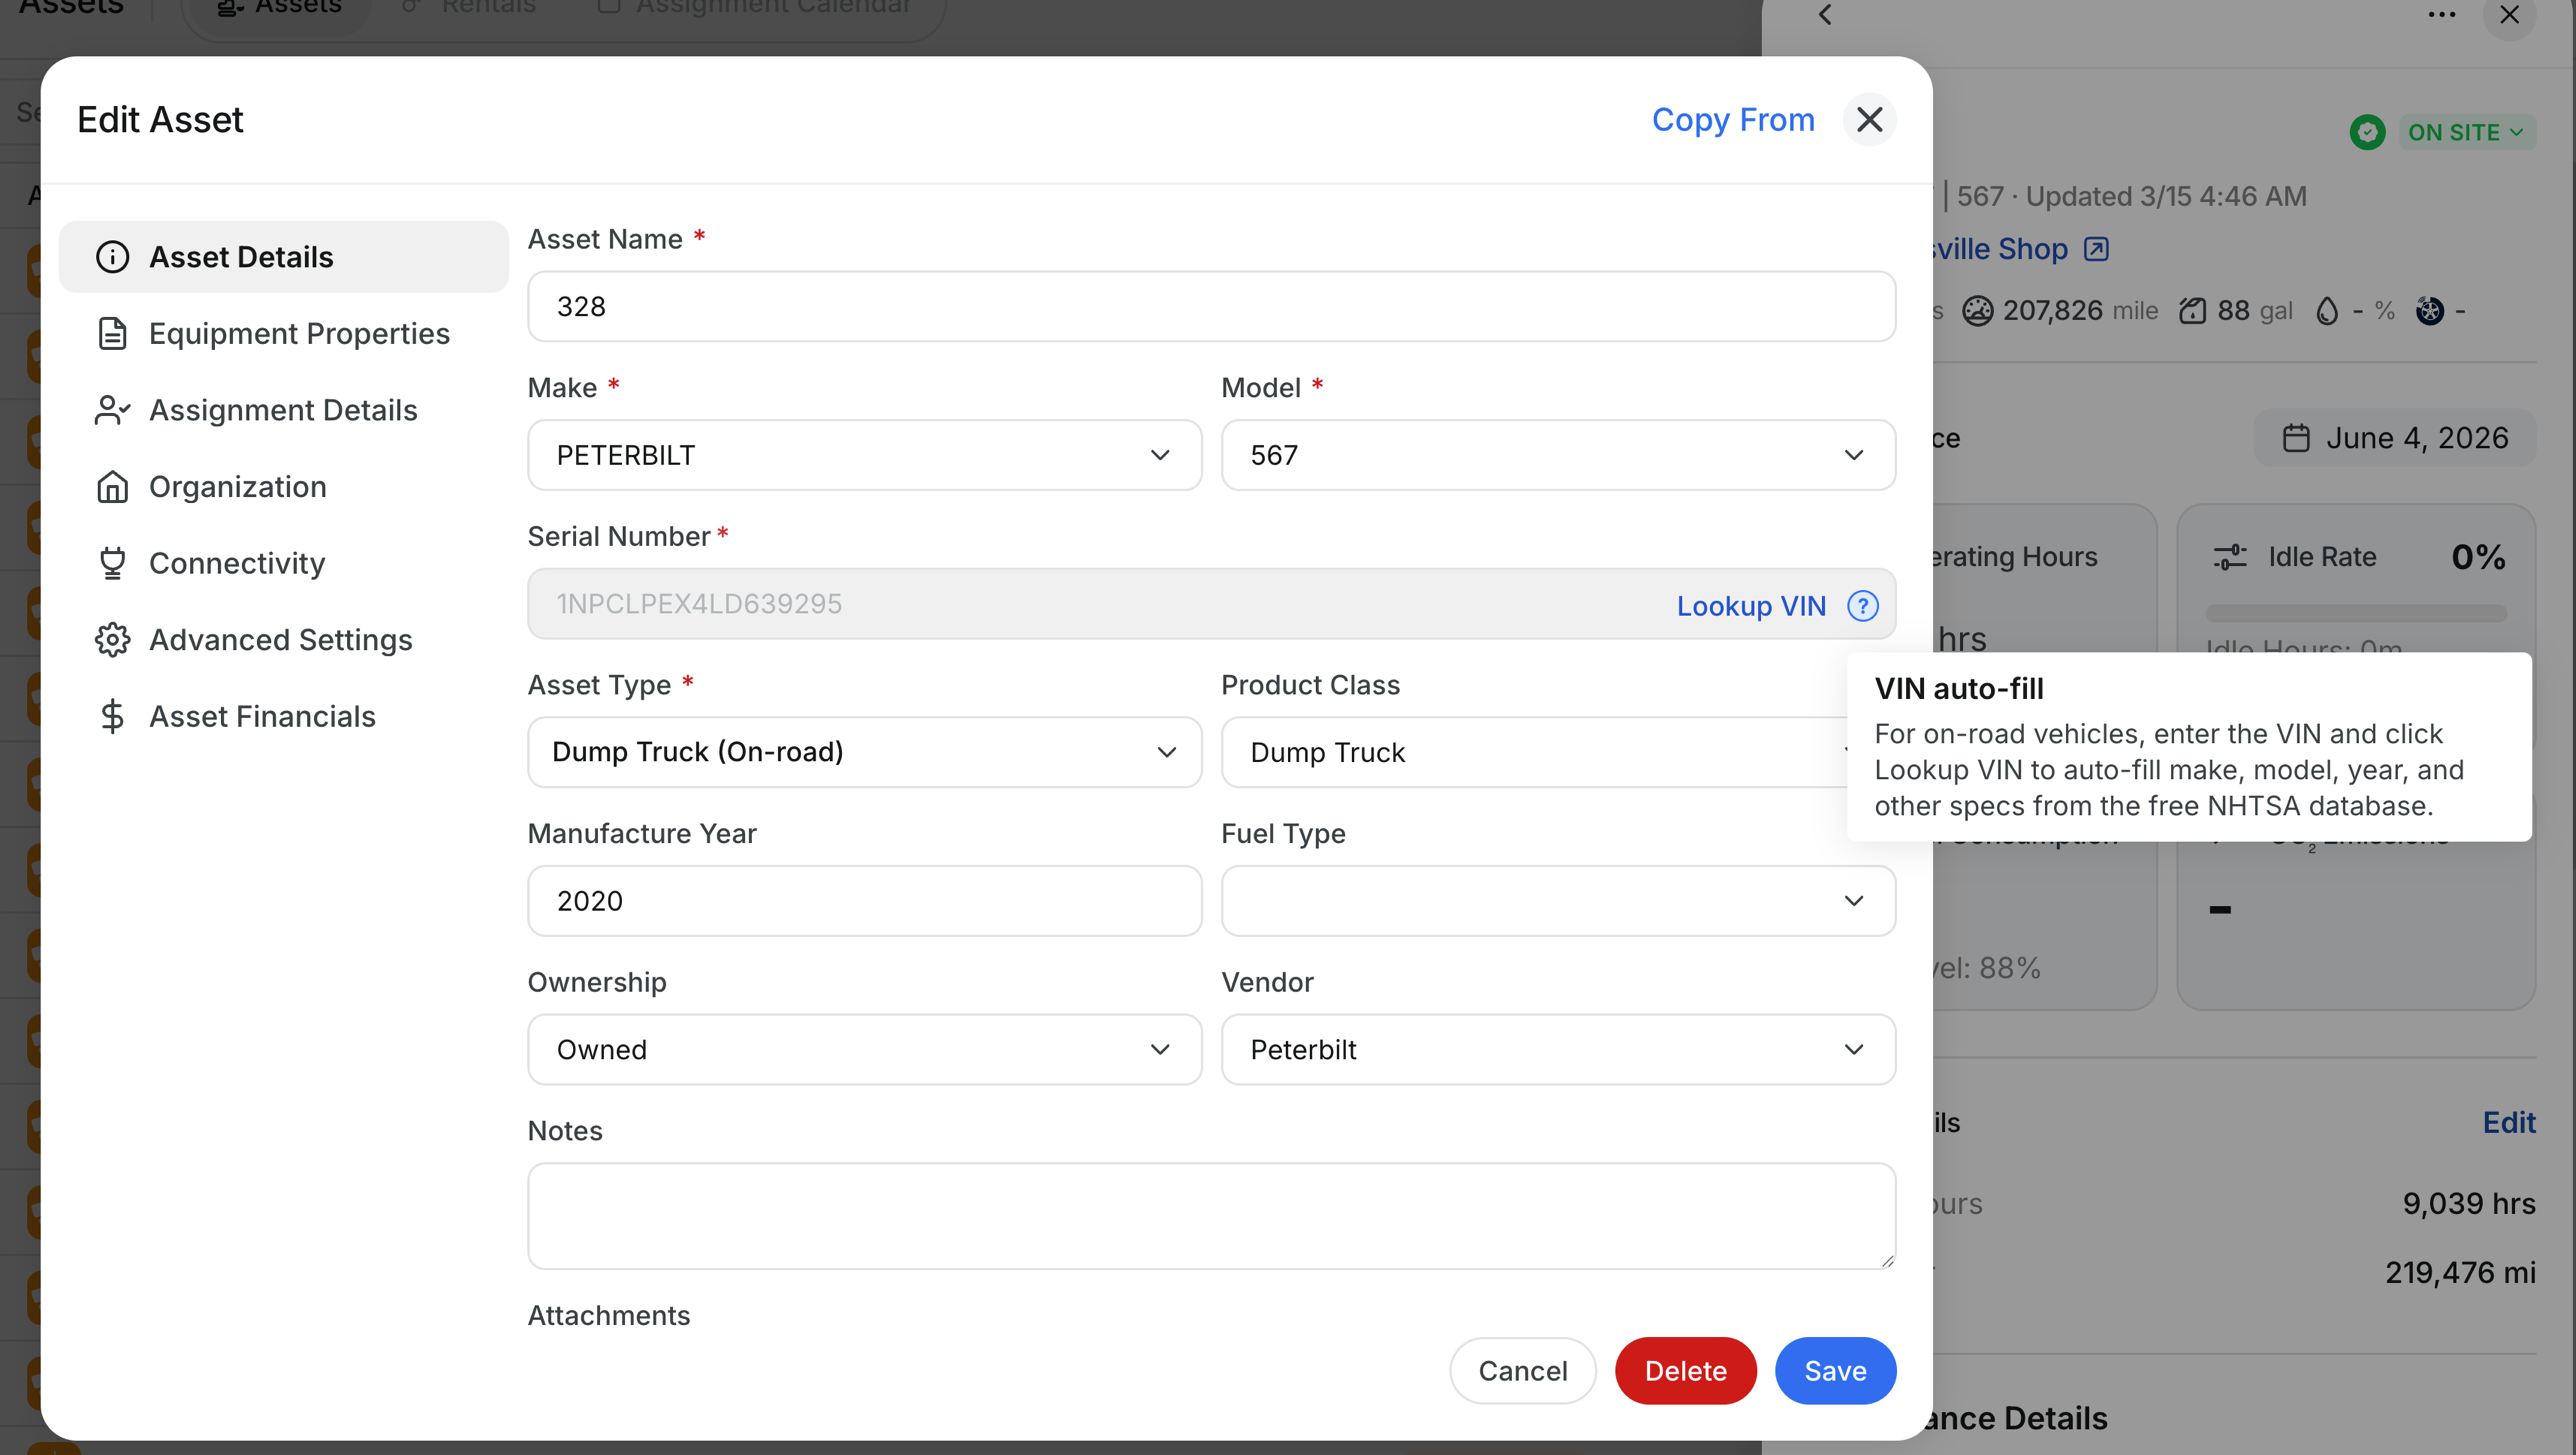
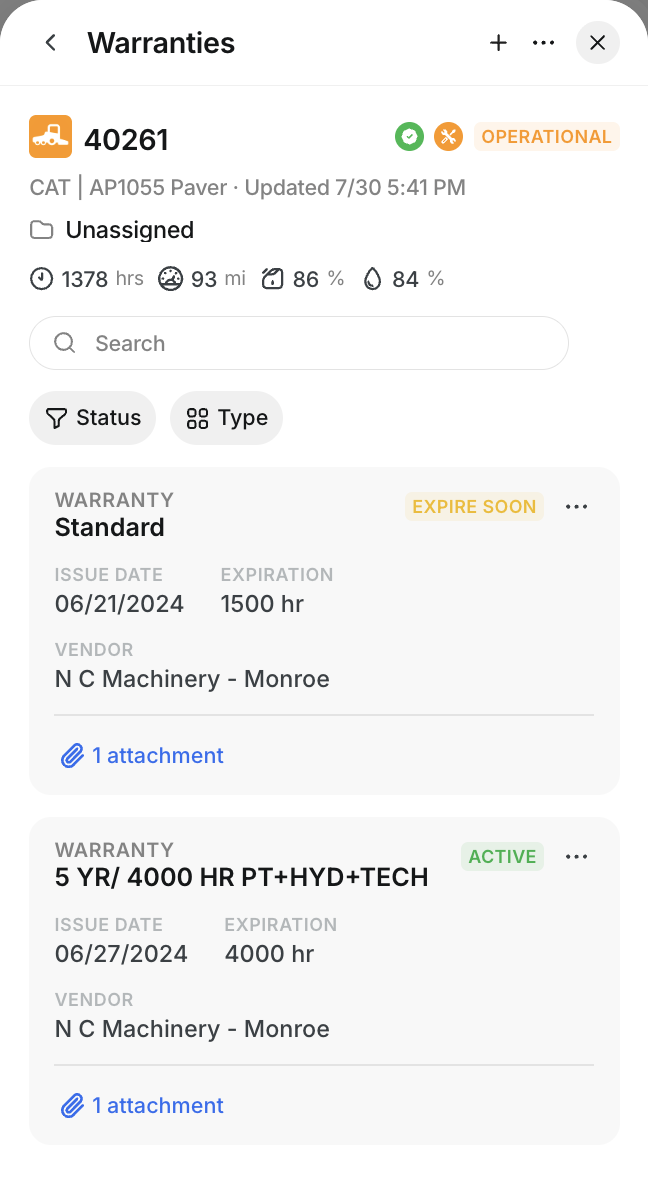
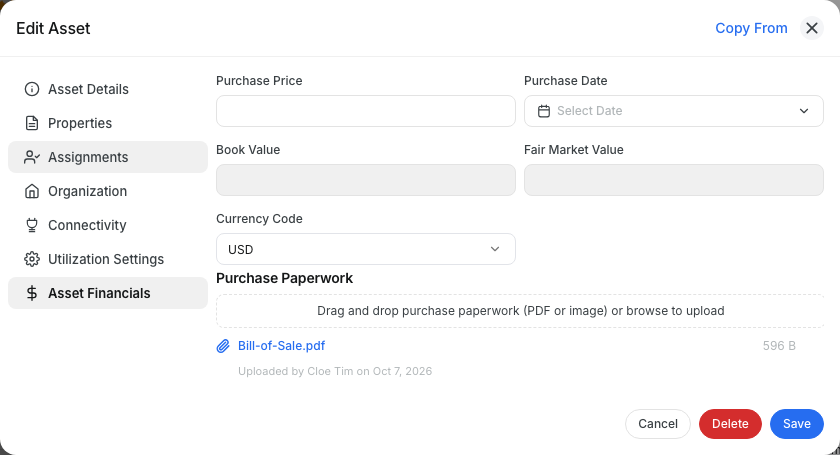
What is this?
The Assignment Calendar shows every asset on one timeline. Each row is an asset. Each bar is a period when that asset was, is, or will be on a project.
Use it to see where your equipment has been, where it is now, and when it is free for the next job. You can also assign an asset straight from the calendar.
Who's this for?
- Equipment managers, see which assets are busy and which are free this week.
- Dispatchers, assign an asset to a project by clicking an open day.
- Project managers, check which equipment was on your job and who assigned it.
How to use it
Step 1: Open the calendar
Go to Organization > Assets. At the top of the page, click the Assignment Calendar tab. The main menu folds away to give the calendar more room.
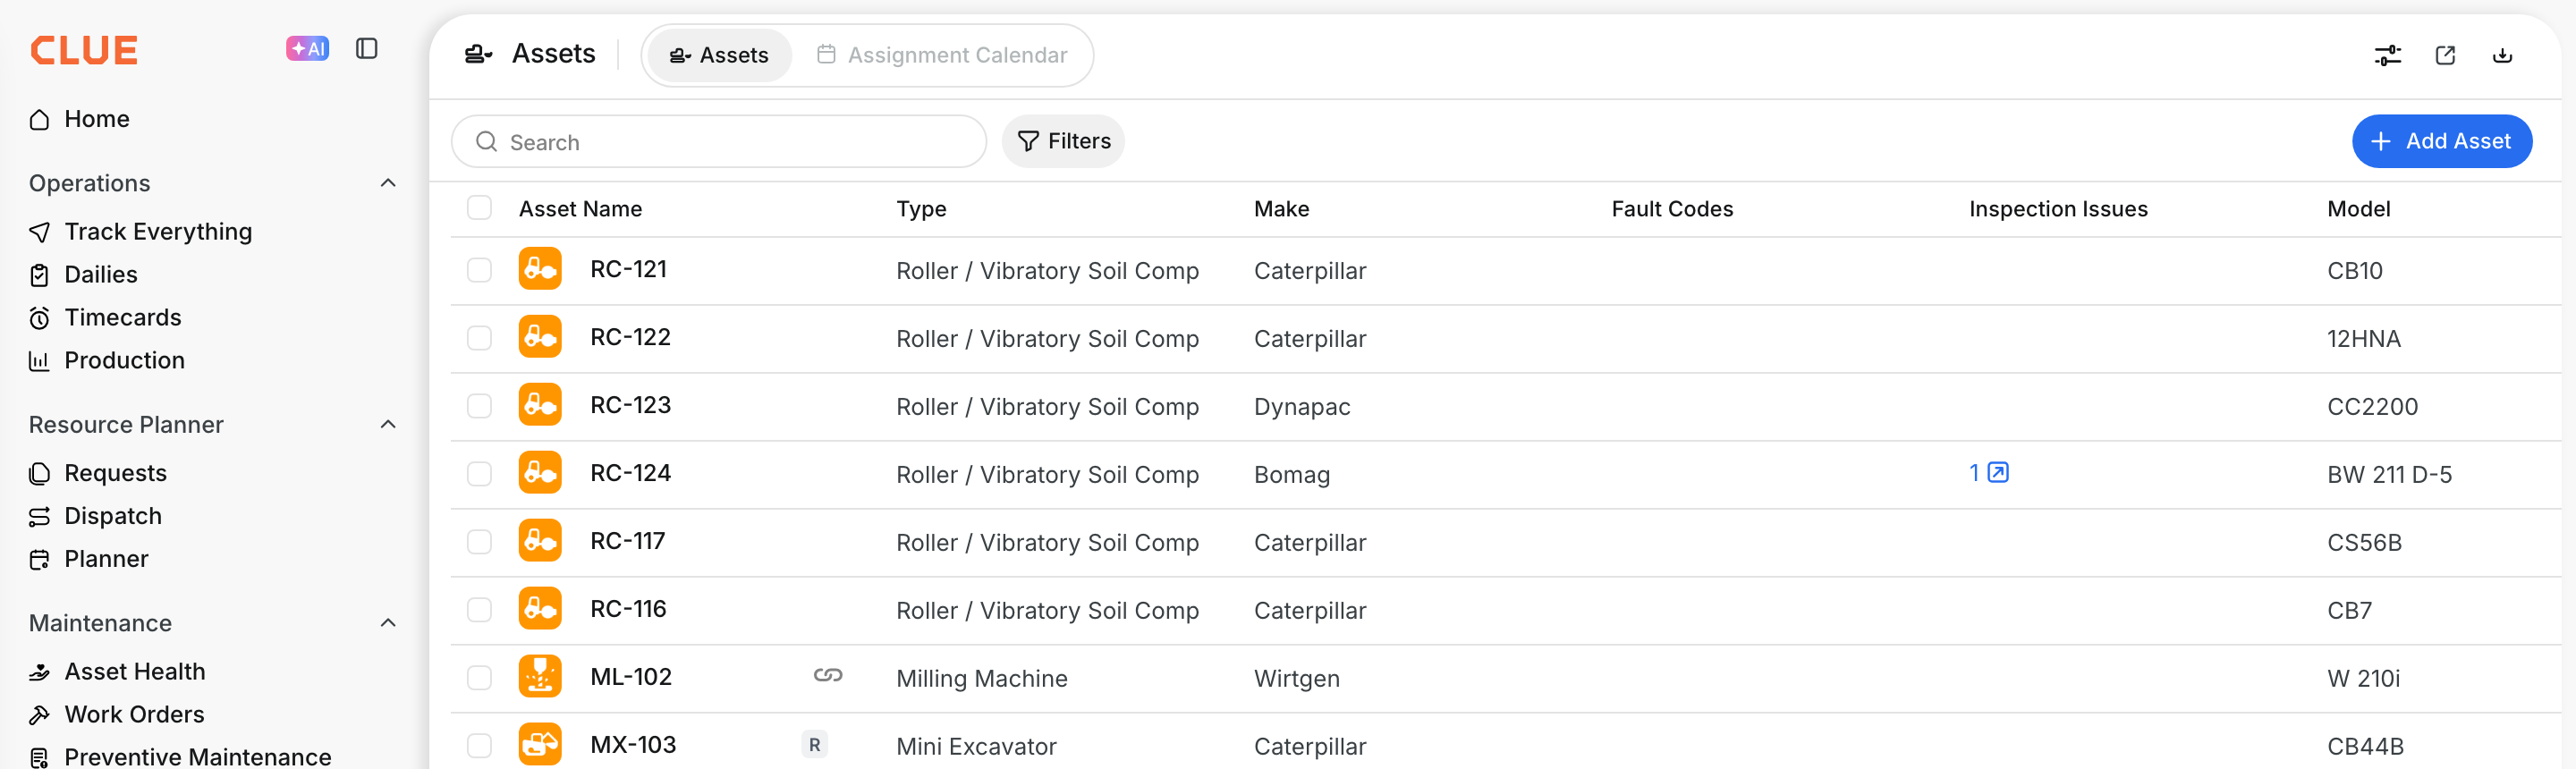
Step 2: Read the timeline
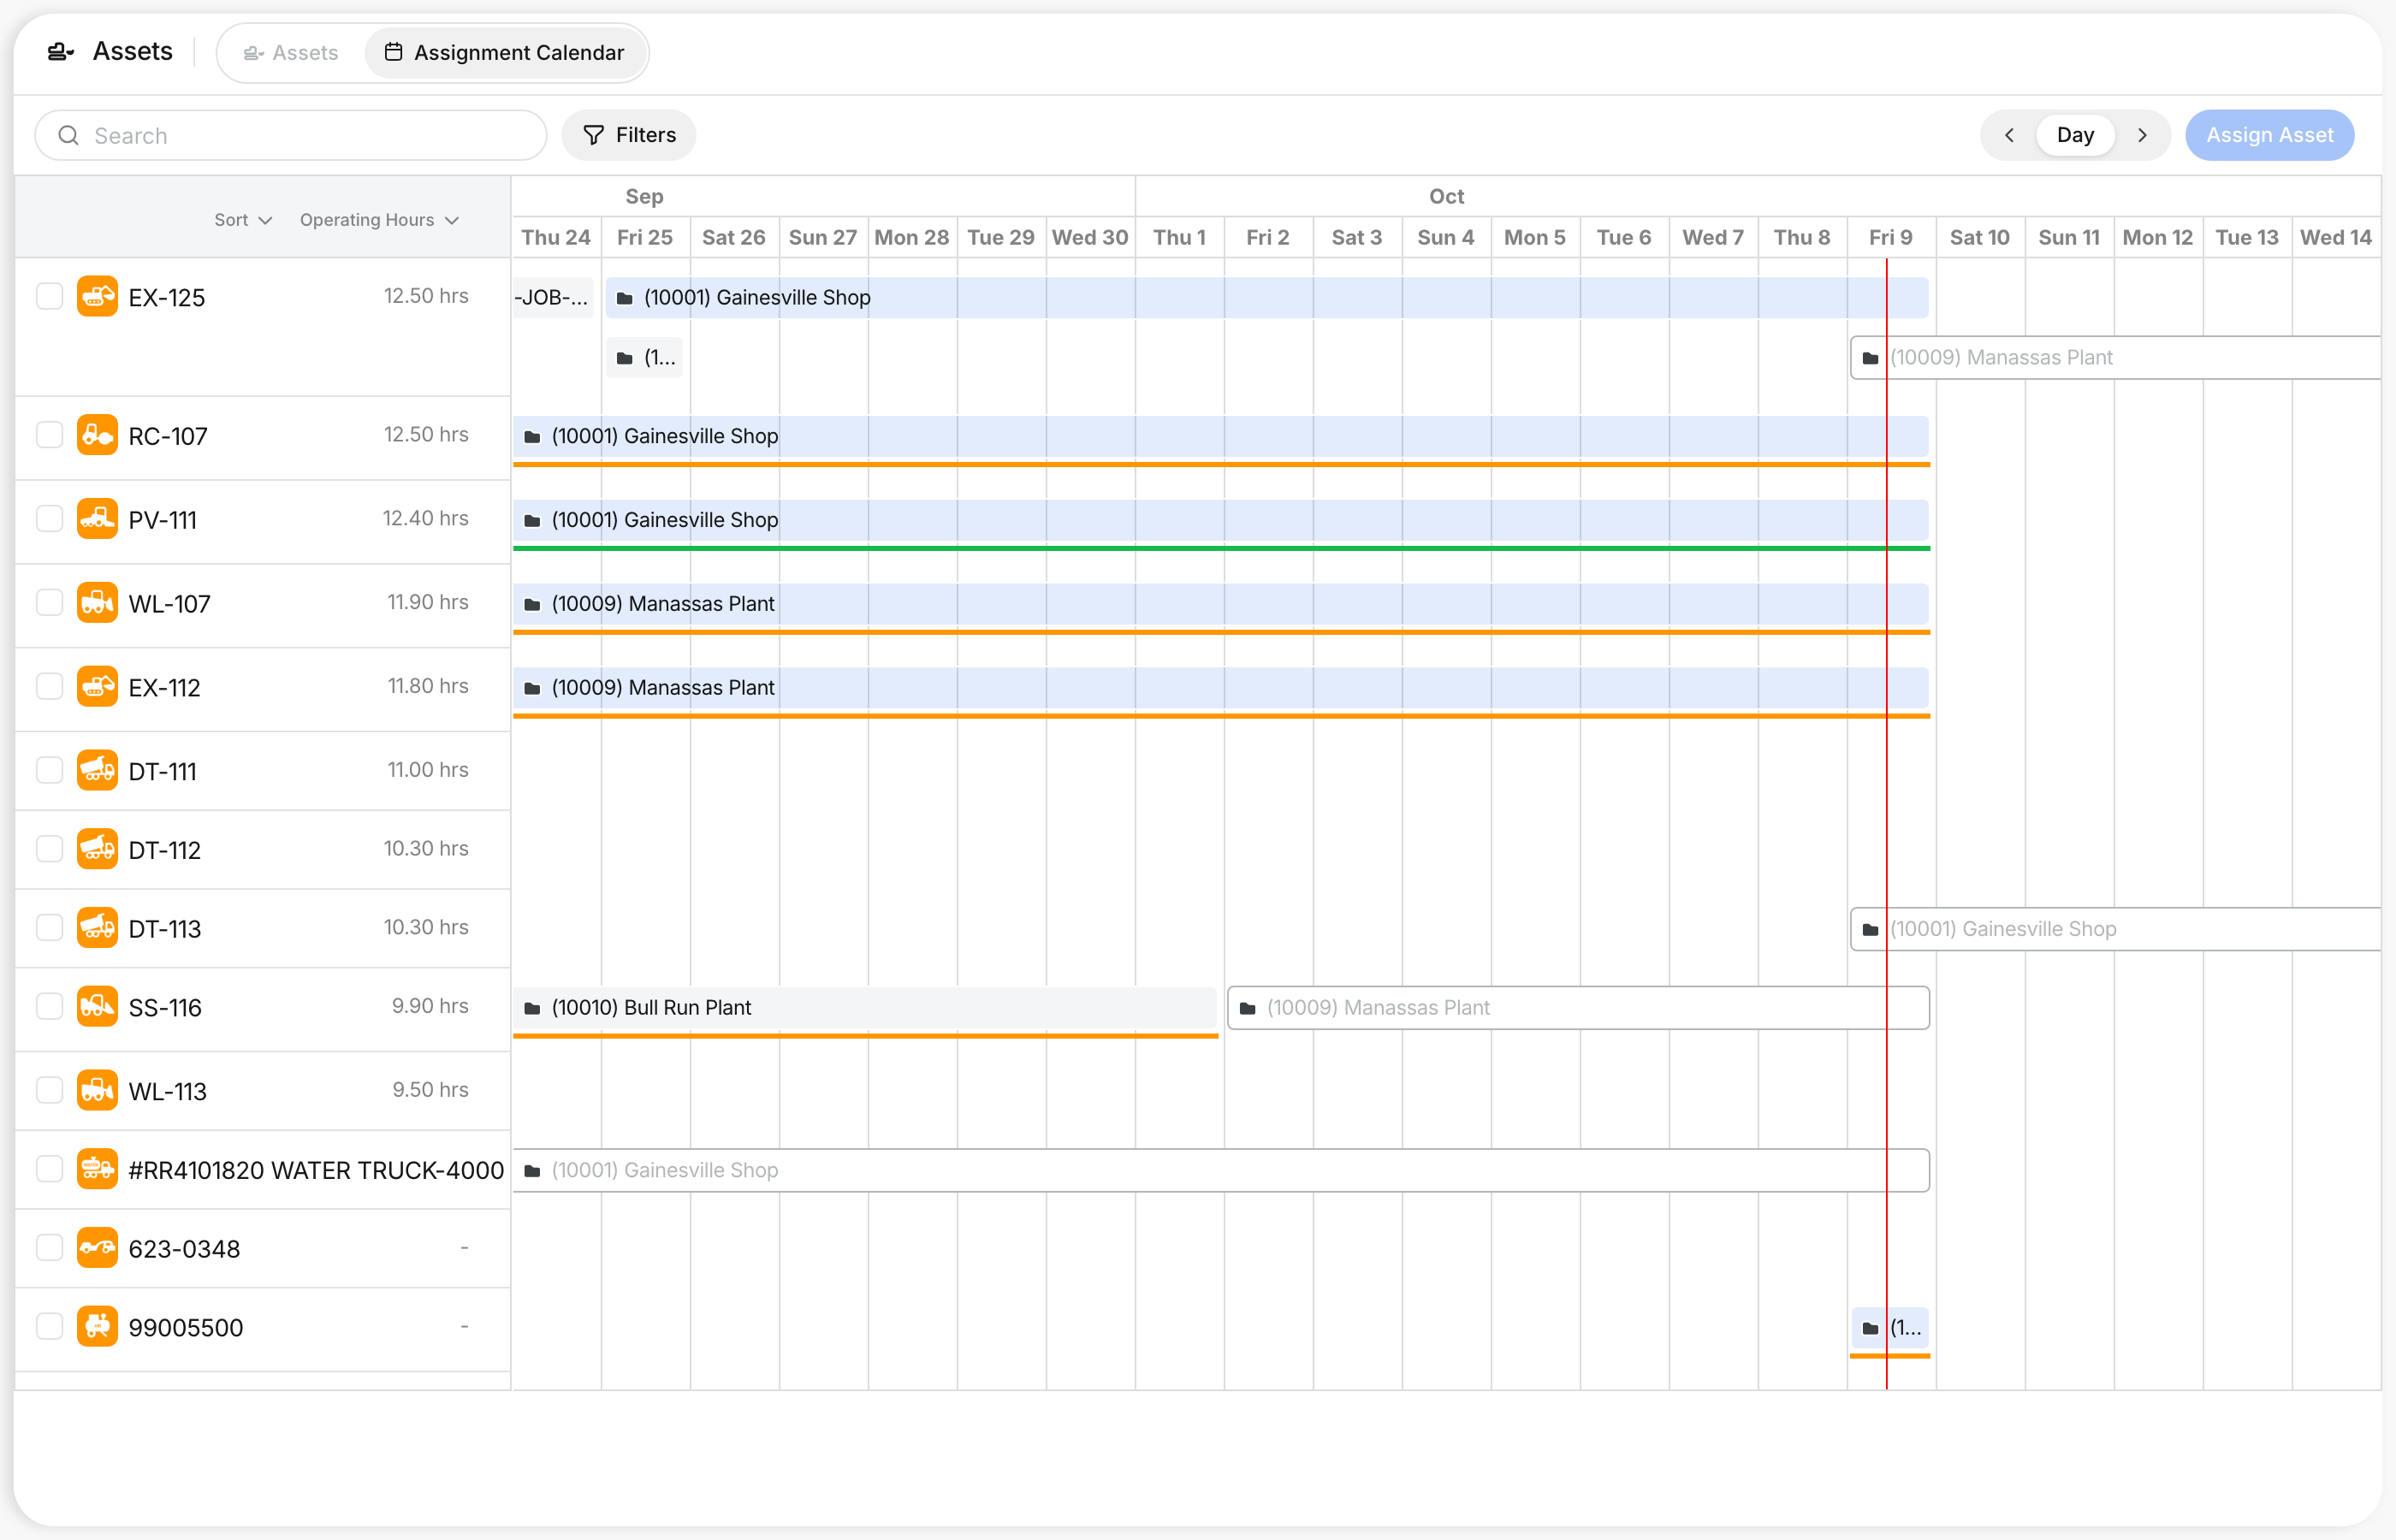
Each row is an active asset. The bars show the project for each period:
- Grey bar, a past assignment.
- Light blue bar, the project the asset is on today.
- White bar with an outline, a planned assignment from the Resource Planner.
- "N Assignments", several assignments that sit close together. Hover it to see each one.
- Red line, today.
- Colored line under a bar, the equipment status during that period. Hover it to see the status name.
The number at the right of each asset name is its data point, for example operating hours for the last 7 days.
Step 3: Search for an asset
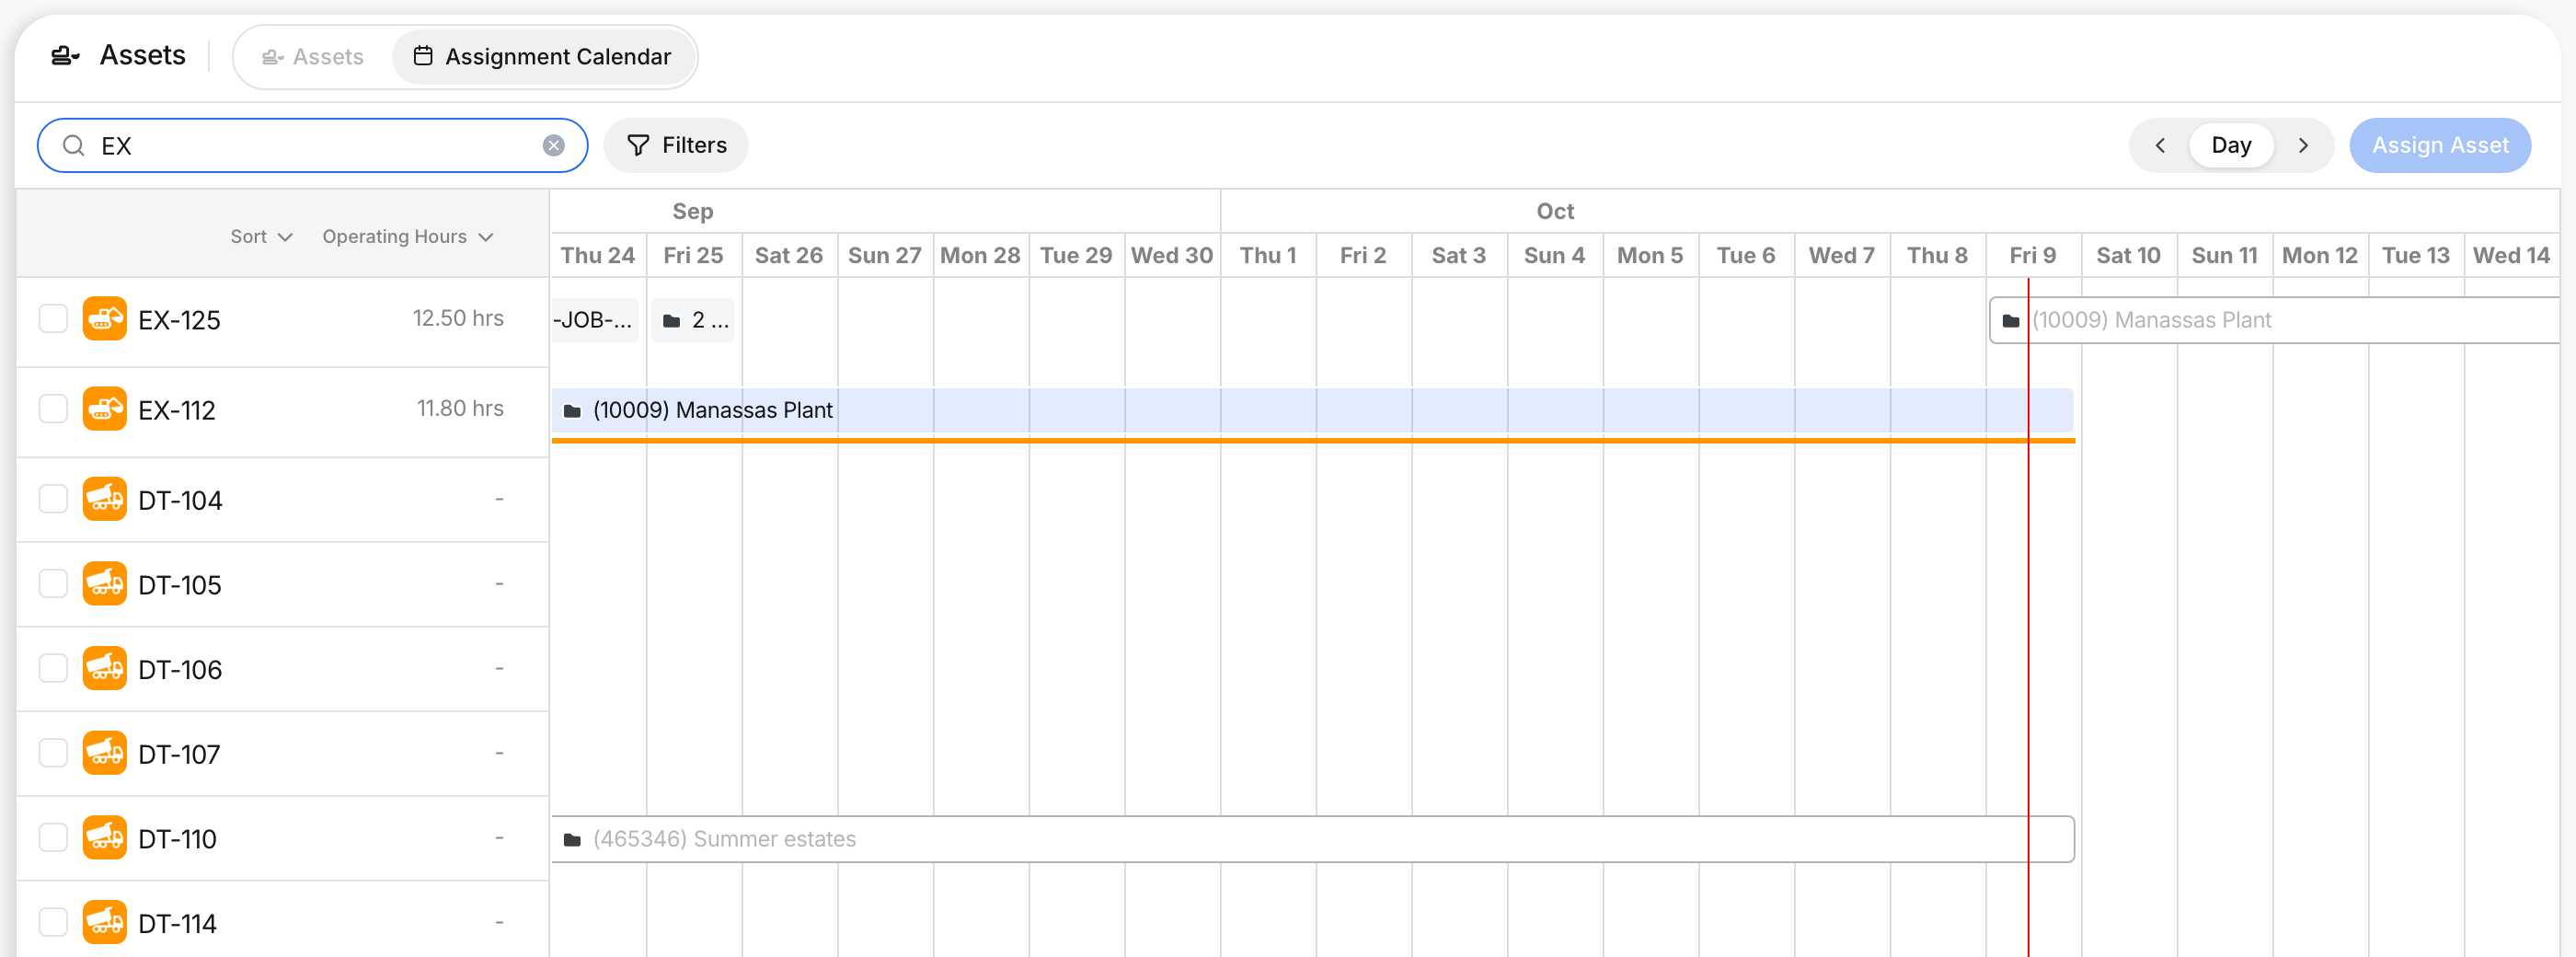
Type in the Search box. It matches the asset name, the serial number, the name or code of the current project, and the division name.
Step 4: Filter the list
Click Filters. Choose a division, project, asset type, product class, equipment status or ownership. Tick Under-utilized to show assets that run less than the number of hours you set. Click Save next to it to keep that number as your default. Click Clear Filter to start over.

Step 5: Change the time view
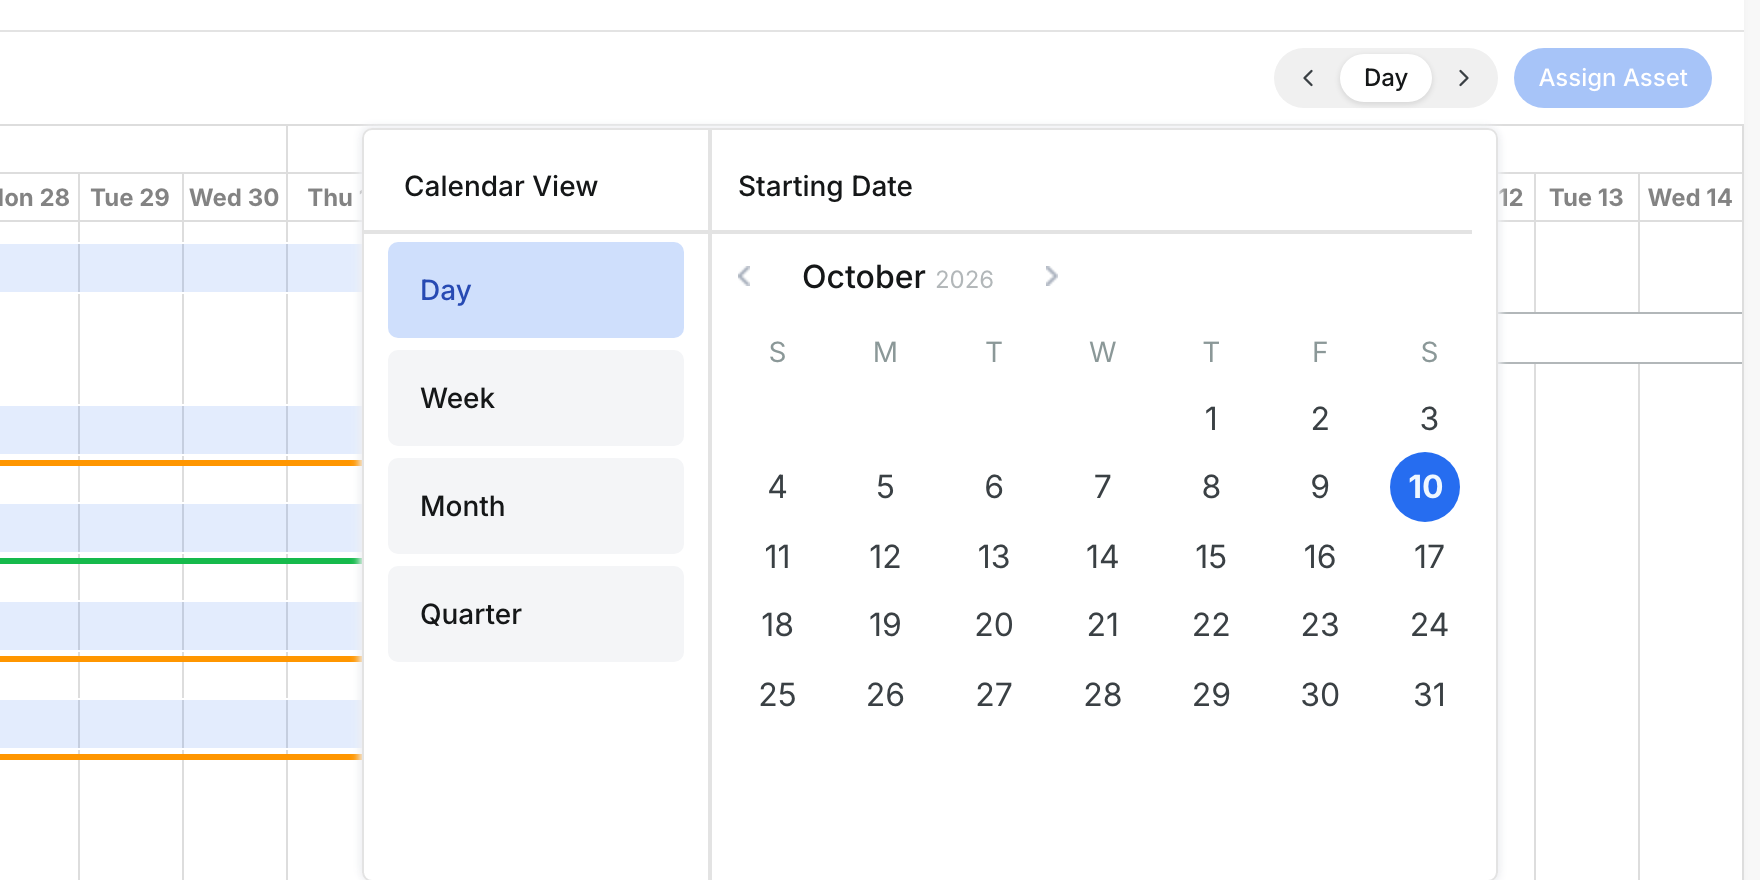
Click the view name next to the arrows, for example Day. Pick Day, Week, Month or Quarter, and choose a start date. Click outside the panel to apply it. Use the arrows to move one period back or forward.
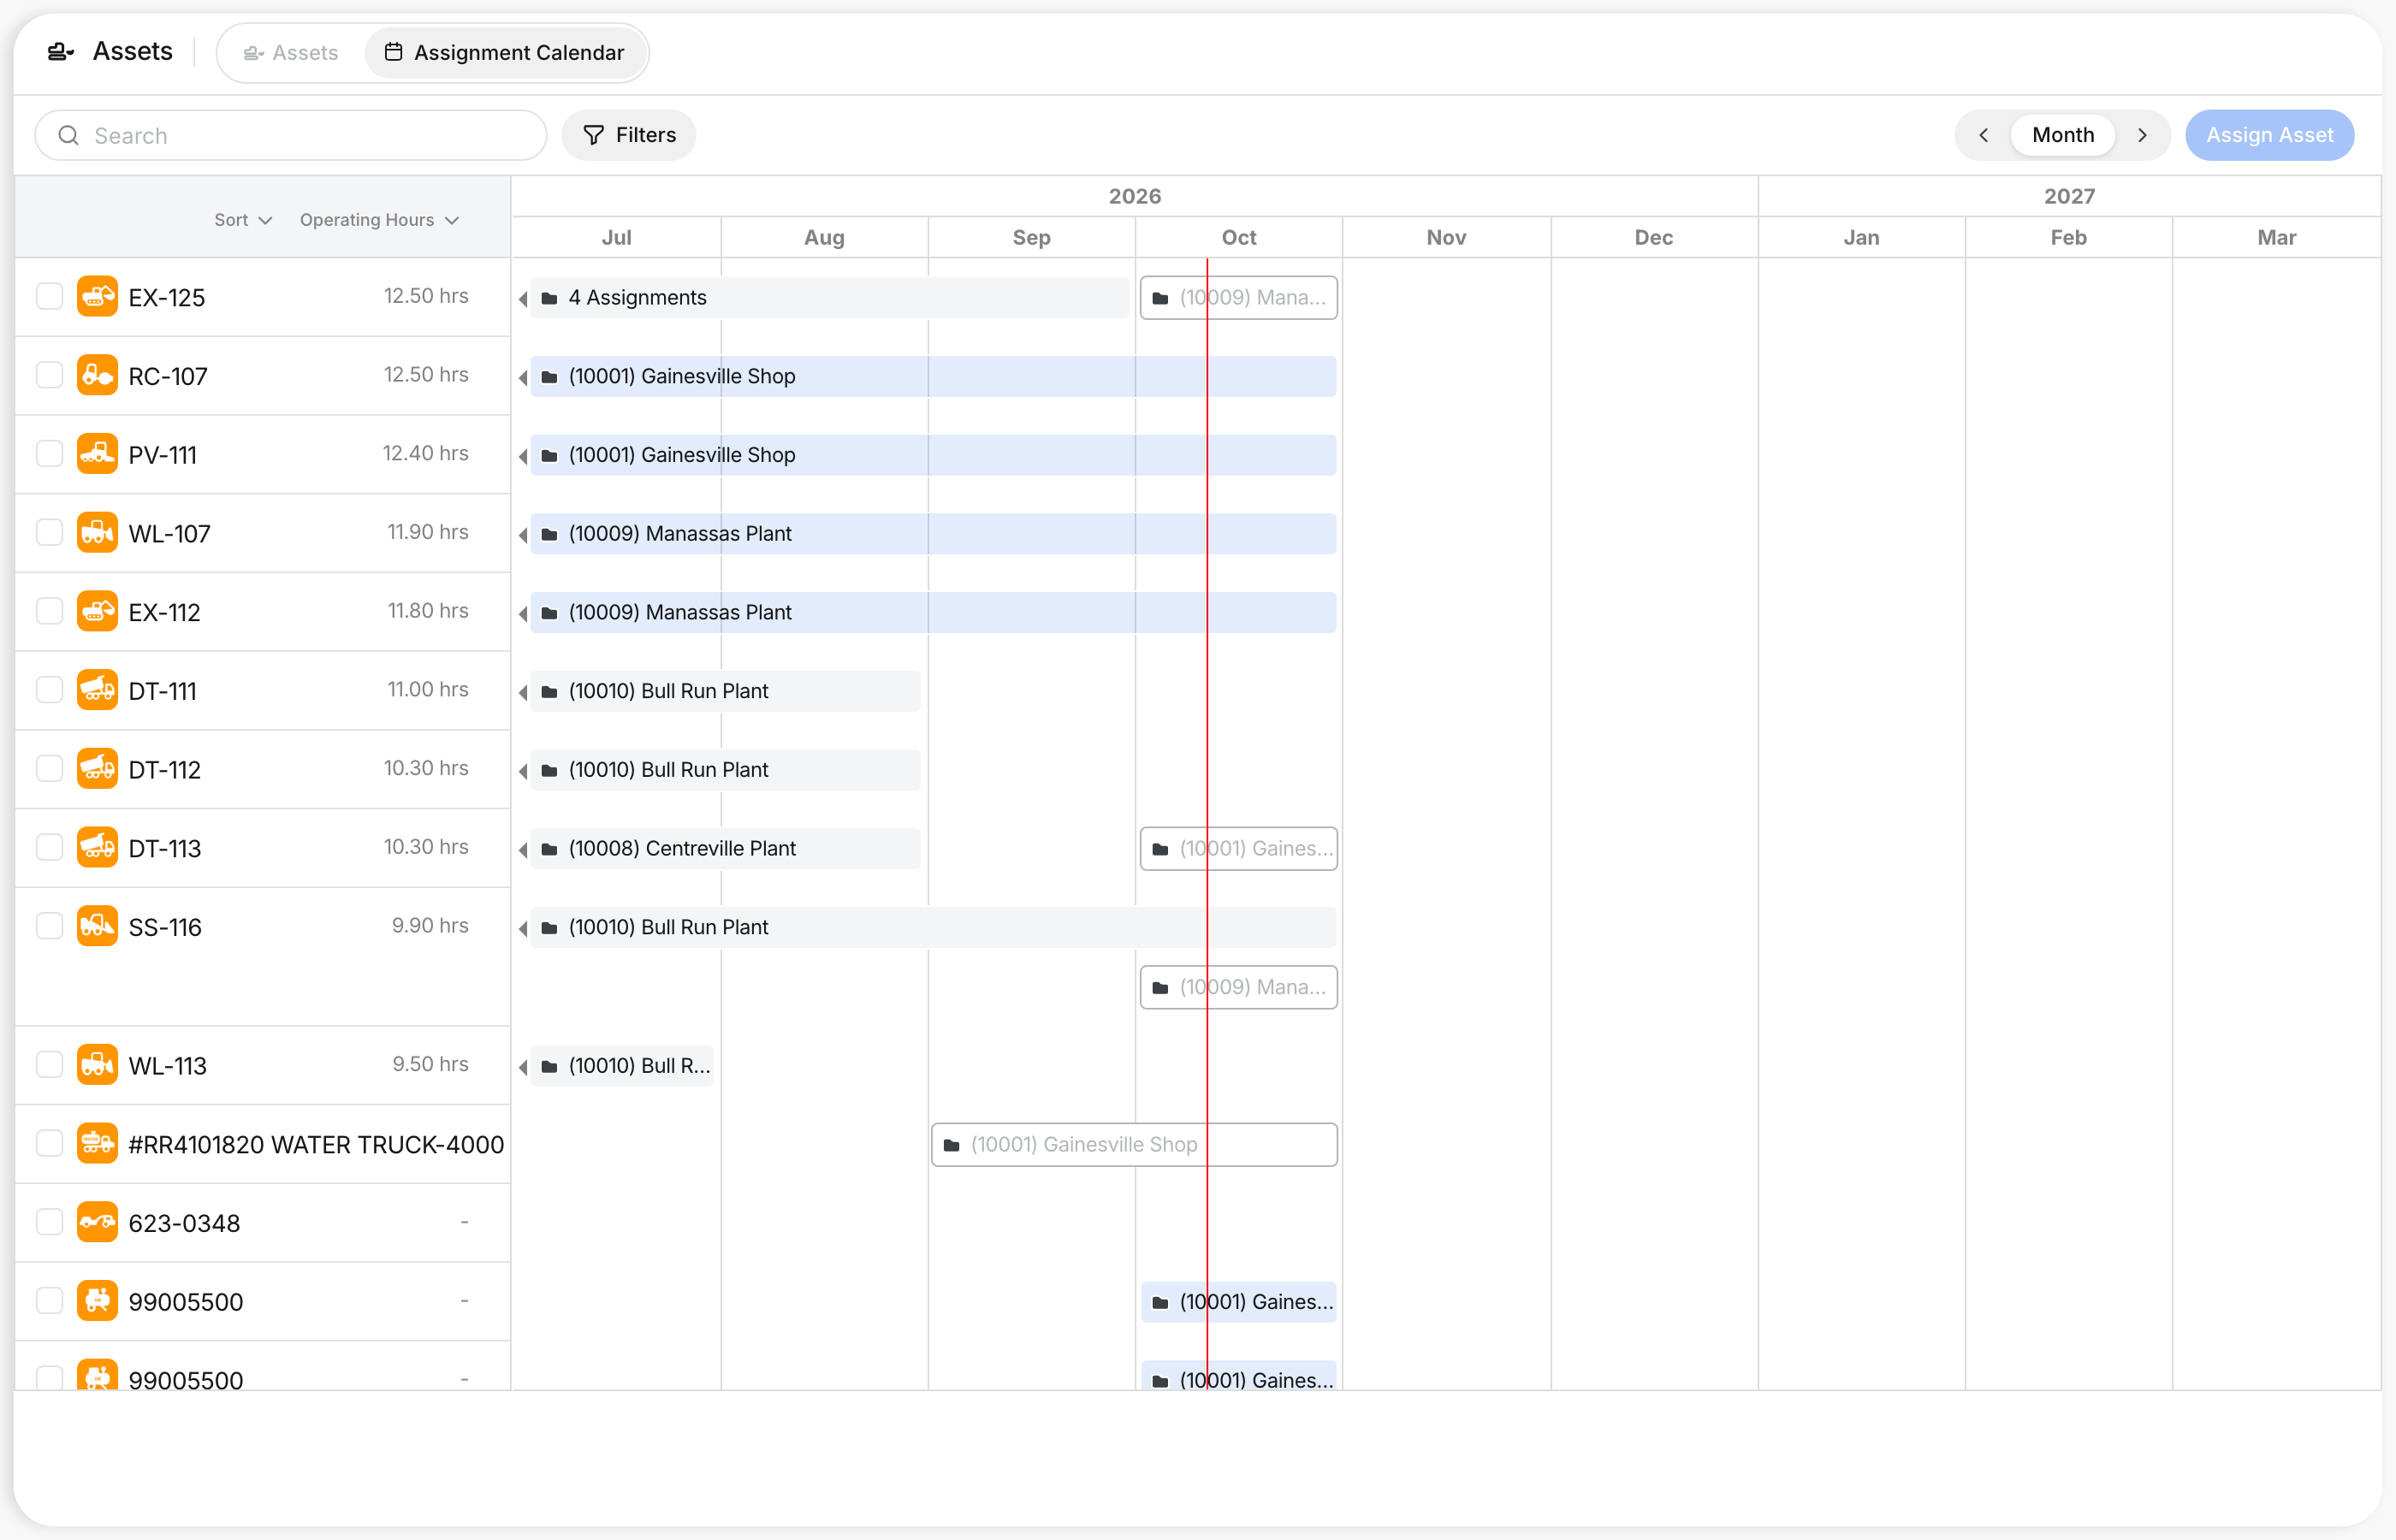
Month and Quarter views help you plan further ahead.
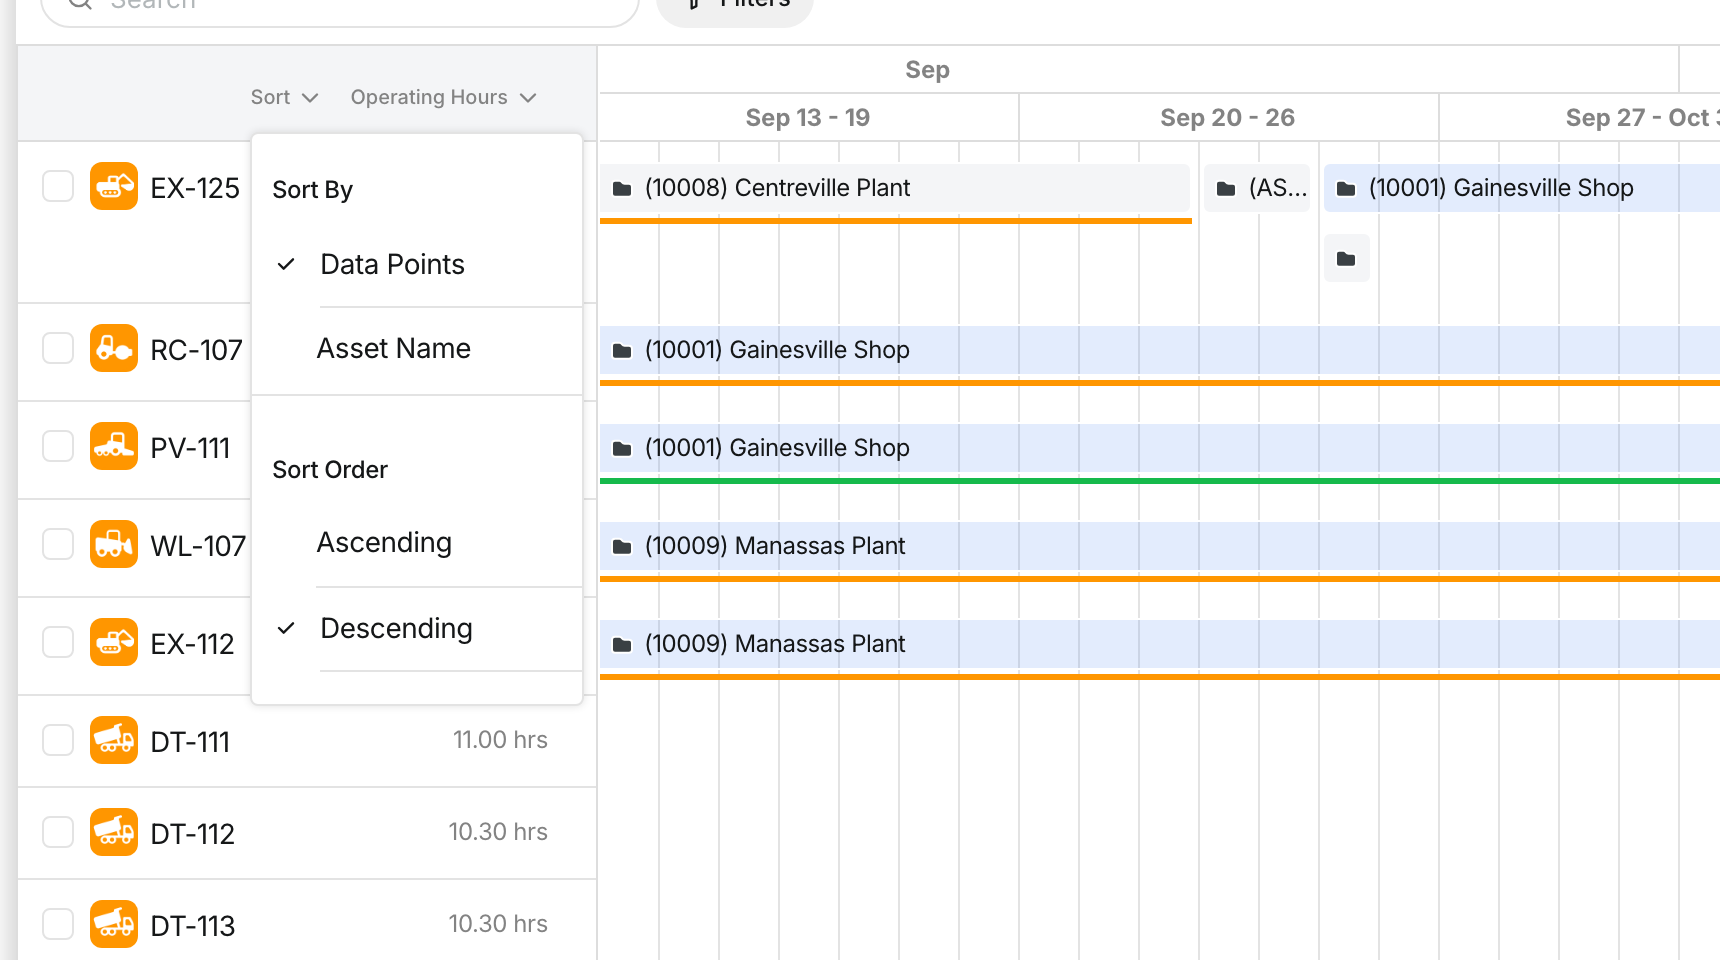
Step 6: Sort the assets
Click Sort above the asset list. Sort by Data Points or Asset Name, in Ascending or Descending order.
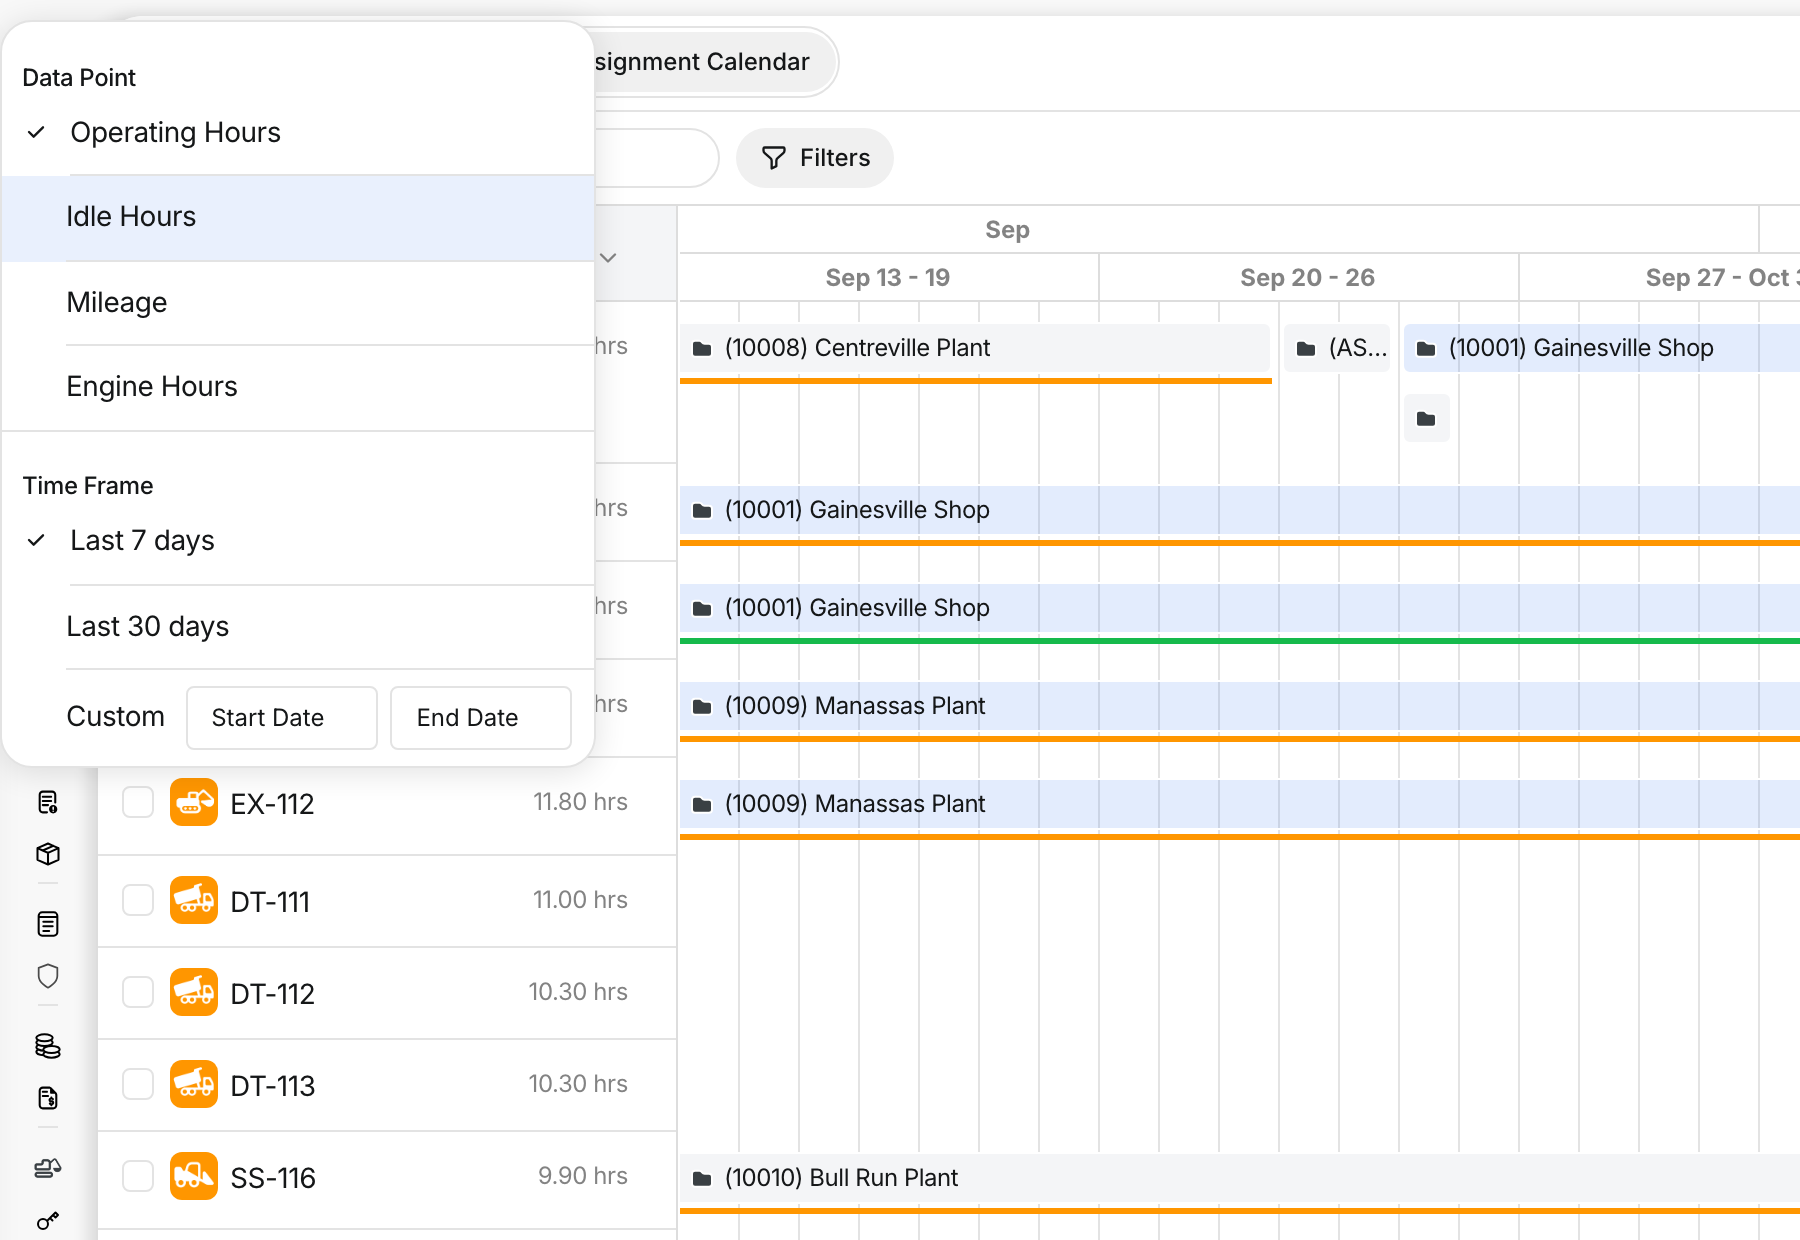
Step 7: Choose the data point
Click the data point name, for example Operating Hours. Pick Operating Hours, Idle Hours, Mileage or Engine Hours. For operating and idle hours, pick Last 7 days, Last 30 days or a custom date range.
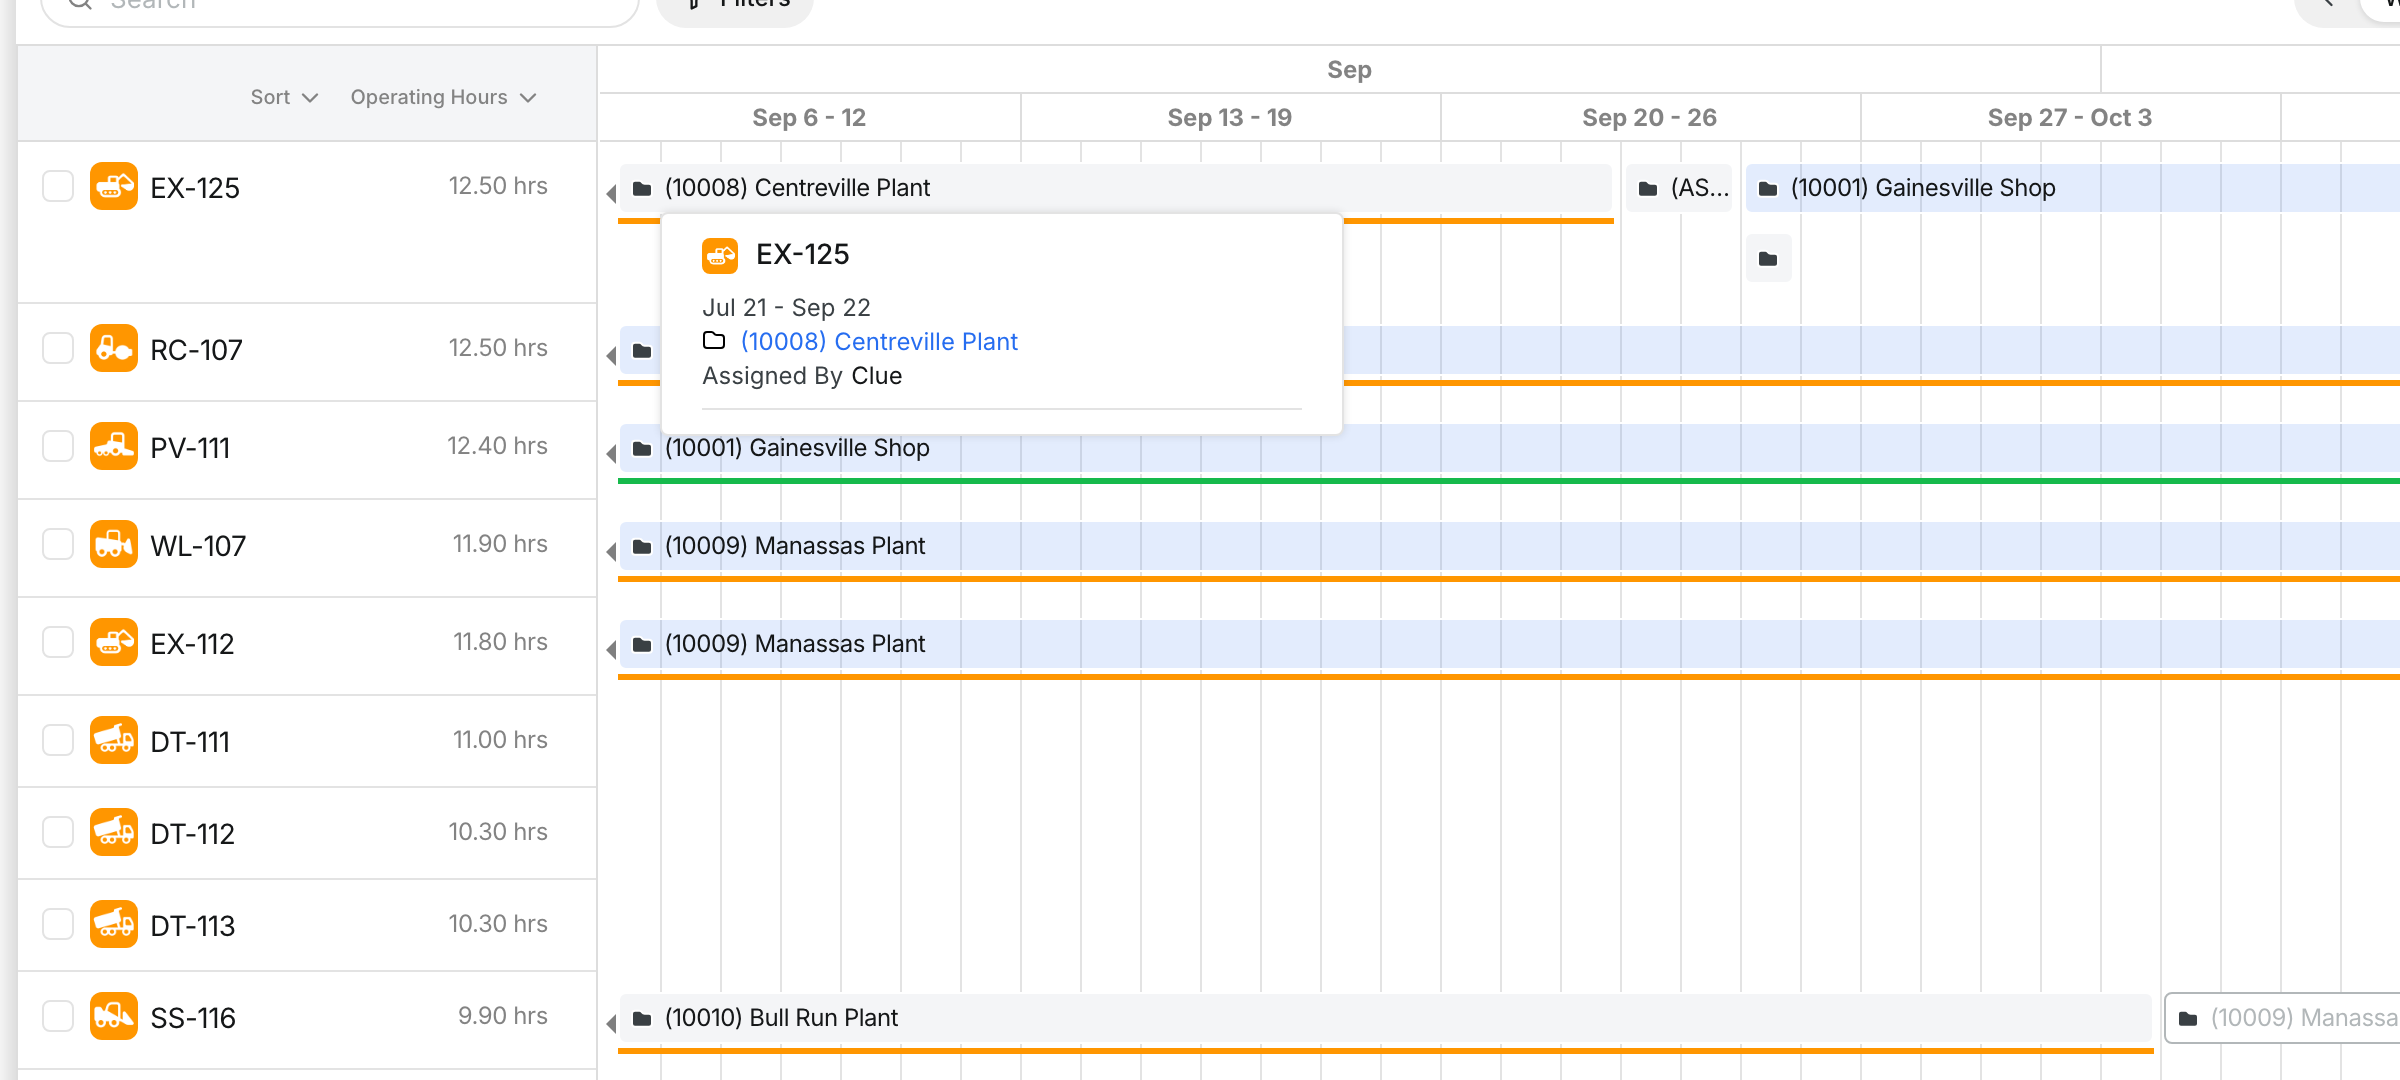
Step 8: See assignment details
Hover a bar. You see the asset, the dates, the project, who assigned it, and any assignment notes. "Assigned By" shows a person, or the source of the assignment, such as Planner, Auto-Assign or Geofence. Click the asset or project name to open its details.
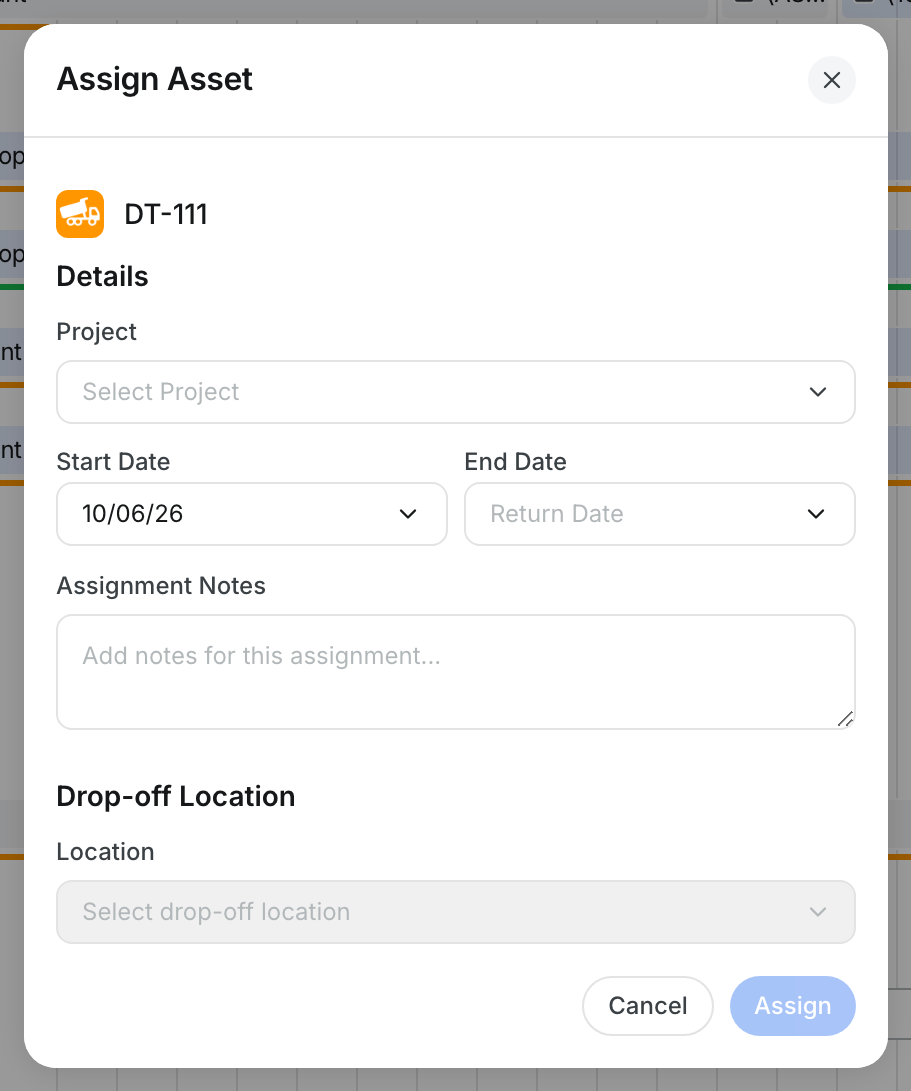
Step 9: Assign an asset
Click an open day in an asset row. The Assign Asset window opens with that day as the start date. Pick the Project, set the End Date, add notes and a drop-off location if you need them, then click Assign.
To assign several assets at once, tick them in the list, then click Assign Asset at the top right.
The full details
- Works on: Web app.
- Where: Organization > Assets > Assignment Calendar.
- Assets shown: Active assets you can see. The list loads 50 at a time. Scroll down to load more.
- Search and Project filter: Both use the project the asset is on now, not past projects.
- Change dates: Drag a current or planned bar left or right, or drag its edge. You cannot move a bar that has already ended, or a grouped "N Assignments" bar.
- Move to another asset: Drag a planned bar onto another asset row.
- Past start date: If you move a start date into the past, Clue asks you to confirm the equipment has already moved to the job site.
- Overlaps: If the new dates overlap another assignment for the same asset, Clue asks you to confirm before it saves.
- Edit: The Edit link appears on current and planned assignments when you have permission. Past assignments cannot be edited.
- Delete: Only planned assignments can be deleted, from the Edit window.
- Permission: You need permission to assign assets to see the Assign Asset button.
Tips
- Use Week view and the arrows to check one month at a time without losing your place.
- Sort by Data Points, ascending, with Operating Hours selected. The least used assets come first, which makes them easy to send to the next job.
- Tick Under-utilized and save your usual threshold. You see the idle machines every time you open the calendar.
- A white planned bar means the asset is booked but has not moved yet. Check it before you promise that asset to another job.