Updating a Work Order
Update a work order when the repair changes, the assignment needs to move, or more detail needs to be added as the job moves forward. Keeping the work order current helps your team track progress, labor, parts, and repair history in one place.
Overview
Once a work order has been created, you can open it again and update the details as needed. This includes changing the status, reassigning the mechanic, updating the type, editing the description, or linking the work order to the right issue or checklist.
Step 1: Open the Work Order
Start by opening the Work Orders list. If you need help finding the right record first, use Filtering and Finding Work Orders to narrow the list by status, assignee, asset, project, or work order type.

Go to Maintenance > Work Orders, then click any work order row to open the detail view.
Step 2: View Work Order Details
The detail view shows the full work order record. This is where you can review the current assignment, status, and work order details before making changes.

At the top of the work order, you will see the main header actions:
- Status dropdown - change the work order status
- Download - download the work order
- Share - share the work order with others
- Three-dot menu - open more actions, including edit and delete.
If you only need to move the work order through its workflow, you may not need the full edit form. For status-only changes, see Understanding Work Order Status. CLUE’s status flow includes To Do, In Progress, On Hold, Done, and Cancelled.
Step 3: Access the Edit Menu
To update the full work order record, open the three-dot menu in the top right corner of the header. This menu gives you access to the main edit action.
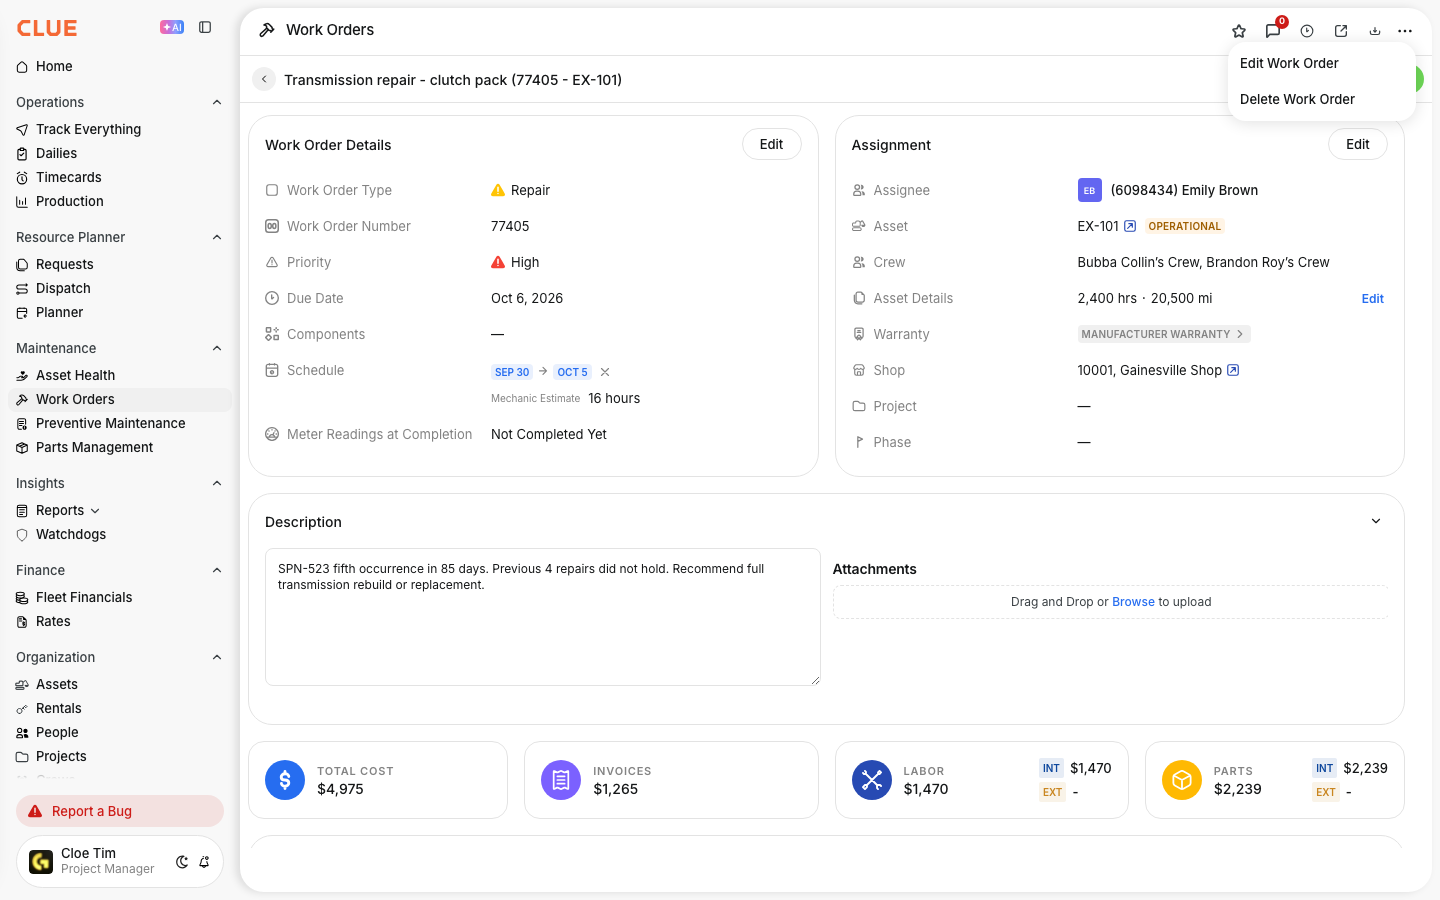
From the menu, choose:
- Edit Work Order - opens the full edit form
- Delete Work Order - removes the work order, so use this carefully.
Click Edit Work Order to open the form.
Step 4: Edit Work Order Details
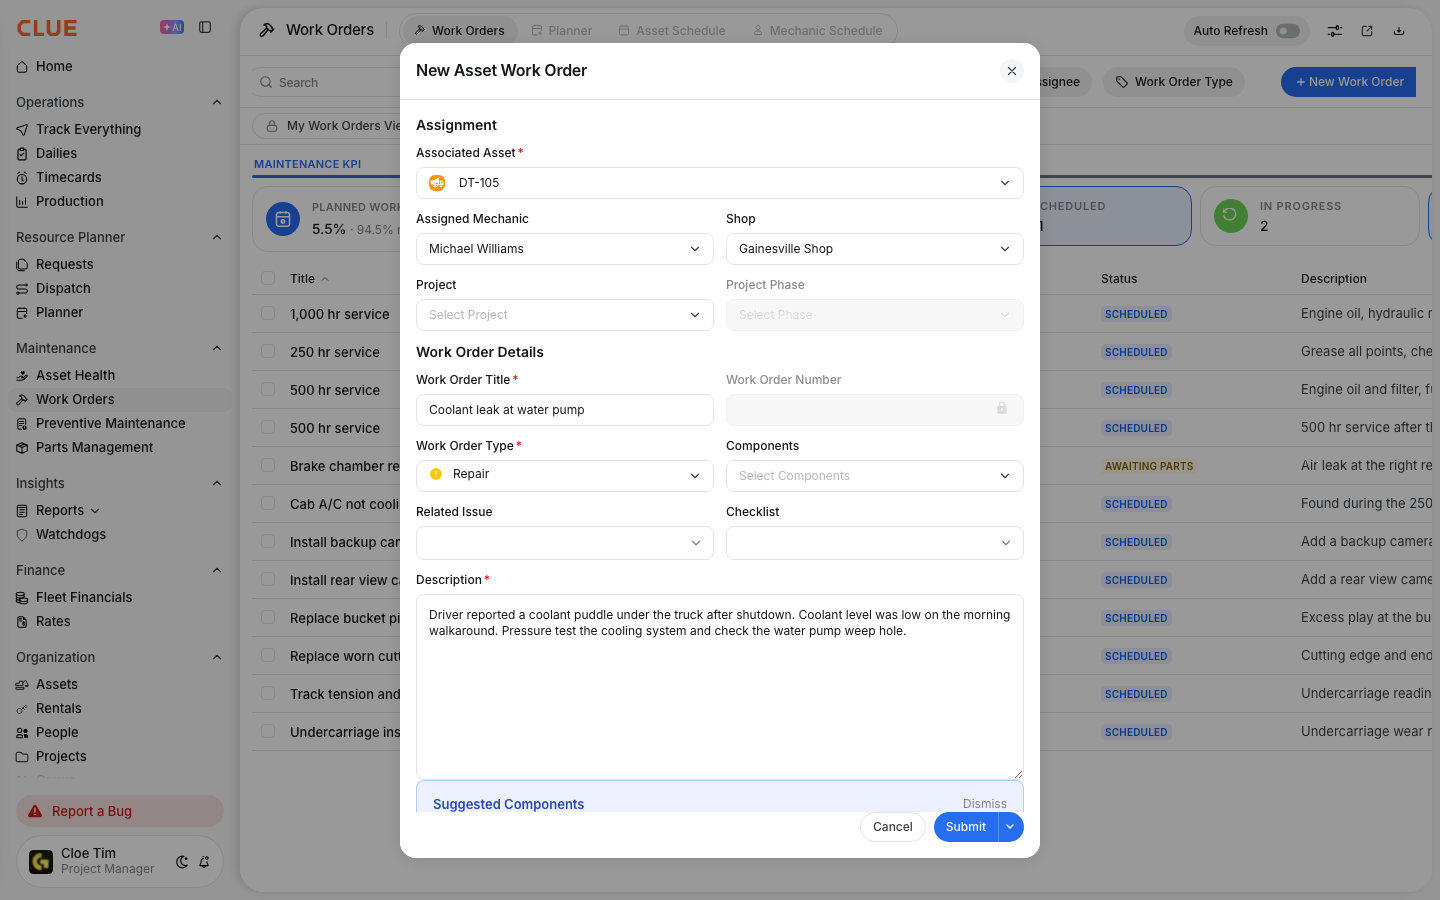
The edit form lets you update the assignment and the main work order details. This is useful when the job scope changes, a different mechanic takes over, or more complete notes need to be added.
Assignment Section
Use this section to update who the work order belongs to and where the work is being handled. If the main change is reassigning the job, Assigning Work Orders is the best related article to link here.
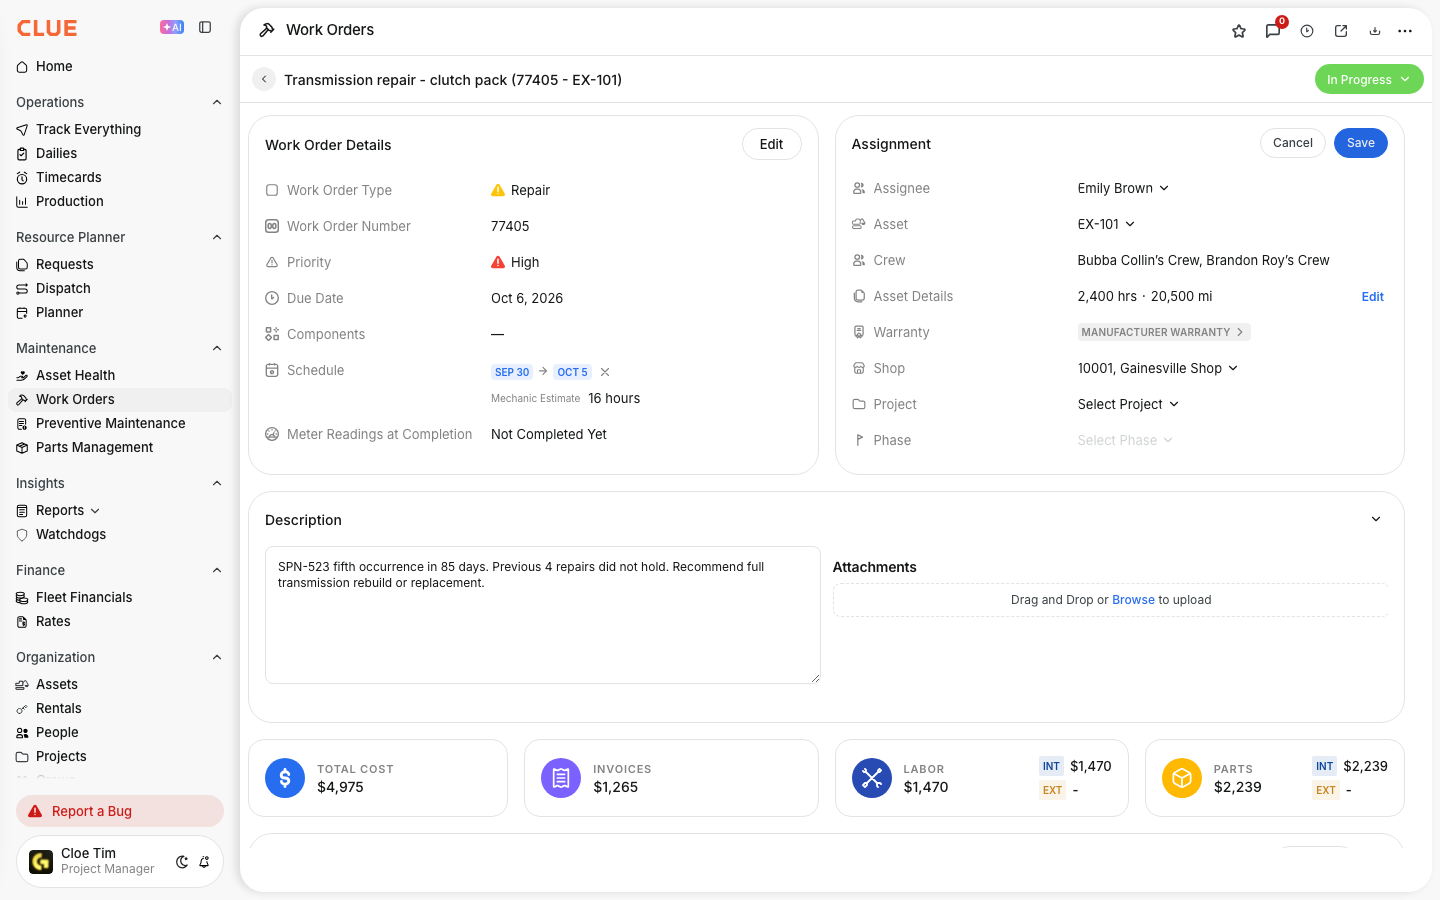
- Associated Asset - the equipment tied to the work order
- Assigned Mechanic - the mechanic responsible for the job
- Shop - the service location
- Project - the linked project or job site
- Project Phase - the project phase, if used.
Work Order Details Section
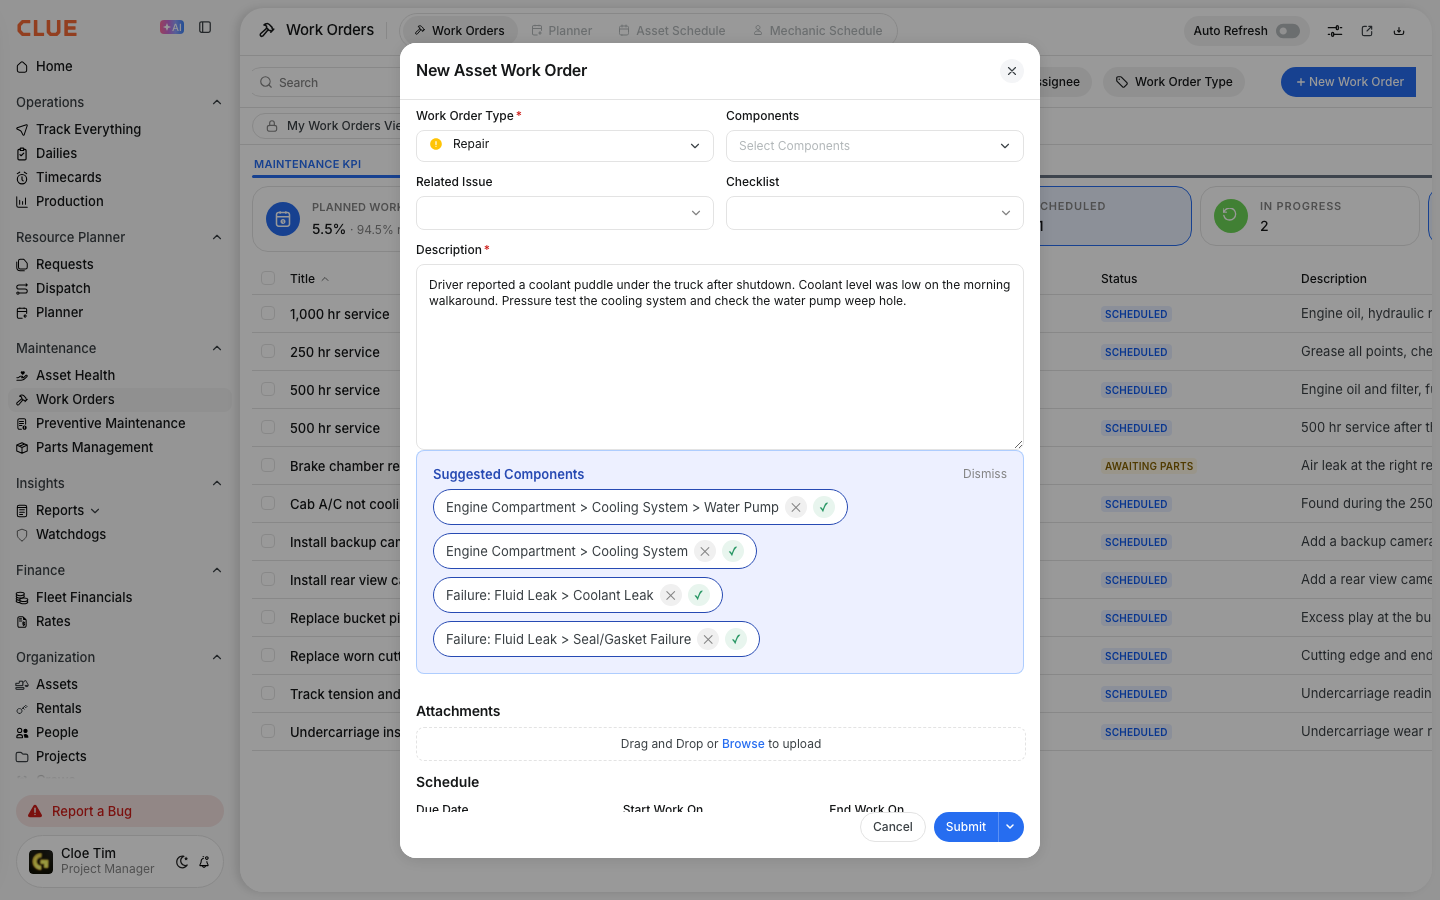
Use this section to update the work itself. This is where you can adjust the description, type, linked issue, checklist, and other job details.
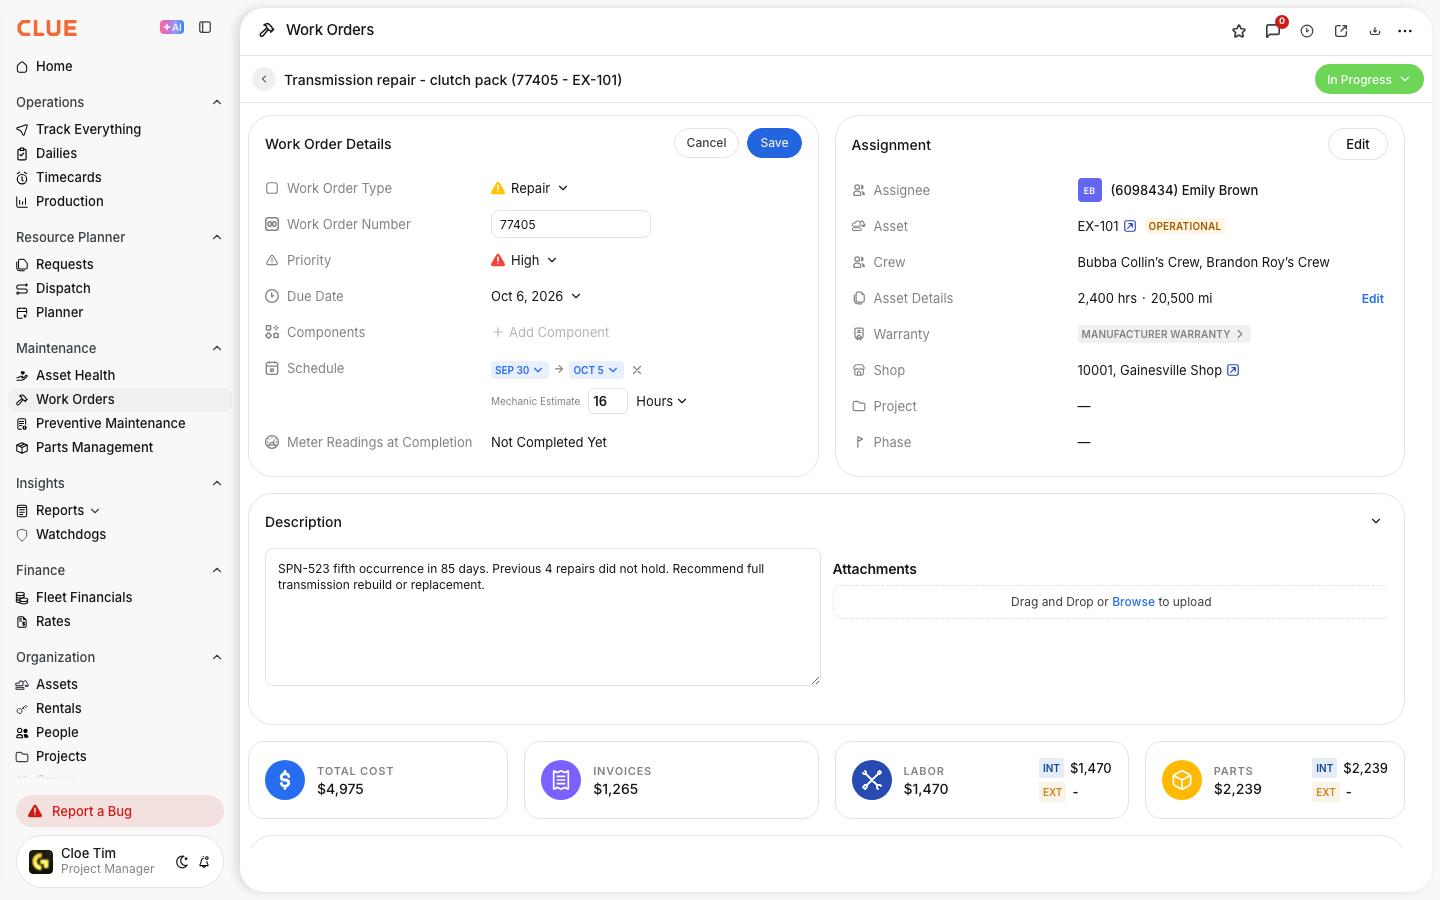
- Work Order Title - short description of the job
- Work Order Number - auto-generated and read-only
- Work Order Type - update the type if needed
- Components - add or remove affected components
- Related Issue - link the work order to a fault code or inspection issue
- Checklist - attach or change the checklist
- Description - detailed notes for the mechanic or shop.
If the repair started from a fault code or inspection issue, keep the Related Issue linked so the maintenance record stays connected from problem to resolution. That workflow is covered in Creating Work Orders from Issues.
If the job needs clearer repair steps, add task-level detail through Adding Tasks to Work Orders. If the work is already underway and you need to capture mechanic time, continue adding Labor to Work Orders.
When you are done, click Submit to save your changes, or Cancel to leave without saving.
Tips
Keep the work order updated as the repair moves forward instead of waiting until the end. That gives mechanics, foremen, and managers a clearer view of what is happening right now.
- Use status updates to move the job from To Do to In Progress to Done as work changes.
- Use the three-dot menu when you need to edit more than just the status.
- Add clear notes in the Description field so the repair history is easier to understand later.
- Keep Related Issue linked when the work came from an inspection issue or fault code.
- If the job grows and needs multiple steps, break it down with tasks so mechanics can track what has been completed.