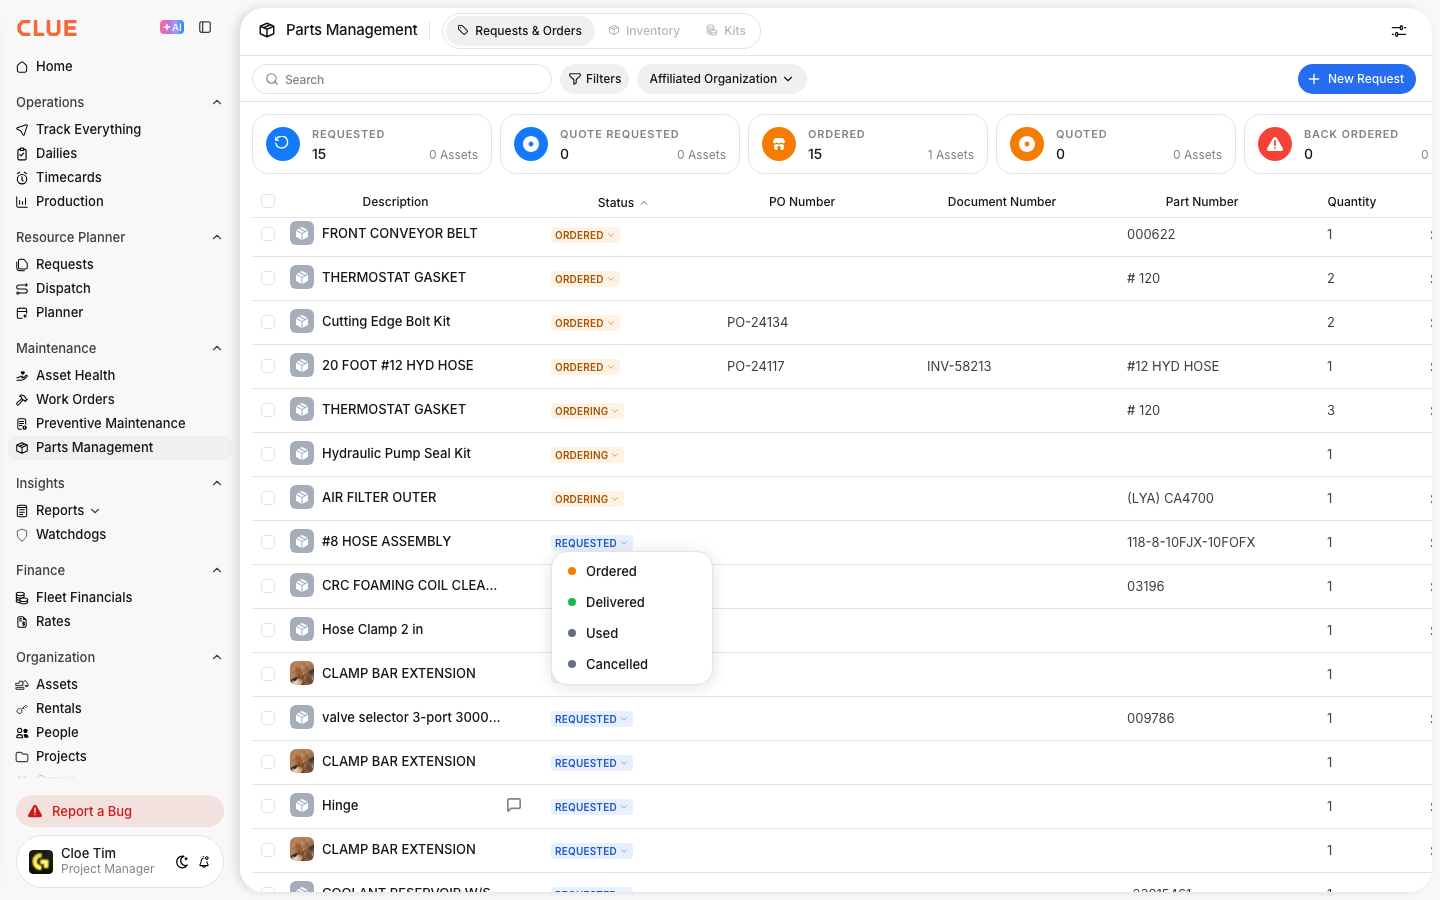
Adding Parts to Inventory
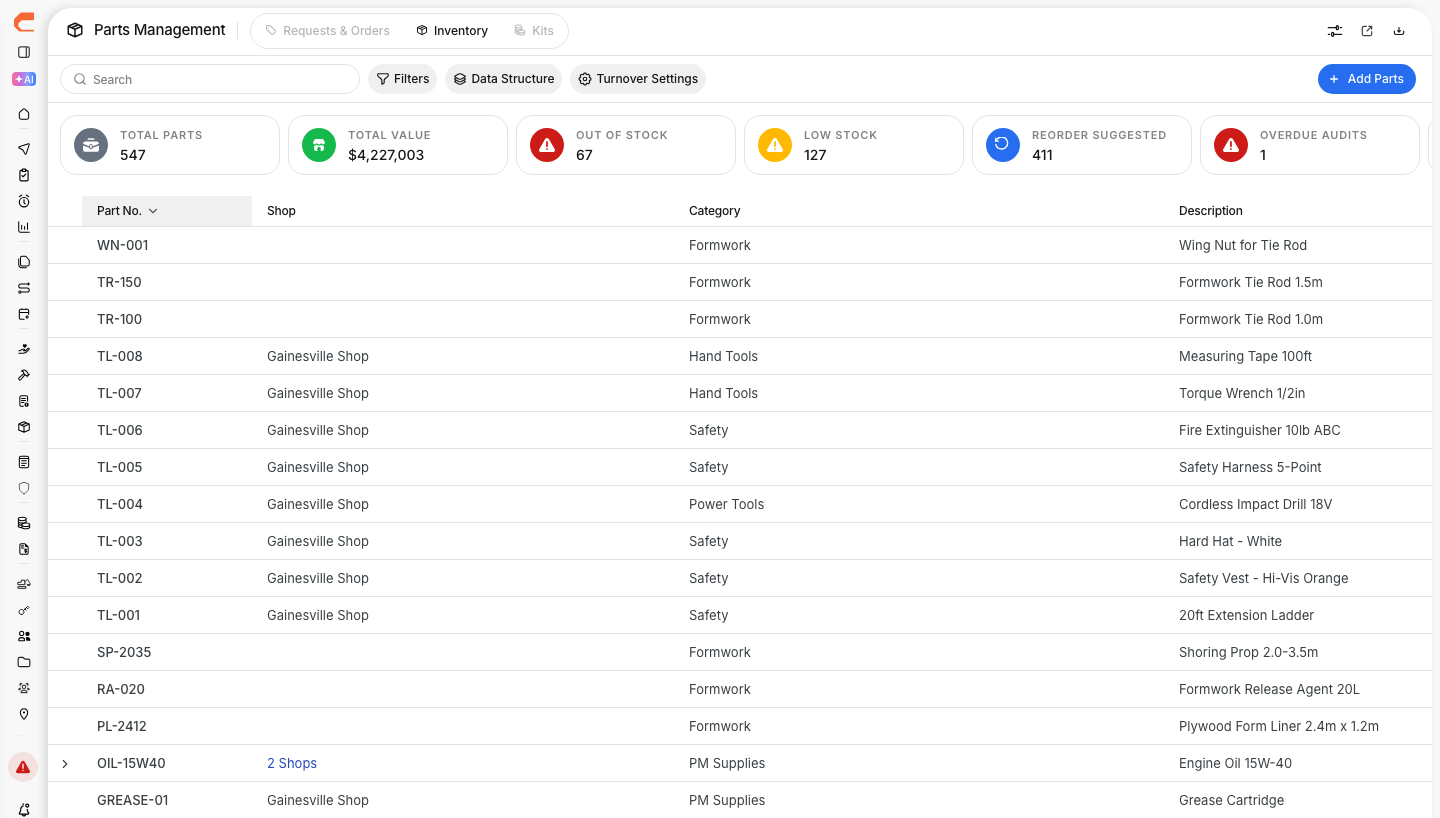
Add a part to inventory when you bring in new stock or start tracking a new item. The important step most people miss is giving the part a shop location. A part without a location will not show up in your Parts Inventory search, so this guide walks through the whole flow, including where the quantities live.
What is this?
Parts Inventory is where your team tracks the parts you keep in stock, by location and quantity. Adding a part the right way makes it searchable, keeps your counts accurate, and drives reorder and cost reporting.
Every stocked part lives at one or more shops. When you add a part, you tell Clue which shop holds it and how many are on hand. That is what makes the part appear in inventory.
Who is this for?
- Parts and inventory managers, add new stock and keep on-hand counts accurate.
- Shop supervisors, set up the parts kept at each of their locations.
- Mechanics, find and pull the right part when working a repair.
How to add a part
Step 1: Open the Add Part window
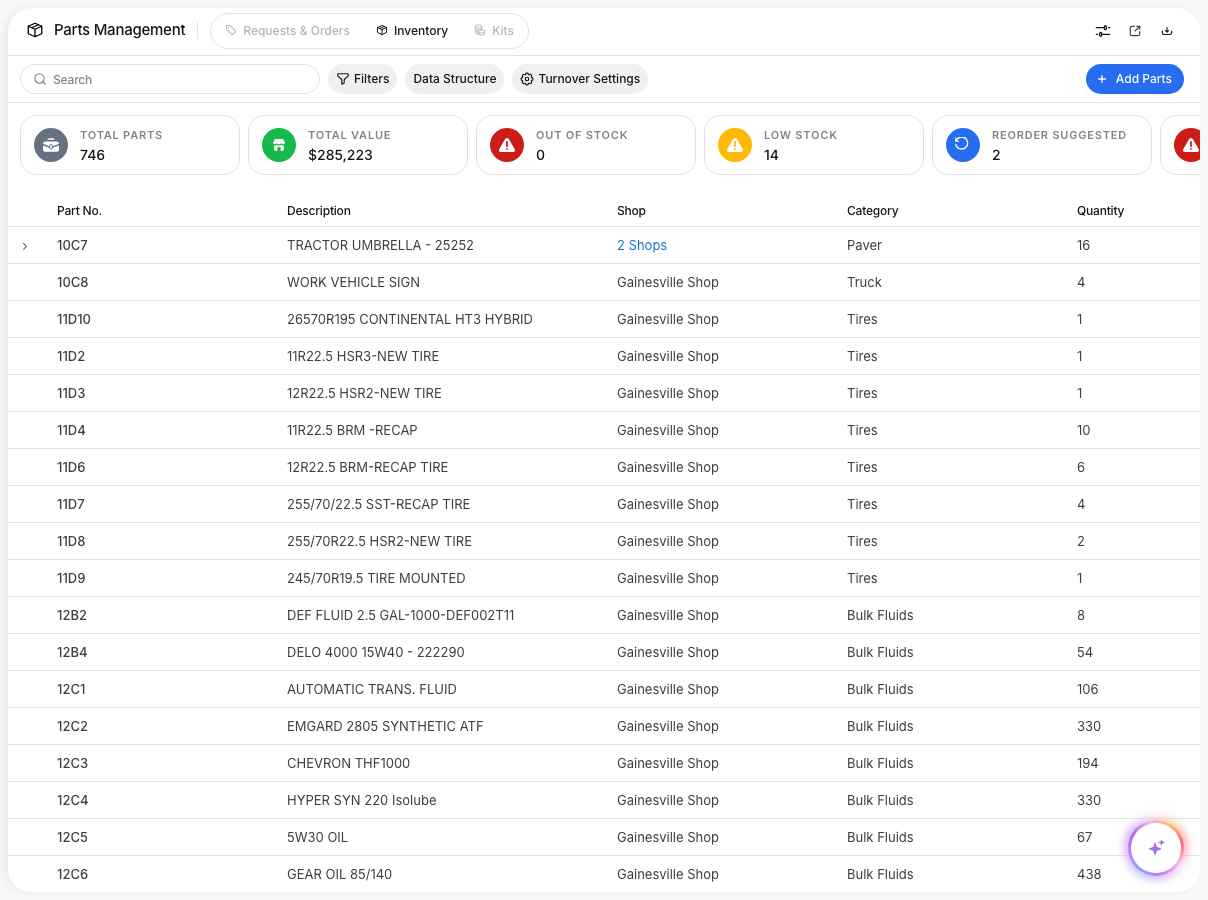
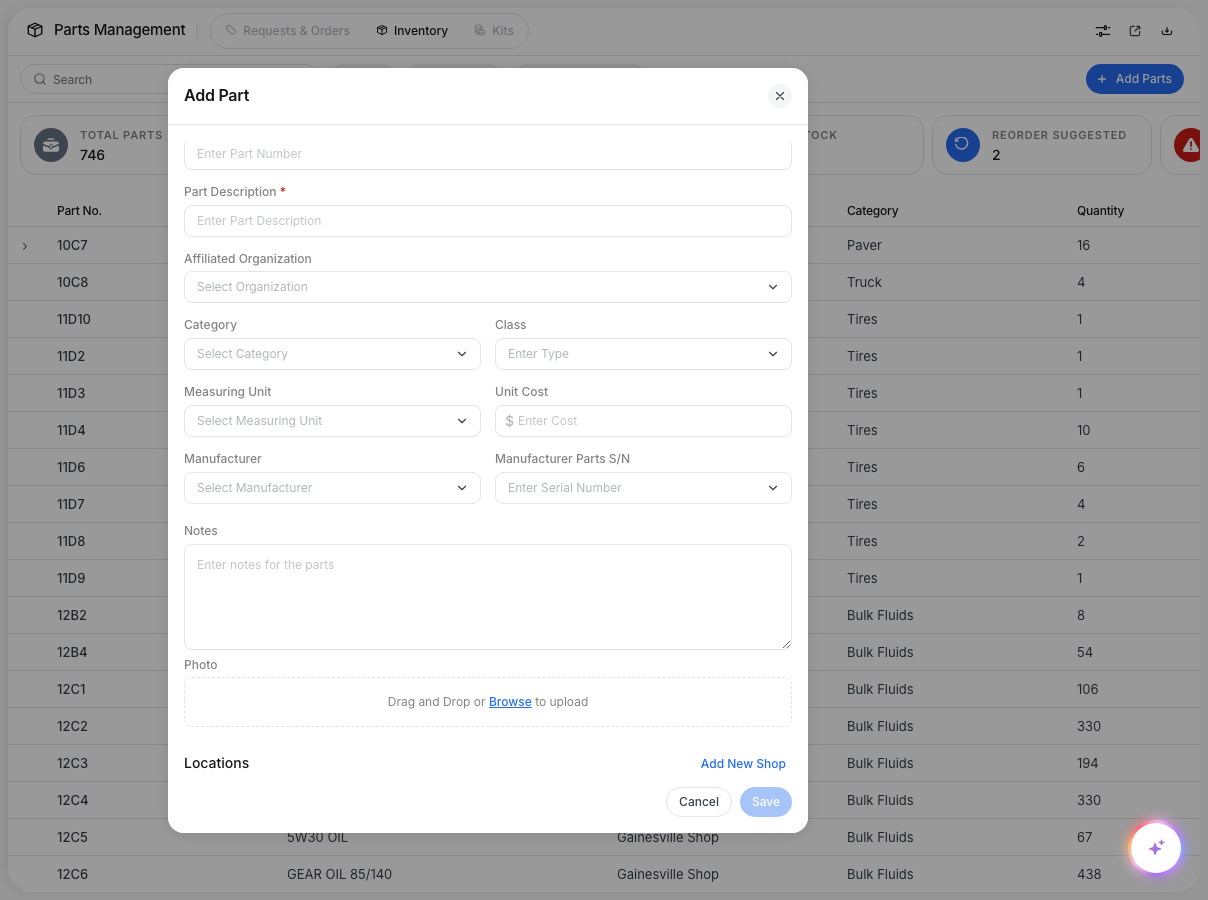
Go to Maintenance > Parts Management > Inventory and click Add Parts in the top right.
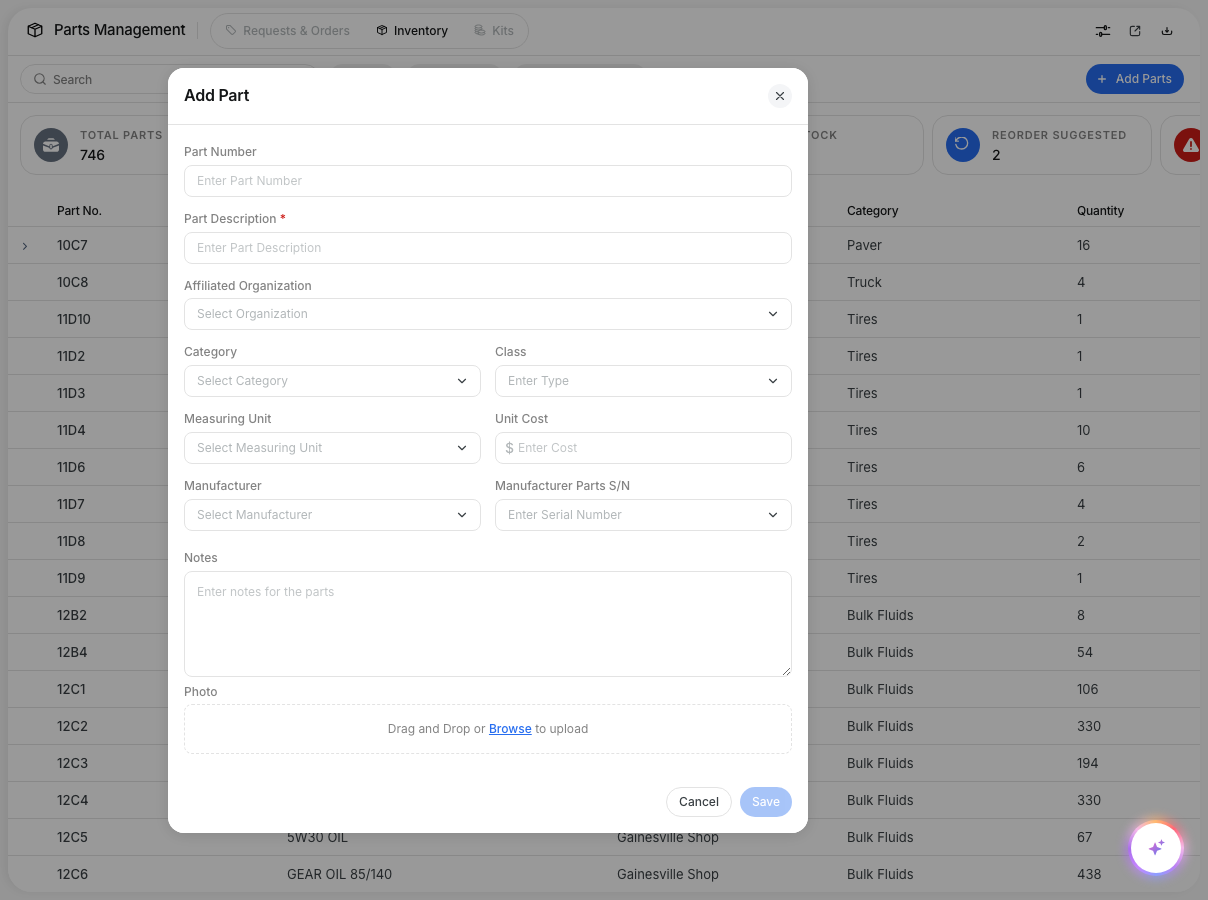
Step 2: Enter the part details
Fill in the Part Number and Part Description, then add any of the optional details: Category, Class, Measuring Unit, Unit Cost, Manufacturer, and Manufacturer Parts S/N.
One field trips people up: Affiliated Organization is not the location. It only links the part to a division, and it is optional. The shop location is set further down, in the Locations section.
Step 3: Turn on inventory tracking
Scroll down past the Photo box and check Is this an inventory item? This reveals the Locations section, where the shop and quantity are set.
Step 4: Add a shop location and quantity
In the Locations section, click Add New Shop. Pick the shop that holds the part, then enter the On-Hand Quantity. You can also set the Aisle, Row, and Bin and a Reorder Point for that shop.
To stock the same part at more than one location, click Add New Shop again and repeat. Each shop keeps its own quantity and reorder point.
Step 5: Save
Click Save. The part now appears in your Parts Inventory search, with its quantity shown at each shop you added.
The full details
- Where: Maintenance > Parts Management > Inventory > Add Parts (web app).
- Required to appear in inventory: a part must have at least one shop location. A part saved with no location exists in the system but will not show in the inventory list or search.
- Affiliated Organization: optional. It scopes a part to a division and is not the shop location.
- Vendor or off-site locations: set them up first under Projects with the type set to Shop. They then appear in the shop list here, alongside your own shops.
- Quantities and reorder points: set per shop, inside each location row.
Tips
- If a part you added is not showing up, it almost always means it was saved without a location. Open Add Parts, turn on Is this an inventory item?, and add a shop.
- Use consistent part numbers and include the manufacturer number when you have it, so parts are easy to find later.
- Set reorder points based on real usage so the Reorder Suggested count stays meaningful.
- Stocking one part across several shops? Add each shop as its own row so each location tracks its own count.