Editing a geofence lets you keep site boundaries accurate as projects change. In CLUE, you can update the shape, rename the geofence, or delete it if it is no longer needed.
Overview
Geofence are not always fixed. Job sites expand, staging areas move, and access points change over time. This page shows how to update an existing geofence so the map stays accurate and your team can keep using it for tracking and alerts.
Selecting a Geofence to Edit
Start by opening the geofence you want to change. You can find it from the list or directly on the map.
Step 1: Open Geofences
Go to Directory > Geofence. This opens the geofence list and map view.
Step 2: Find the geofence
Look for the geofence in the list or on the map. If you have many geofences, checking the map can be the faster option.

Step 3: Select it
Click the geofence to open it and make it active for editing.

Adjusting Boundaries
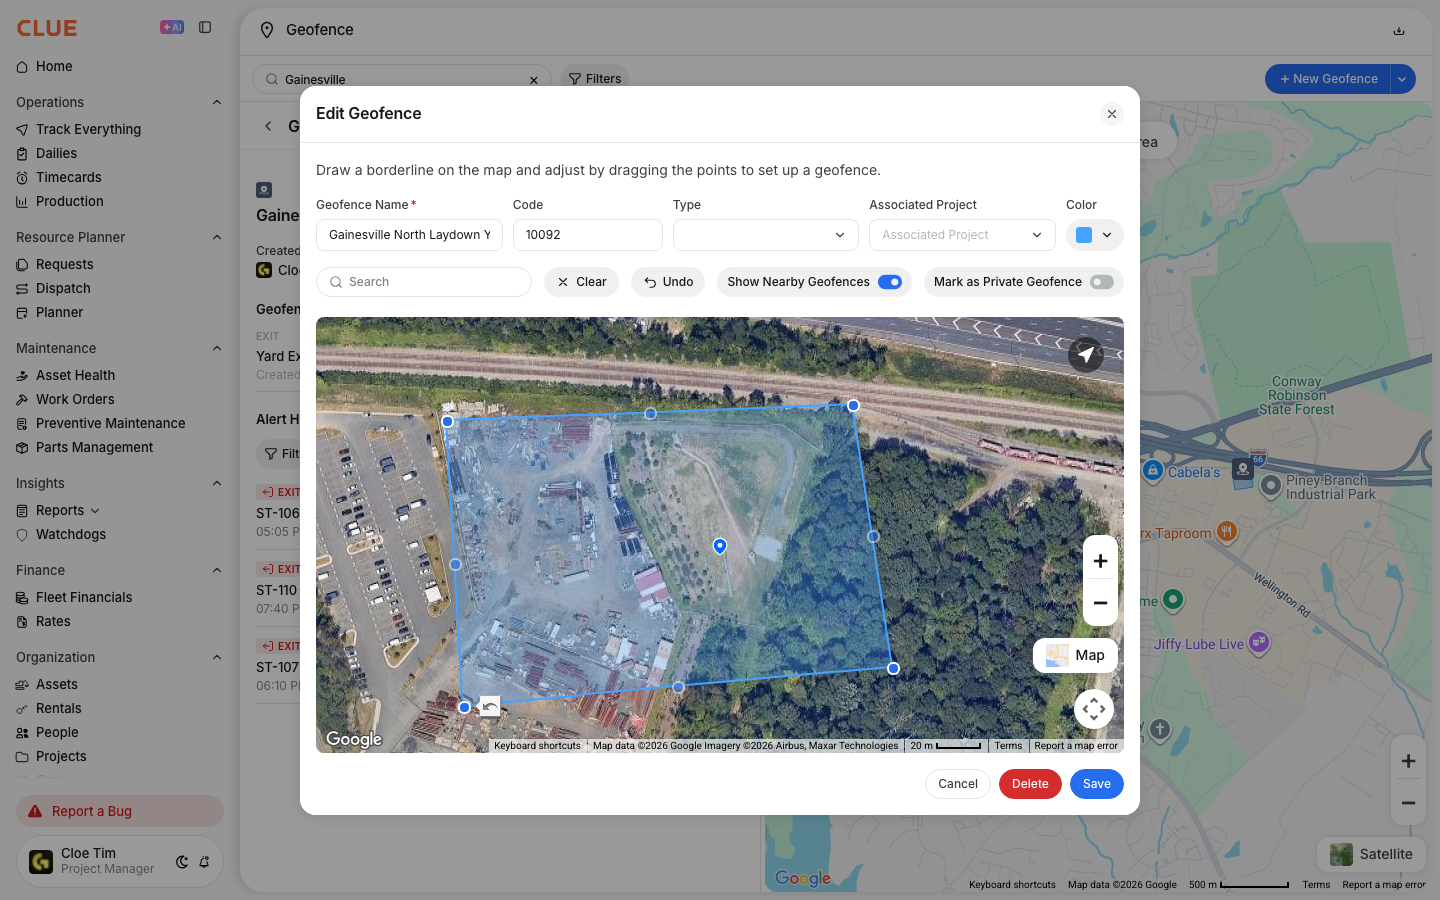
Once the geofence is selected, you can change the shape to better match the current site. This is useful when the work area grows, shifts, or needs more precise edges.
With the geofence selected, you can:
- drag corners to move boundary points
- click an edge to add a new point
- remove a point to simplify the shape
- move the whole shape if the site location has shifted
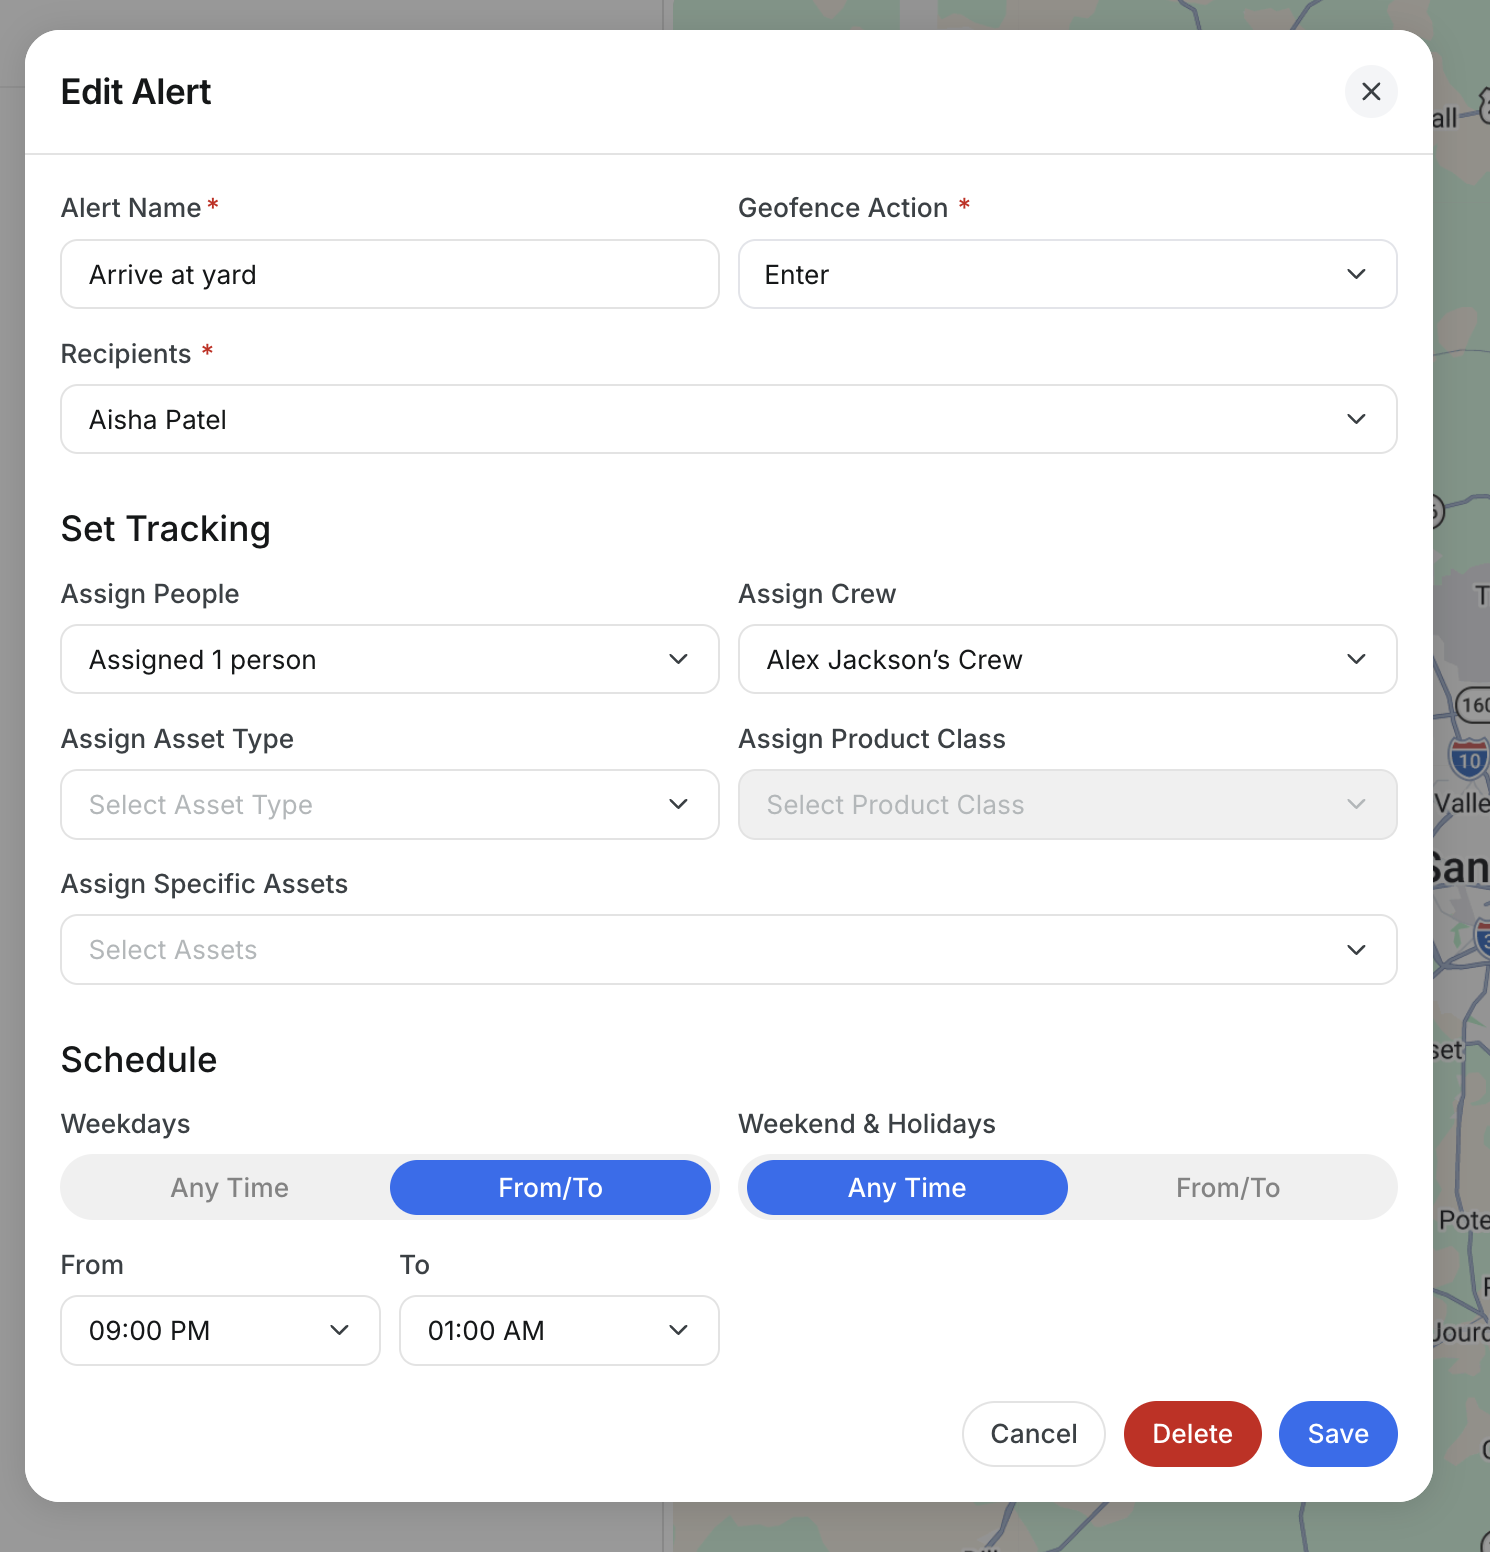
If your team uses geofence-based notifications, updated boundaries can affect how Geofence Alerts behave, so it helps to review alerts after making changes.
Renaming a Geofence
If the site name changes, or if the current name is too vague, you can update it from the detail panel. Clear names make geofences easier to find later in the list and on the map.
Step 1: Select the geofence
Click the geofence you want to rename.
Step 2: Edit the name
Click the name field in the detail panel and enter the new name.

Step 3: Save the change
Save your changes so the new name appears everywhere that geofence is used.
Deleting a Geofence
Delete a geofence only when you are sure it is no longer needed. This is usually the right step for old job sites, duplicate boundaries, or test geofences that should not stay in the system.
Step 1: Select the geofence
Click the geofence you want to remove.
Step 2: Delete it
Click Delete or the trash icon.
Step 3: Confirm deletion
Confirm the action to remove the geofence. Deleting is permanent, and historical location context tied to that geofence can be affected.

Best Practices
A few simple habits can keep geofences more useful over time. The goal is to make boundaries accurate enough for tracking, but still easy to manage.
- update boundaries when the site layout changes
- remove old geofences so the list stays clean
- use clear names that match your project naming
- include the parts of the site your team actually uses, not just the main work area
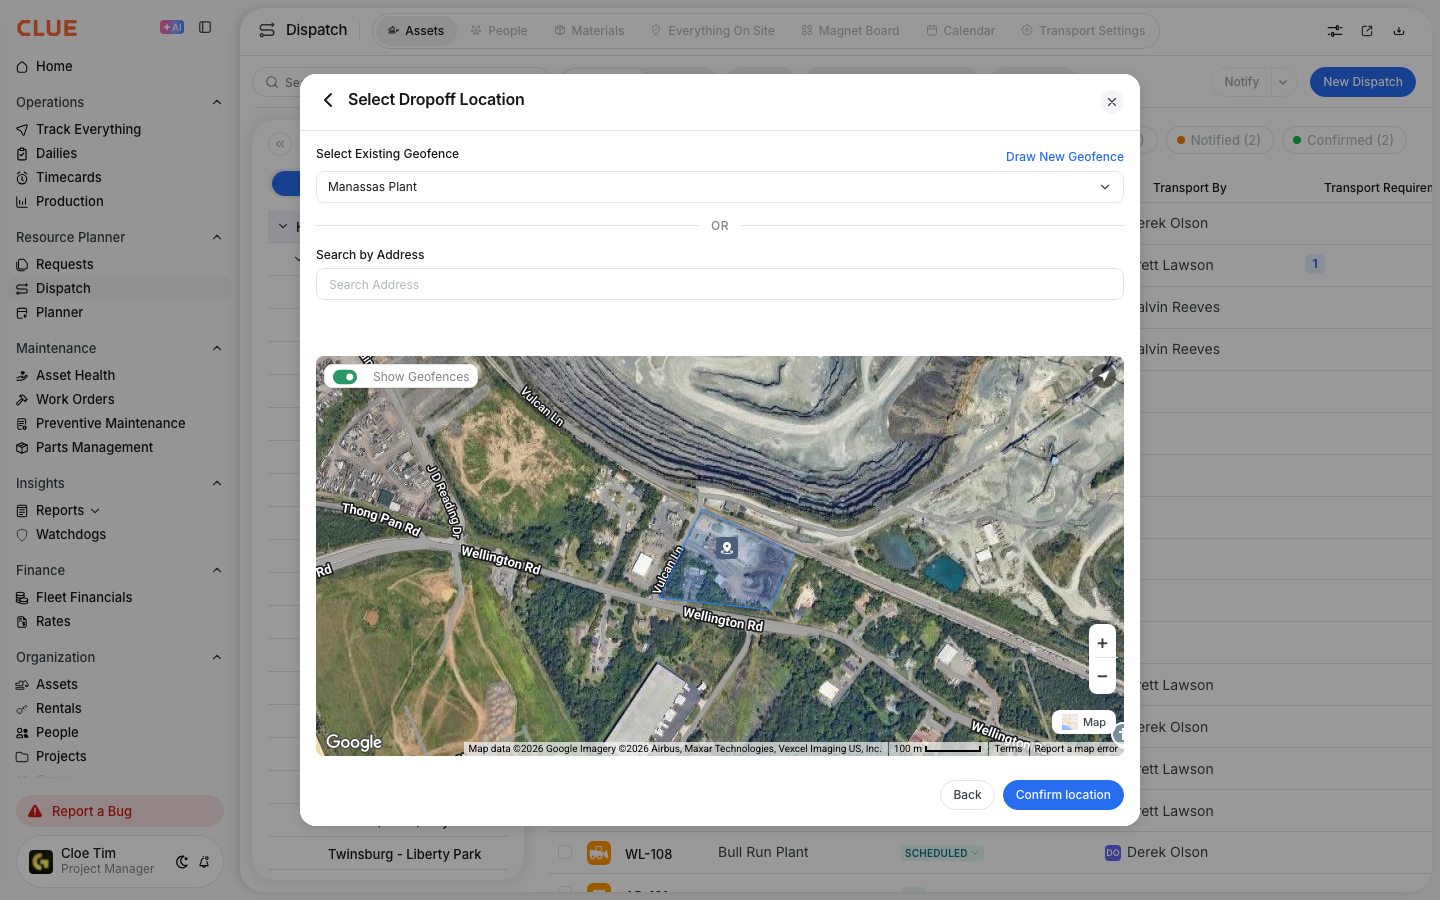
If the geofence is tied to a project, keeping the boundary accurate also helps when using geofences in dispatch and location tracking.
Tips
Small edits can change how useful a geofence is in daily use, so it helps to make updates carefully and check the result right away.
- zoom in before adjusting points
- include parking, laydown, or staging areas when needed
- review alerts after changing a boundary
- keep shapes simple if a complex outline is not necessary