Creating a New Dispatch
Use Dispatch to schedule the movement of equipment between locations. This helps your team plan where assets are going next, when they need to move, and what site they should arrive at.
Overview
A dispatch is used when equipment needs to be moved from one location to another. It gives the team one place to set the asset, the pickup point, the destination, and the dates for the move.
This workflow also fits naturally with Dispatching Assets to Projects, Viewing Everything On Site, and Using the Dispatch Board if the reader needs more context around planning and site visibility.
Step 1: Navigate to Dispatch
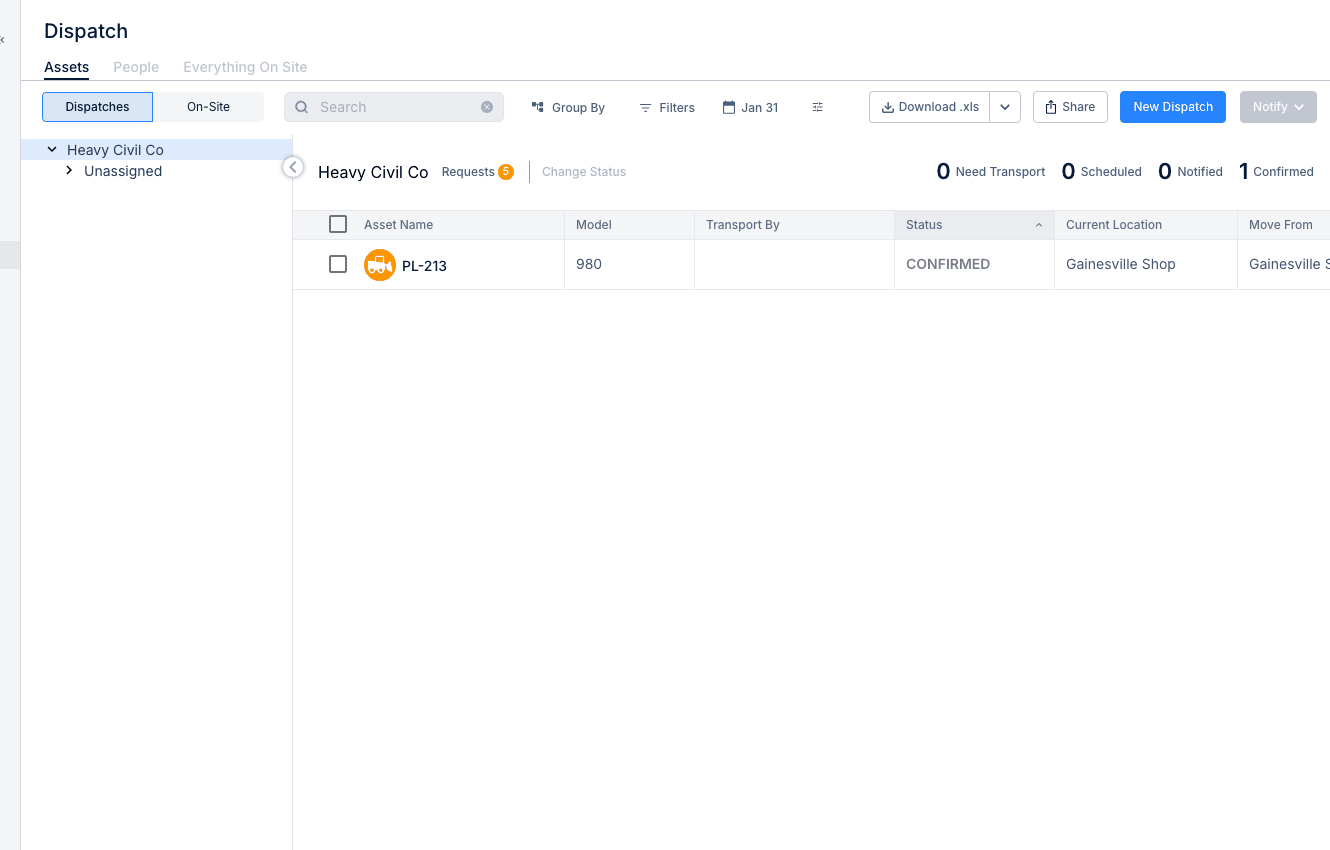
Go to Resource Planner > Dispatch in the sidebar.
The Dispatch page includes views for assets and other resource planning workflows. From there, you can create a new move and review what is already scheduled. This is also a natural place to link to Using the Dispatch Board.
Step 2: Click New Dispatch
Click the New Dispatch button in the top-right corner.
This opens the dispatch form, where you enter the move details for the selected asset or assets.
Step 3: Fill out the form
The dispatch form is where you enter the main details for the move. Keep the information clear so the team knows what is moving, where it is going, and when it should happen.
Assignment details
Choose the asset or assets you want to move, then enter the current location and the destination.
Common fields include:
- Assigned Assets - one or more assets to dispatch
- Move From - current location or pickup point
- Move To - destination location or project site
Schedule
Set the dates for the move so the dispatch shows when the transport should begin and when it is expected to finish.
Common fields include:
- Start Date - when the dispatch begins
- Start Time - optional departure time
- End Date - expected completion date
- End Time - optional arrival time
Additional information
Use the notes field for anything the team needs to know before the move happens.
This can include driver details, pickup or drop-off instructions, gate contacts, access rules, or other move-specific details. This section also pairs well with Dispatching Assets to Projects if the dispatch is tied directly to a site assignment.
Step 4: Create the dispatch
Click Create when the form is complete.
The dispatch will appear in your dispatch list, and the assigned asset will show the scheduled move in the dispatch workflow. This makes it easier for the team to track what is planned and what still needs follow-up.
Dispatch status flow
After a dispatch is created, it moves through a status flow so the team can see where it stands. This helps everyone know whether the move is still waiting on transport or already in progress.
Common statuses include:
- Need Transport - dispatch created, waiting on transport assignment
- Scheduled - transport has been arranged
- Notified - the right people have been informed
- Confirmed - dispatch is confirmed and underway
Tips
A few simple habits make dispatching easier and help reduce confusion in the field. The goal is to keep move details clear and make sure the destination site is ready for the asset when it arrives.
- Use the assets view to check current asset locations before creating the move.
- Add notes when the move has special contacts, access rules, or transport details.
- Set realistic dates so transport has enough time to be arranged.
- Check Viewing Everything On Site before dispatching more equipment to a job that may already be full.
- Use Dispatching Assets to Projects and Using the Dispatch Board when the team needs a wider planning view.