Creating and Managing Parts Kits
What is this?
A parts kit is a saved bundle of parts that go together for a specific job. Instead of searching for each filter, gasket, and belt individually every time you service a machine, you create a kit once and reuse it. "Cat 336 Oil Kit" with 2 items. "Conveyor Belt Replacement Kit" with 4. Name it, fill it, and it is ready whenever you need it.
Who is this for?
- Parts Managers - Build standard kits for common service jobs. Your mechanics get the right parts every time without guessing.
- Shop Managers - Standardize what goes into each type of service. No more missing parts halfway through a job.
- Maintenance Planners - Attach kits to PM items so parts are ready before the work order is even created.
How to use it
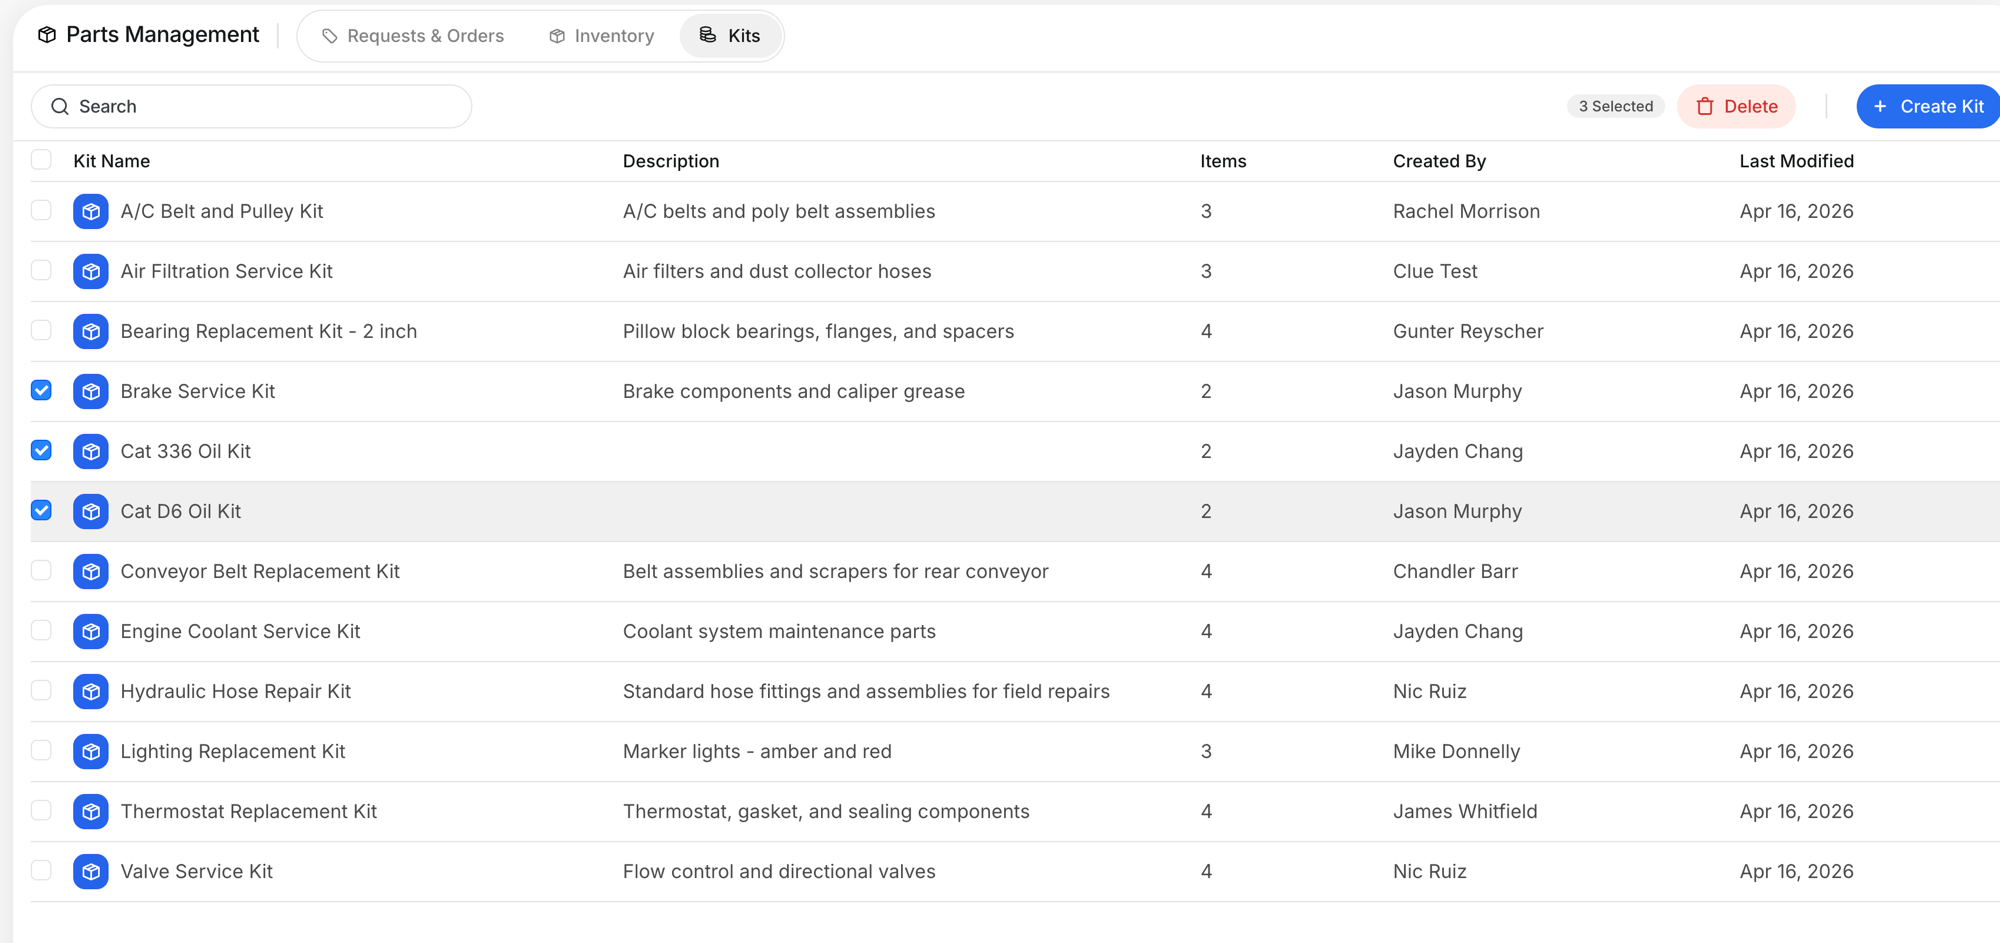
Step 1: Open the Kits tab
Go to Parts Management in the sidebar and click the Kits tab (third tab, after Requests & Orders and Inventory). You will see all your kits with their name, description, item count, who created them, and when they were last changed.

Step 2: Create a new kit
Click + Create Kit. Give it a name that your team will recognize. Be specific: "Cat 336 Oil Kit" is better than "Oil Kit". Add an optional description.
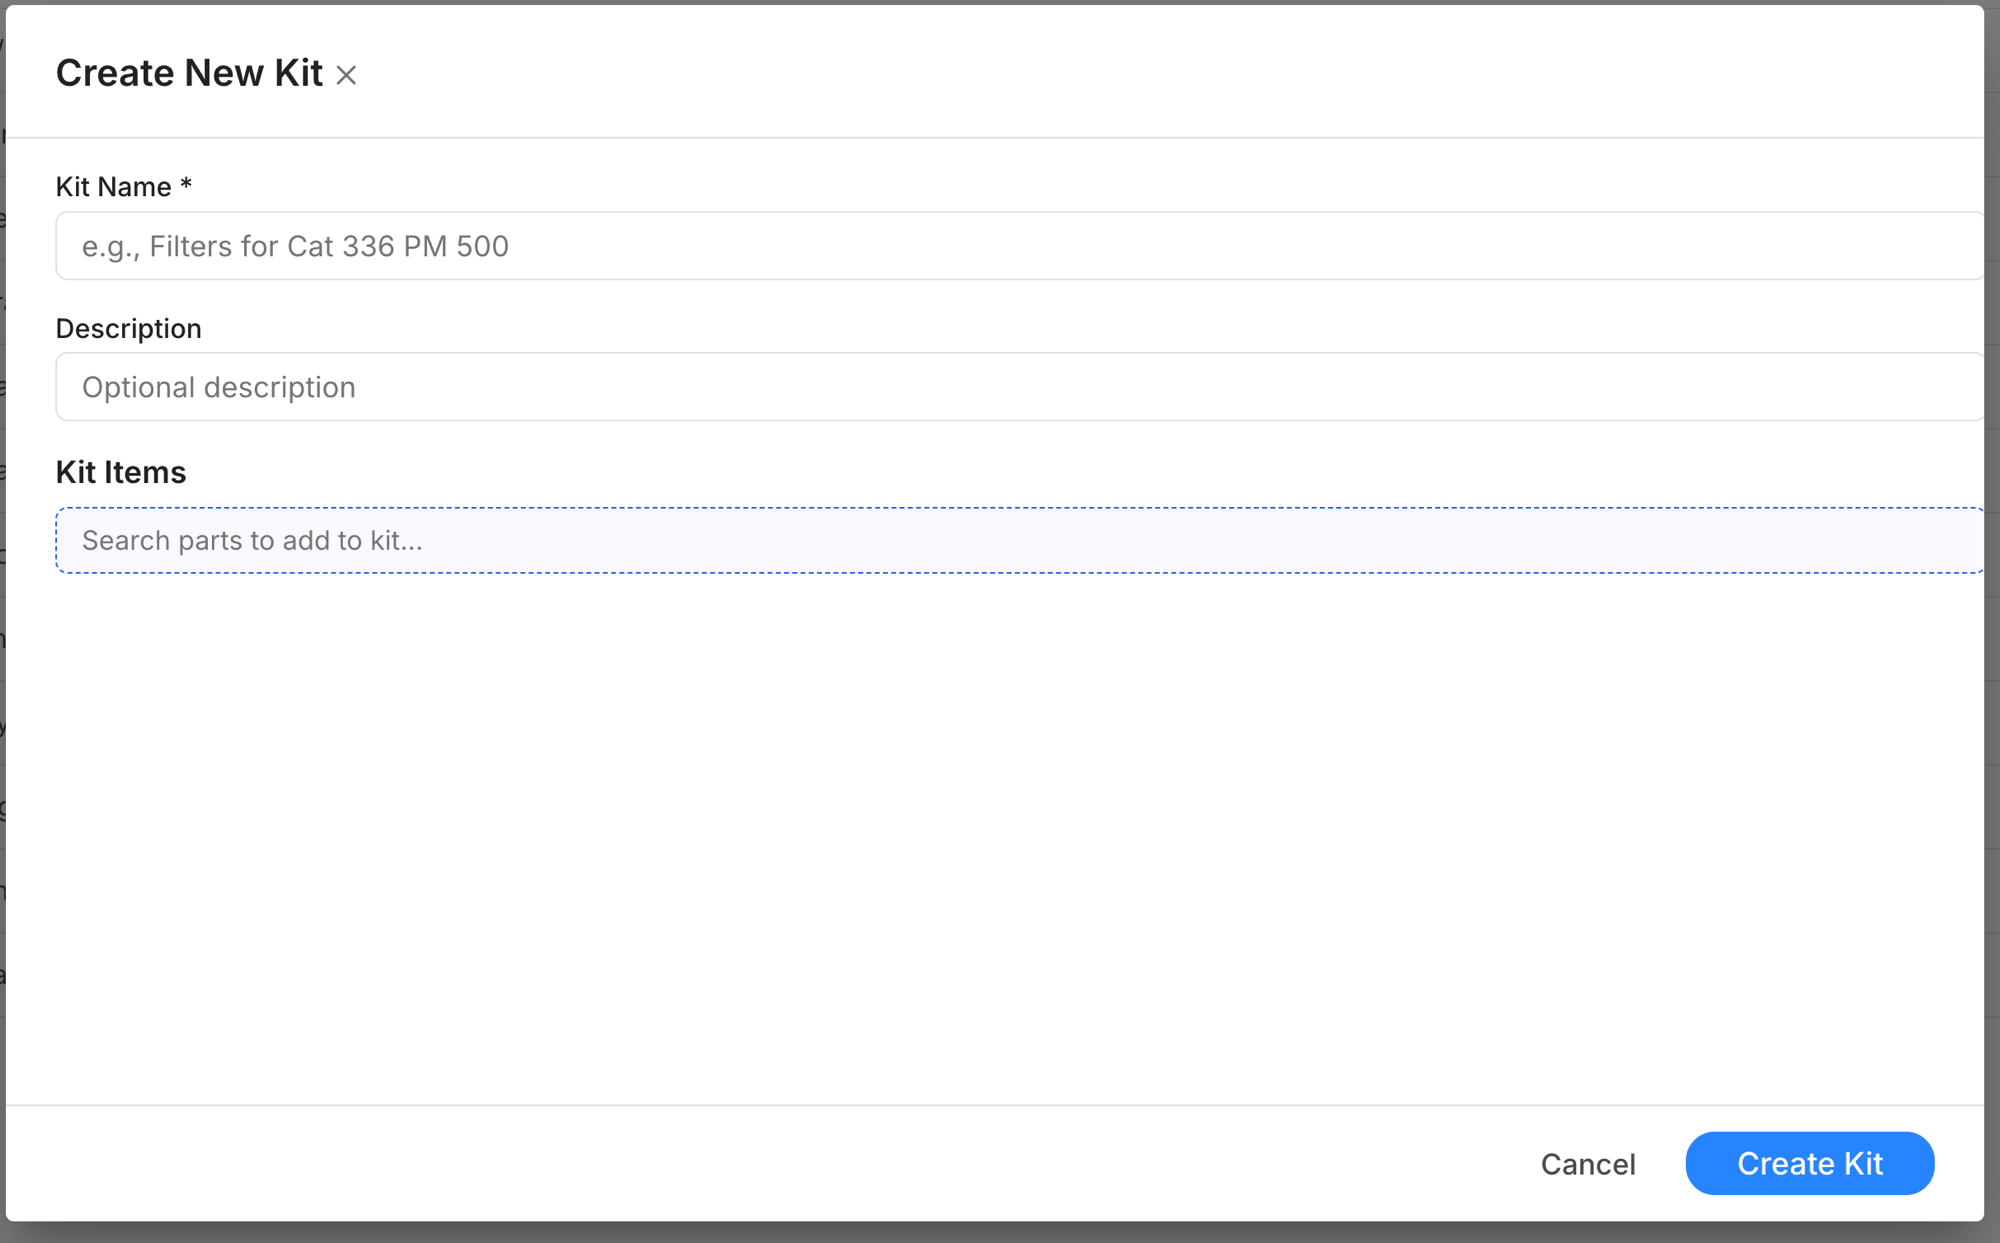
Step 3: Add parts to the kit
In the Kit Items section, start typing a part name or number. The dropdown shows matching parts from your inventory. Select each part you need and set the quantity.

Step 4: Select, duplicate, or delete kits
Check the boxes next to any kits to select them. The toolbar shows how many are selected with a Delete button. You can also click any kit row to edit it.
The full details
- Works on: Web app
- Location: Parts Management > Kits tab
- Kit names must be unique within your company
- A kit needs at least one part. You cannot save an empty kit.
- Deleting a kit does not affect work orders that already used it. The parts stay on the work order.
- Searchable: Use the search bar to find kits by name
Tips
- Name kits by equipment model and service type. "Cat 336 Oil Kit", "D6 Air Filter Kit", "Conveyor Belt Replacement Kit". Your mechanics should know what it is for just by reading the name.
- Keep descriptions short but useful. "Brake components and caliper grease" tells you what is inside without opening it.
- Create kits for your most common jobs first. Oil changes, filter replacements, and belt swaps are good starting points.


