Available now on Beta - This feature is in beta testing and will roll out to everyone soon.
Use check-out to record who is taking an item, where it is going, and when it should come back. This gives your team a clear record for tools, parts, and other items moving between the yard, projects, and equipment.
What is this?
The check-out form is used to track tools and parts after they leave the shop. It records the item, the quantity, the destination, and any notes your team needs to keep with the record.
You can check an item out to a person, a third-party contact, a project, or another asset. This works well with the Tools module because it keeps the item history searchable and easy to review later.
How to check out an item?
The check-out flow is simple. Open the Tools page, pick the item, choose who or what it is going to, then submit the record so the item shows as checked out.
Step 1: Click New Check Out
On the Tools page, click + New Check Out in the top right corner. This opens the form for a new check-out record.

Step 2: Pick the item type
At the top of the form, choose whether you are checking out an Asset or a Part. Then search for the item by name or number. If you are checking out a part, enter the Quantity before moving on.

Step 3: Choose who gets it
The Check Out To section has four options. Pick the one that matches where the item is going.

Person
Use this when the item is going to someone on your team. Search by name, then add a project if needed. This is useful when one employee is clearly responsible for the item.
3rd Party
Use this when the item is going to a contractor, vendor, or another outside contact. Enter their name, phone number, and email directly in the form.
Project
Use this when the item is going to a jobsite instead of one specific person. Search by project name or code and choose the correct result from the list. This works well for shared site items.
Asset
Use this when the item should stay with another machine, truck, or piece of equipment. You can also add a person or project if needed. This is useful for dedicated tool kits or parts that travel with one asset.
Step 4: Set dates and notes
The Checkout Date usually defaults to the current time. You can also add an Expected Return Date and any notes that the team should see later.

Step 5: Submit
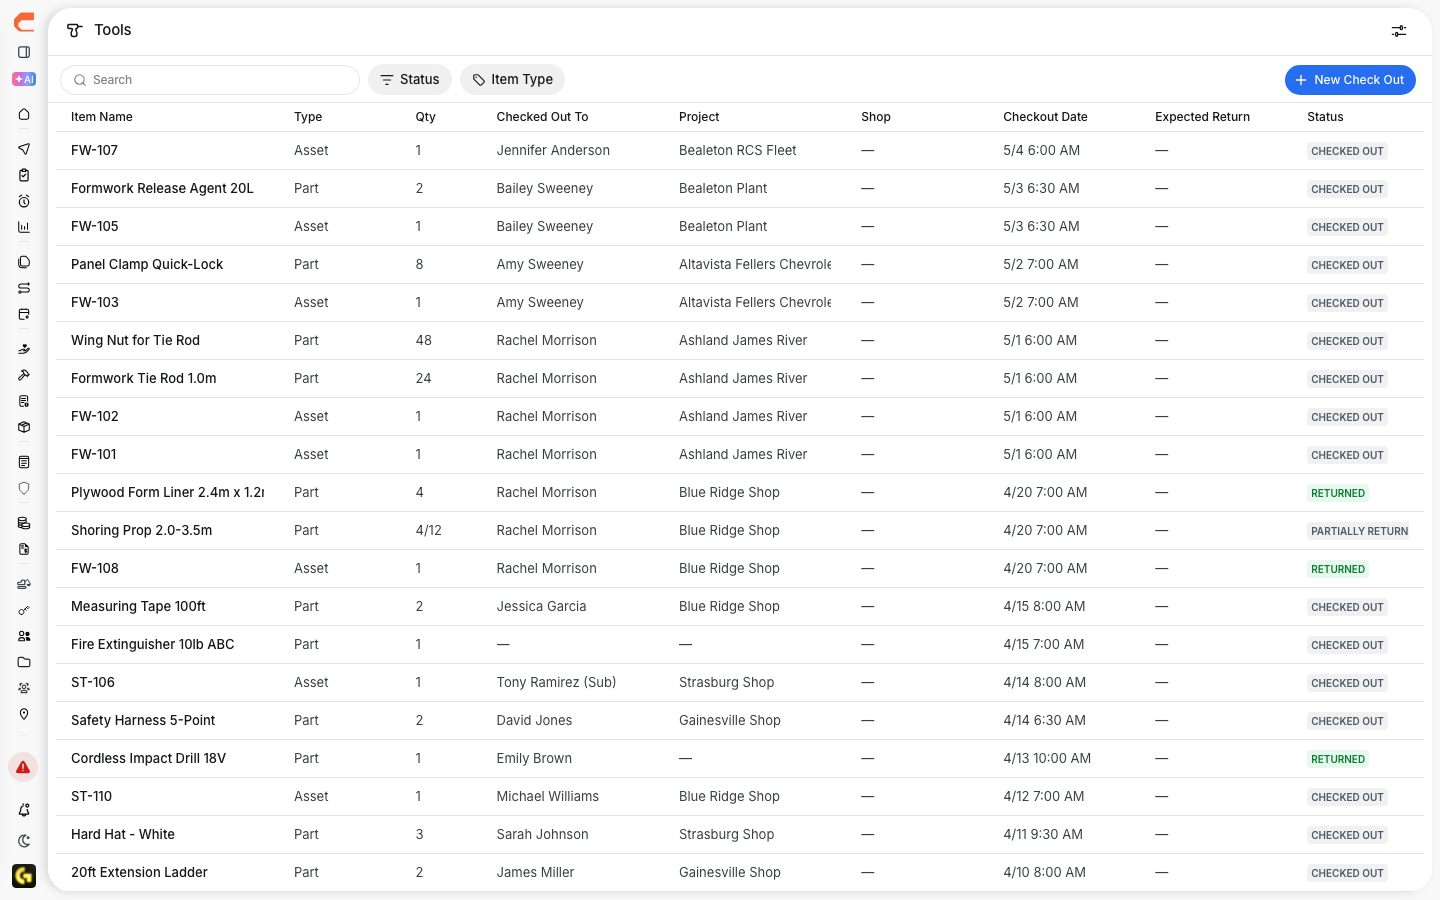
Click Submit to save the check-out. After that, the item appears in the table with a Checked Out status so the team can track it from the main Tools view.
The full details
The check-out feature is built to handle several common handoff situations. The form supports four destinations, searchable fields, quantity tracking for parts, and optional return dates for follow-up.
- Check-out destinations - Person, 3rd Party, Project, or Asset
- Search fields - live search to find items, people, projects, or assets faster
- Quantity - required for parts and set separately from the item selection
- Expected Return Date - optional, but useful for follow-up
- 3rd Party entries - entered manually without creating a user account
- Asset check-outs - useful when tools or parts stay with a specific machine
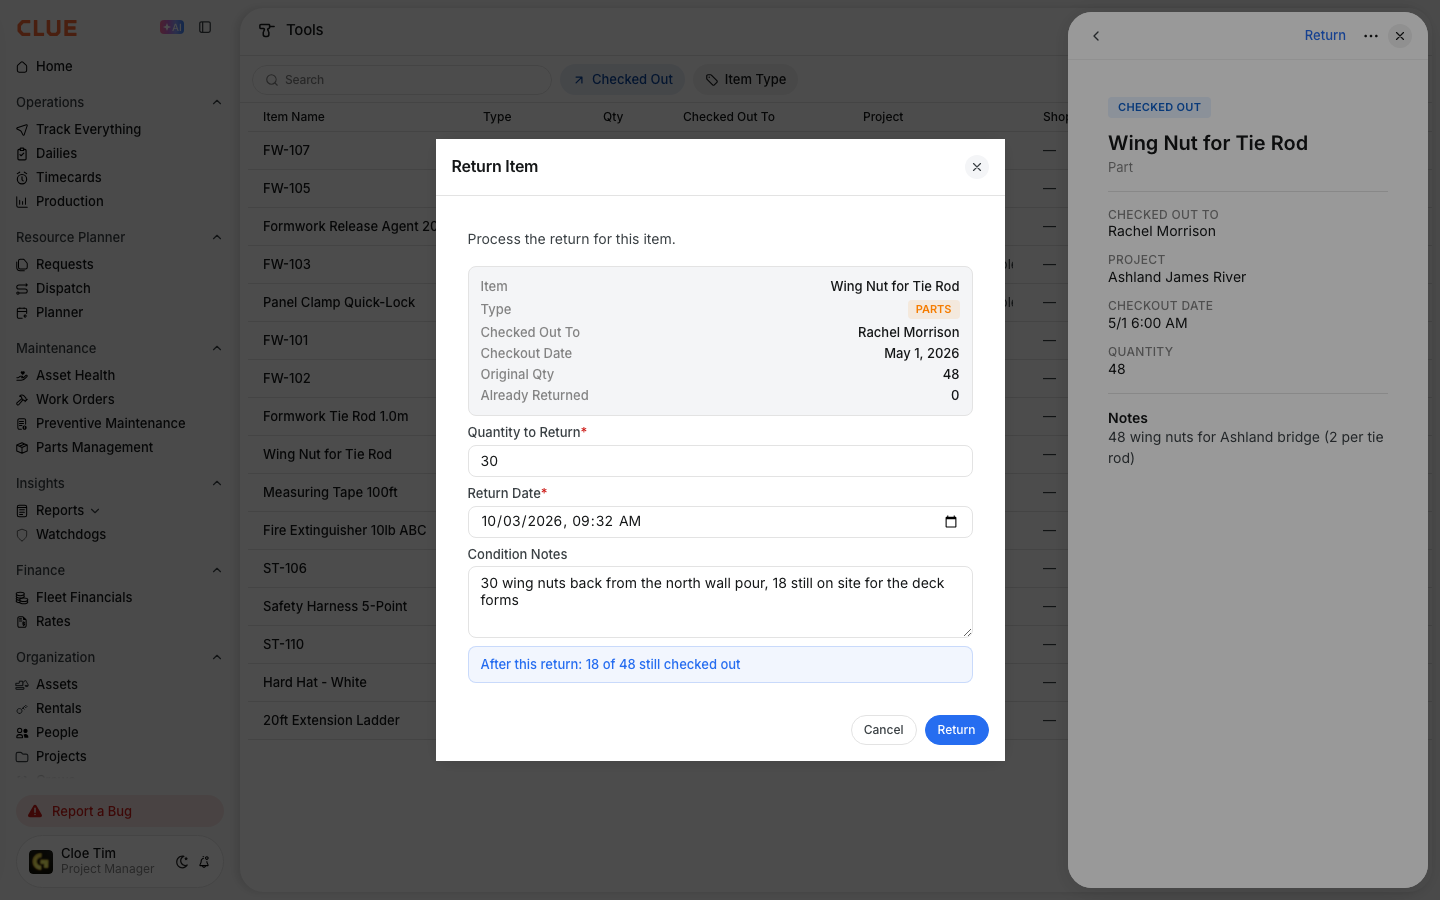
If your team also handles returns, this fits naturally with How to Return Tools and Handle Partial Returns, since checked-out items can be returned, partially returned, or marked lost later.
Tips
A simple check-out habit makes it much easier to know where items are and who is responsible for them. Clear destinations and return dates usually make follow-up much easier later.
- use Person when one team member is responsible for the item
- use 3rd Party for contractors and vendors outside your CLUE account
- use Project when the item belongs at the site, not with one person
- use Asset for items that stay with a truck or machine
- set an Expected Return Date for loaners, shared gear, and anything that needs follow-up